If your operating system doesn't work properly, you can repair Windows 11 with SFC and DISM. These are two now-classic tools that are familiar to many advanced users. Here is how to use them.
Advertisеment
The sfc /scannow command checks integrity of protected system files. If some of them is corrupted or missing, SFC will replace it with correct versions when possible. Also, the tool is able to detect when a file has been overwritten with a modified or older version. In this case, it will retrieve the correct version of the file from the Windows Component Store, and then replace the modified file.
DISM is another great tool to fix Windows 11 issues. DISM stands for Deployment Imaging and Servicing Management. If a Windows image becomes unserviceable, you can use the DISM command or its Repair-WindowsImage PowerShell counterpart to update the files and fix the problem.
Let's start with SFC and learn how to properly run it in Windows 11.
Repair Windows 11 with SFC /SCANNOW
You can start the sfc /scannow command in Windows 11 from any available console, such as the classic command prompt, PowerShell, and Windows Terminal. If Windows 11 doesn't start, you can go with a command prompt open at boot. The latter is also known as an offline scan. Finally, the check result will be written to a special file, CBS.LOG.
Run the SFC /SCANNOW command
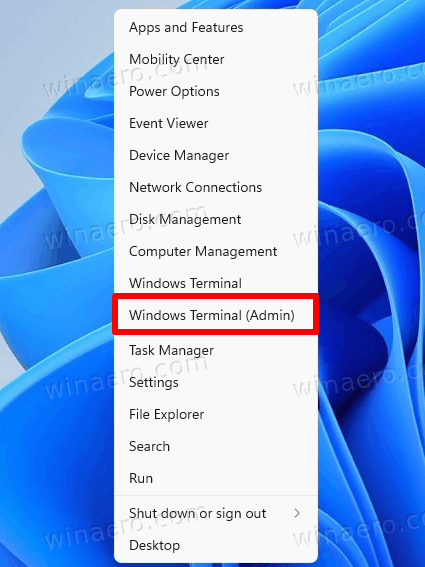
- Open a new Windows Terminal as administrator; press Win + X and select Windows Terminal (Admin).
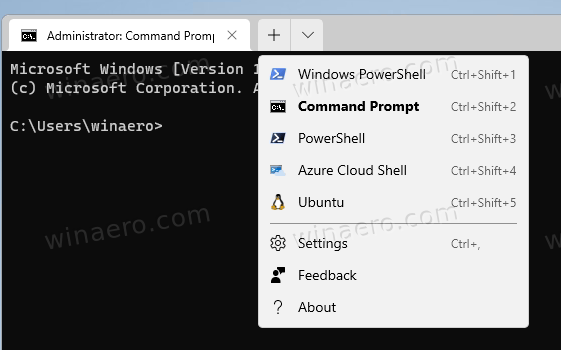
- Select the Command Prompt or PowerShell profile from the down arrow chevron menu.
- Type or copy-paste the
sfc /scannowcommand, and press Enter.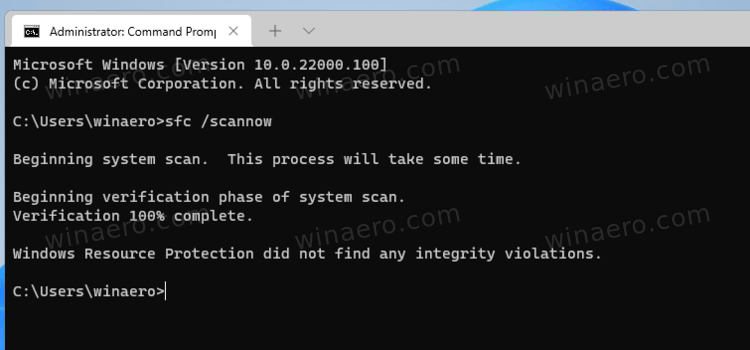
- Wait for the scan to complete. It may report that Windows Resource Protection did not find any integrity violations, or that it found corrupt files but was unable to fix some of them.
- If there's no errors, you can close the console now.
SFC found corrupt files but was unable to fix some of them
If after you checked system files with SFC, and it reports that "Windows Resource Protection found corrupt files but was unable to fix some of them.", here are the steps to take.
- Run the
sfc /scannowcommand again. Sometimes it is required to run it up to 3 times, and restart the computer after each check. Also, try to disable Fast Startup, restart Windows 11, and start perform thesfccheck. - If doesn't help, do a Component Store repair with the
dism /Online /Cleanup-Image /RestoreHealthcommand (reviewed below in this article). Then restart the computer, and try one more time withsfc /scannow. - If all the above fails, try to restore your computer from a restore point if available.
- if no restore points available, repair install Windows 11(in-place upgrade).
- Finally, if In-place Upgrade also doesn't help, you should reset Windows 11.
Repair Windows 11 with offline SFC scan at boot
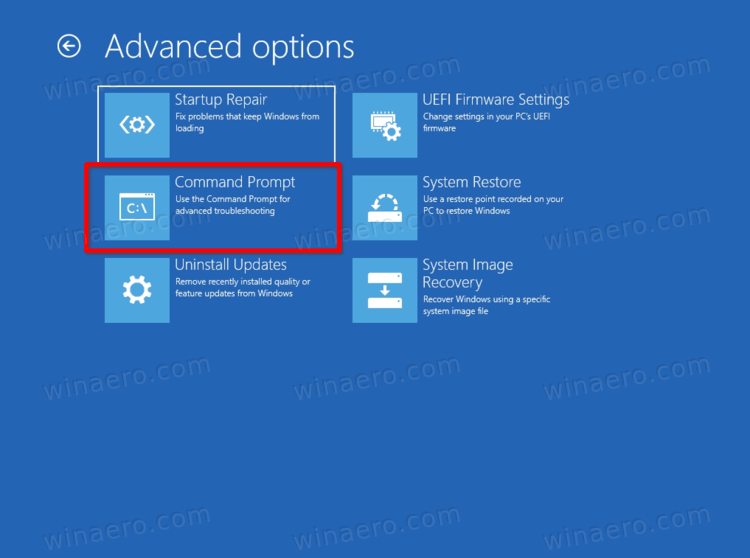
- Open a new command prompt at boot.
- Type
diskpartand press Enter.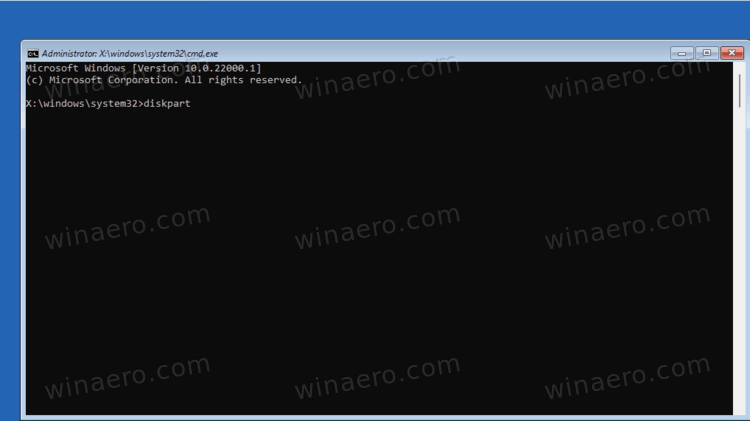
- In diskpart, type
list volumeand see the recovery boot partition drive letter (it is around 500 MB) and the Windows 11 system drive letter. Make note the letters, e.g. E: is the recovery partition, and C: is the system partition. - Type
exitto leave diskpart. - Now, type the
sfc /scannow /offbootdir=<recovery boot partition drive letter>:\ /offwindir=<Windows 11 system partition letter>:\Windows. Replace the letters with the drive letters you previously noted.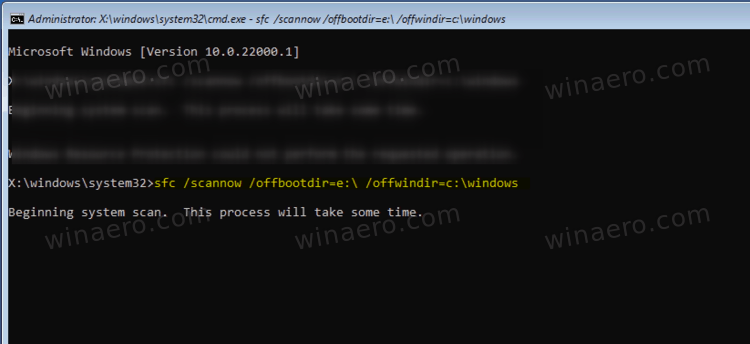
You are done. See the command output to check if errors were fixed or not.
View SFC Scan results from the CBS.LOG file
When performing a system file check under Windows (not offline scan!), the SFC tool adds entries to the C:\Windows\Logs\CBS\CBS.log file. Using them, you will be able to find what has happened during the last scan. You can quickly fetch them in the command prompt or PowerShell.
To view SFC Scan results from the CBS.LOG file, open Windows Terminal (Win + X > Windows Terminal) with Command Prompt or PowerShell, and type one of the following commands.
For the Command Prompt profile:
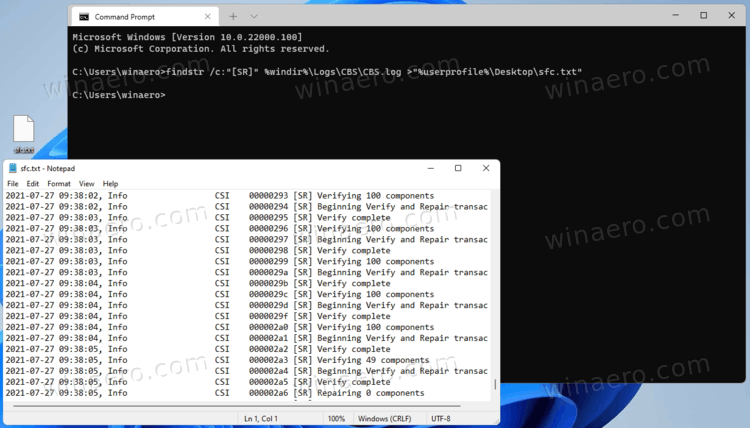
findstr /c:"[SR]" %windir%\Logs\CBS\CBS.log >"%userprofile%\Desktop\sfc.txt"
For PowerShell:
(Select-String [SR] $env:windir\Logs\CBS\CBS.log -s).Line >"$env:userprofile\Desktop\sfc.txt"
This will filter the contents of the CSB file, and extract the lines related to the SFC tool to the sfc.txt file on your Desktop. Open it with Notepad and see its contents. It will help you to find what files are broken and were/weren't fixed.
Repair Windows 11 with DISM
DISM comes into play when the SFC tool fails to fix a serious corruption of the OS. It can use the Internet and Windows Update to retrieve actual file versions. Also, you can make it use a local (offline) install.wim/install.esd file from an ISO file or bootable media with Windows 11. However, before doing any repair procedure, you much check integrity of the Windows Component Store, i.e. to check its health.
Check Health of Windows Component Store with DISM
- Open a new elevated Windows Terminal.
- If your Windows Terminal opens to a command prompt, issue the command:
dism /Online /Cleanup-Image /CheckHealth.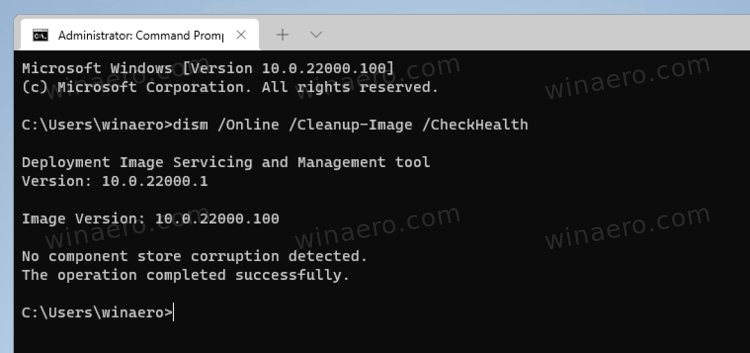
- Alternatively, select a PowerShell profile, and execute the command
Repair-WindowsImage -Online -CheckHealth.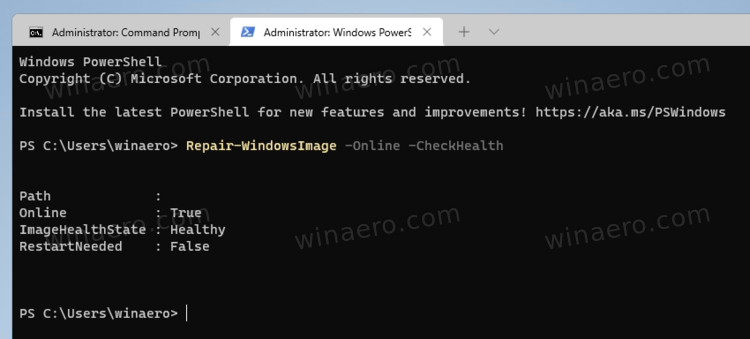
- Any of the above commands will report the Component Store state, e.g. healthy, repairable, or non-repairable.
Here is what the Windows Component Store status means.
Windows Component Store statuses
Healthy - DISM didn't detect any component store corruption. No repair required; Windows 11 is operating normally.
Repairable - you need to repair a Component Store corruption. The next two chapters in this post explain the procedure in detail.
Non-repairable - Windows 11 can't fix its Image Component Store. You have to either repair install Windows 11, reset, or clean install Windows 11.
Here's how to repair Windows 11 using DISM.
How to Repair Windows 11 with DISM using Windows Update
- Open Windows Terminal as Administrator.
- For the Command Prompt profile, type the following command and hit Enter:
dism /Online /Cleanup-Image /RestoreHealth.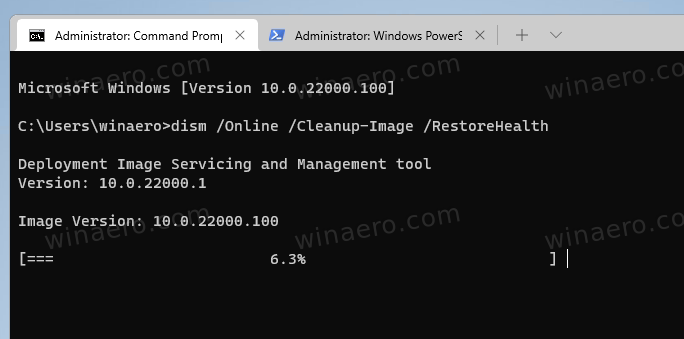
- For PowerShell, issue the following command:
Repair-WindowsImage -Online -RestoreHealth.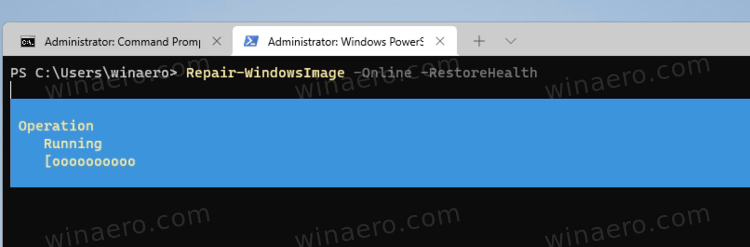
- Wait the process to finish, and close the Windows Terminal app.
Finally, If you have no Internet connect or your data plan is limited, you can make dism use an install.wim or install.esd file as a source of the system files for the Windows Component Store. Here's how to do it.
Repair Windows 11 with DISM using Install.wim
- Double-click your Windows 11 ISO file, or connect your bootable USB stick.
- Make note the letter of its drive, e.g.
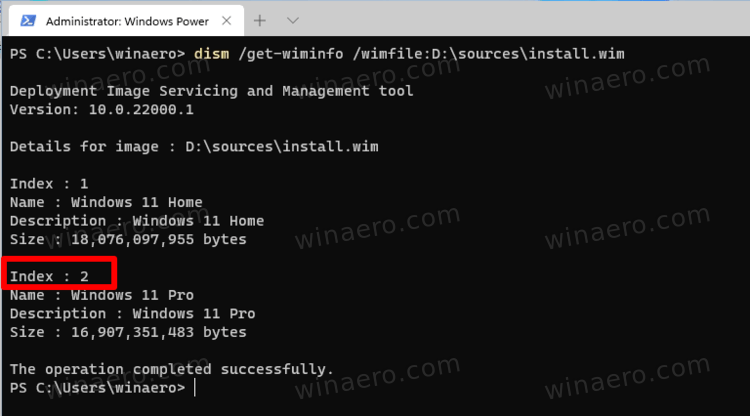
G:. - Open a new Windows Terminal as Administrator, and run the
dism /get-wiminfo /wimfile:G:\sources\install.wimcommand. Replace the drive letter with a proper value, andinstall.wimwithinstall.esdif your media includes an ESD file instead of WIM. - In the output, find and note the index of the Windows 11 edition that matches your currently installed OS.
- If your Windows Terminal is open to PowerShell, execute the command
Repair-WindowsImage -Online -RestoreHealth -Source "<Drive Letter>:\sources\install.wim:<Index>" -LimitAccess. Replace<Drive Letter>and<Index>with the appropriate values. - Alternatively, you can use the following command in both PowerShell and Command Prompt:
dism /Online /Cleanup-Image /RestoreHealth /Source:wim:<Drive Letter>:\sources\install.wim:<Index Number> /limitaccess.
- Wait for the process to complete.
That's all about how to repair Windows 11 with SFC and DISM.
Support us
Winaero greatly relies on your support. You can help the site keep bringing you interesting and useful content and software by using these options:

Hey, Sergey,
Do you know what could be causing tcpip.sys SYSTEM_THREAD_EXCEPTION_NOT_HANDLED on reboot, after installing windows 11, on my vivobook e403sa? It happened with the first insider build, and now with 22000. I updated network card driver to asus latest but still can’t make it boot successfully here; only very first install actually booted and let have a glimpse, but as soon as I rebooted, it started bsod’ing and reverting every installation.
Sounds like some hardware incompatibility.
Are you ever going to add an option for WinAeroTweaker to have a dark mode. I love your software, but using it blinds me. The font is tiny and the glaring white is a huge problem for my old tired eyes.
Thank you for all you do.
I know is an old input but I have a problem with that method. Last step exactly. I get an error 87 “limitaccess is not recognized”:
C:\Users\mike_>dism /Online /Cleanup-Image /RestoreHealth /Source:wim:F:\sources\install.wim:5 /limitaccess
Deployment Image Servicing and Management tool
Version: 10.0.22621.1
Image Version: 10.0.22621.2506
Error: 87
The limitaccess option is not recognized in this context.
For more information, refer to the help.