System Restore isn't a new feature of Windows 10. This technology was introduced in 2000 with Windows Millenium Edition. It allows you to roll back the installed operating system to the previous state. System Restore creates restore points which keep a complete state of Registry settings, drivers and various system files. The user can roll back the operating system to one of the restore points if Windows 10 becomes unstable or unbootable.
Advertisеment
In Windows Vista and later, Microsoft ditched the System Restore service. Instead, Task Scheduler is used to create restore points. Also, Microsoft wants to save disk space on devices with limited storage. With newer features like Reset & Refresh which work differently, System Restore has taken a back seat although it is still accessible via Troubleshooting and Recovery options in Windows 10.
One unfortunate change that happened in Windows 7 is that System Restore points are created far too less frequently now - once every 7 days. This is too long. Also, the disk space alloted to System Restore reduces automatically when your system falls short of free space. As a result, restore points are no longer created. If something goes wrong and you need to revert your OS, you may find that your system has no restore points available! Therefore, you need to create at least one restore point. It can be done manually as follows:
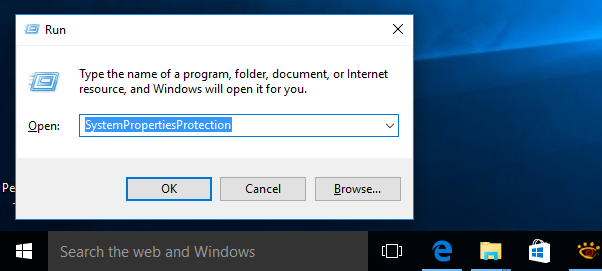
- Press Win + R keys together on the keyboard. The Run dialog will appear. Type the following in the Run box:
SystemPropertiesProtection
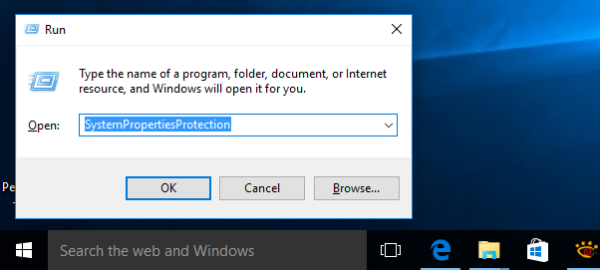
- The System Properties dialog will appear with the System Protection tab active.
- By default, it is disabled in my Windows 10. So it needs to be turned on.
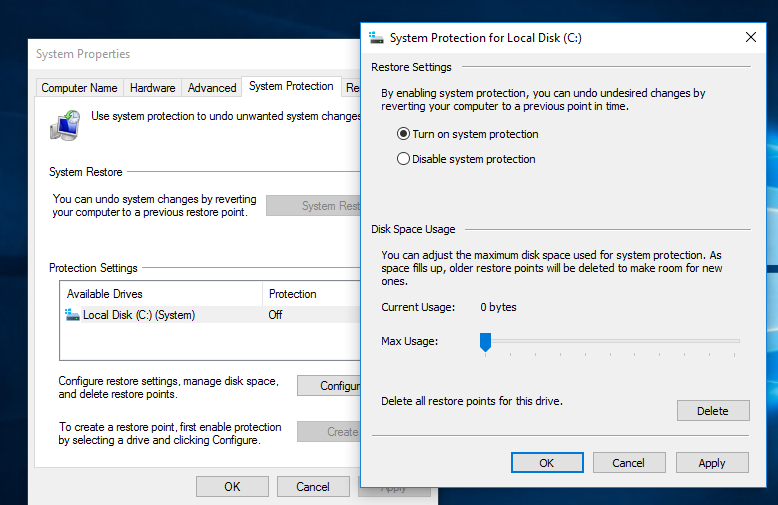
Click the Configure button. In the next dialog, set the "Turn on system protection" option as shown below:
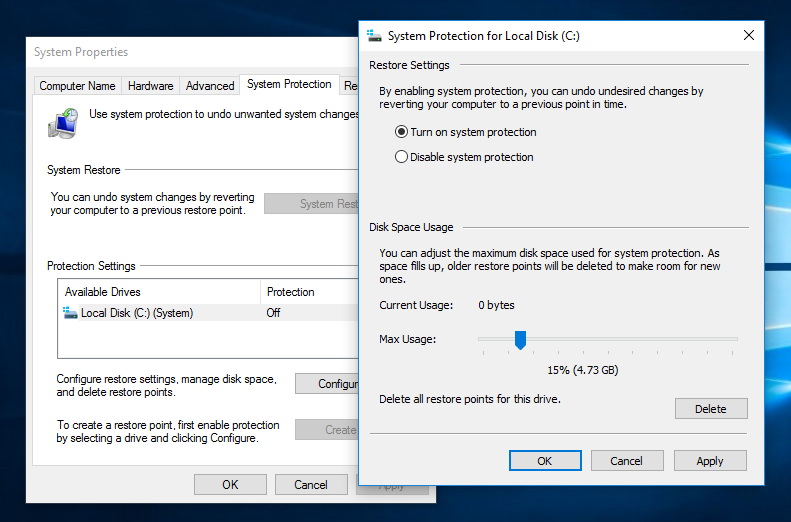
- Now, adjust the slider to the right. 15% should be enough:
 Press Apply and OK.
 - Click the button "Create..." in the System Properties dialog. This will create a new system restore point in Windows 10:
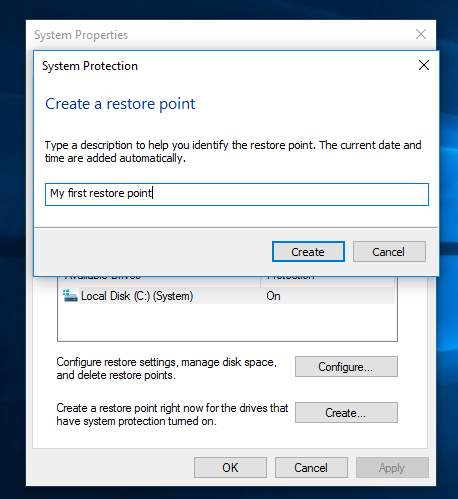

 Just type some description and you are done.
 - The next time you decide to roll back Windows 10 to an earlier state, you can click the "System Restore..." button in the System Properties dialog or directly run rstrui.exe and follow the wizard:

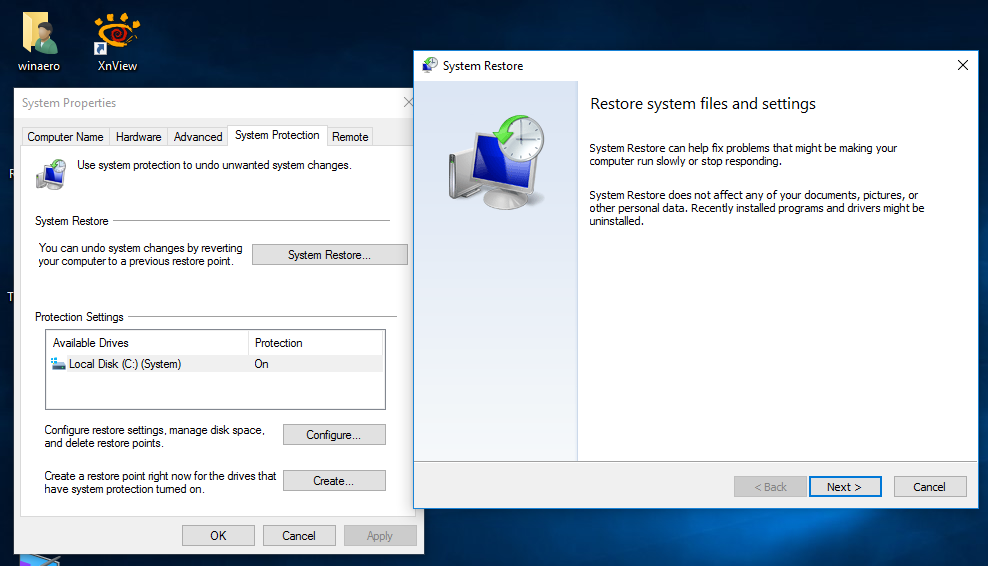
That's it. In the article following this one, we will see in details how to use restore points to roll back Windows 10, including the scenario when Windows 10 does not boot.
Support us
Winaero greatly relies on your support. You can help the site keep bringing you interesting and useful content and software by using these options:

Hi Sergey,
My name is Jona, I’m from Spain.
I performed a clean installation of win10, but now I don’t know put “User Folder”
on the desktop.
How can I do it?
http://www.imagebam.com/image/2ed569440004810
Is there any option to put dark theme in Access 2016?
http://www.imagebam.com/image/e2aaa4440006384
Thanks.
Hi Jona
For the user folder, see here:
https://winaero.com/blog/how-to-make-windows-10-show-familiar-desktop-icons/
In access 2016, there is no dark theme available. They removed it since office 2013, or maybe even since office 2010, I don’t remember exactly.
Thanks Sergey!!
Congratulations for your website.
Wow MS. System Restore saved my ass so many times and you’re only making it harder :(
It is not me :)
It is Windows 10 default settings.
Someone at Microsoft is not happy with System Restore.