Once you have connected to some wireless network in Windows 10, the operating system will remember this network and will try to re-connect to it once it is in range. If you have a reason to no longer connect that network, you can make Windows 10 forget that network. Here is how.
To make Windows 10 forget some previously connected wireless network, you must delete the profile which the OS creates and stores for the network. This can be done using the new Settings app which comes bundled with the operating system and replaces the classic Control Panel.
Do the following:
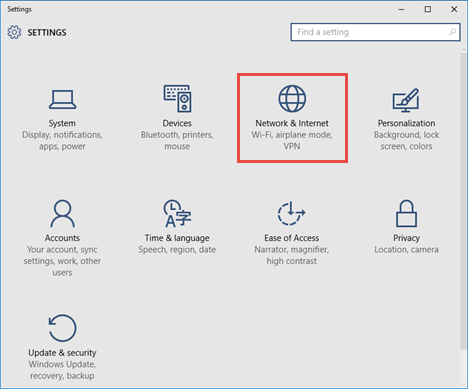
- Open the Settings app.
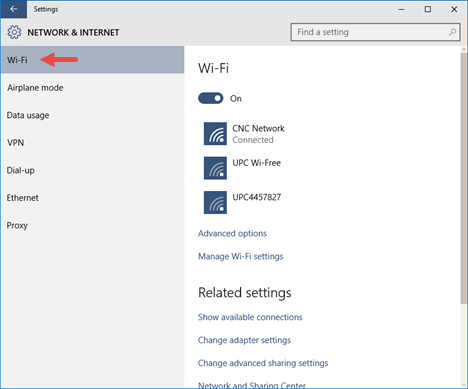
- Go to Network & Internet -> Wifi
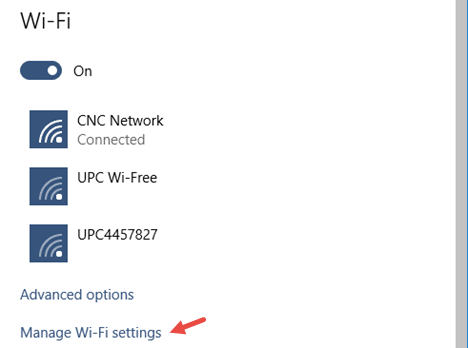
- There, you will find a link "Manage Wi-Fi settings" on the right. Click it.
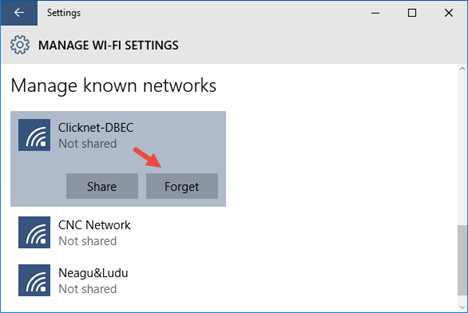
- Under "Manage known networks", click the stored network name. You will see the Forget button. Click it to make Windows 10 forget this network.
That's it. Users who upgrade to Windows 10 from Windows 8 will appreciate this way of managing Wi-Fi networks, since Windows 8 only had a command line method to do the same, which was not at all intuitive or time-saving. (via 7tutorials).
Support us
Winaero greatly relies on your support. You can help the site keep bringing you interesting and useful content and software by using these options:

How do i disable windows defender turn on protection automatically?
Mate are you kidding?
I wrote it already :)
One: https://winaero.com/blog/nodefender-disable-windows-defender-in-windows-10-with-few-clicks/
Two: https://winaero.com/blog/disable-or-enable-windows-defender-in-windows-10/
sorry i forgot
Thanks, this was useful. :)
Excellent!!!!!!
They make things every time more complicated to a regular user….
I have no “Forget”-button.
Quiero saber todas las funciones que tiene internet y red
Que se encuentra en configuración Windows