Ever since Windows 95, the operating system has had a feature called Xmouse where the focus of windows can follow the mouse pointer, meaning, as you move the mouse pointer around, the window which is under the mouse pointer becomes the active window. This feature is disabled by default. Let us see how it can be turned on.
Advertisеment
Normally to make a window active you have to click on it. The Xmouse feature when turned on activates a window simply by hovering. Depending on what your settings are, it may raise the window, that is, bring the window to the front or it can simply make the window active but keep it in the background. In Windows versions before Windows Vista, Xmouse could be turned on using Microsoft's TweakUI powertoy.
To enable the Xmouse window tracking in Windows 10, do the following.
- Open the classic Control Panel.
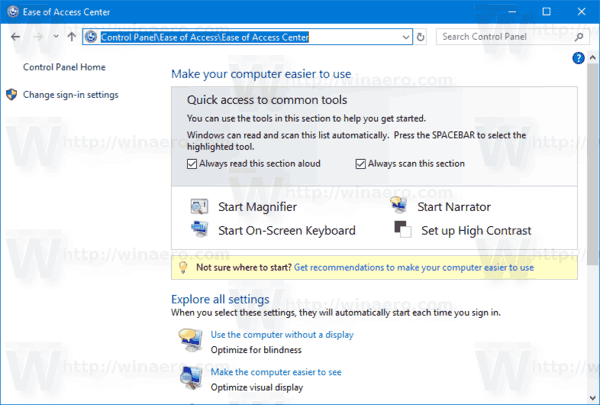
- Go to Control Panel\Ease of Access\Ease of Access Center.
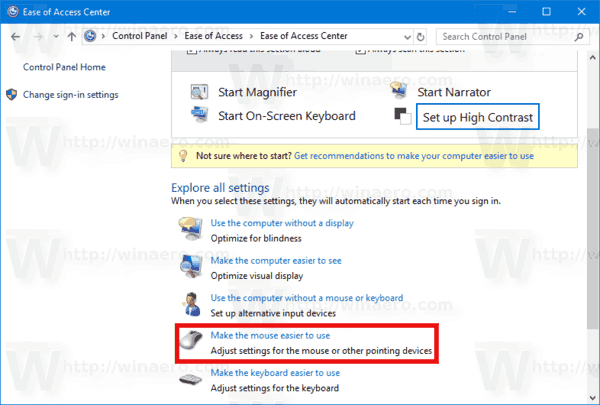
- On the right, find and click the link 'Make the mouse easier to use'.
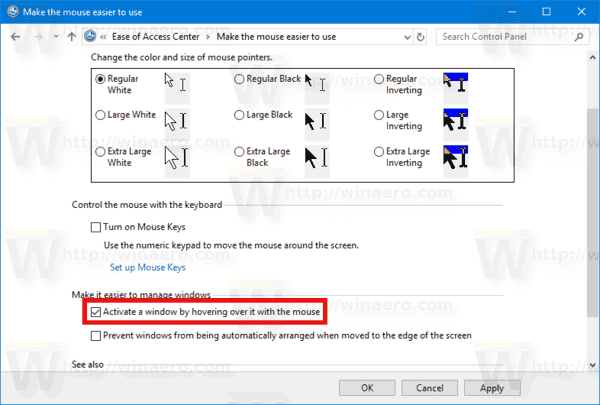
- Check the option 'Activate a window by hovering over it with the mouse' and click OK.
Now when you hover over various windows, they will be focused without clicking. They will also get auto raised, meaning the window on which the mouse hovers which be brought to the foreground.
Make windows active but not raise them when Xmouse is enabled
Windows provides no UI option to not raise windows but still make the focus follow the mouse. However, there is a registry setting to keep Xmouse on but not automatically raise the window. After you configure that, background windows will become active if you hover over them but will stay behind the foreground window. To configure this,
- First make sure that 'Activate a window by hovering over it with the mouse' is turned on from Ease of Access Center -> Make the mouse easier to use.
- Next, open Registry Editor (see how).
- Go to this registry key:
HKEY_CURRENT_USER\Control Panel\Desktop
See how to go to a Registry key with one click.
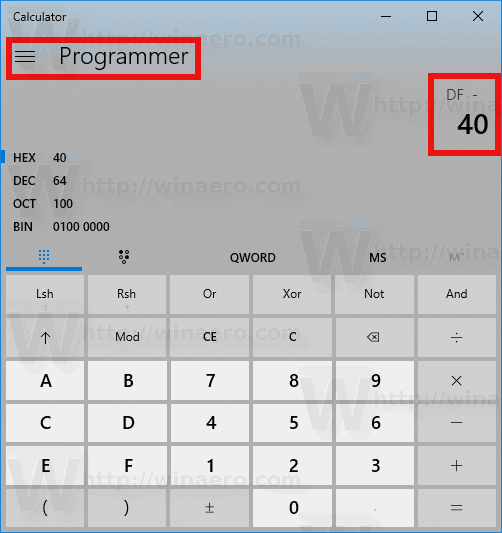
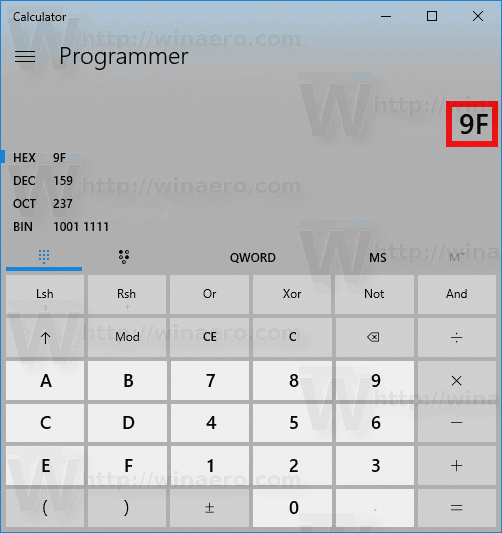
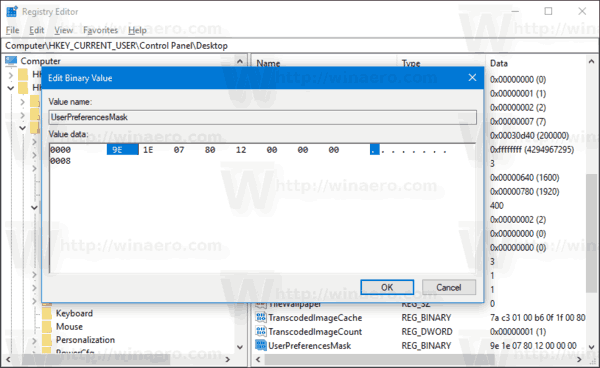
- In the right pane, locate the value "UserPreferencesMask". This is a REG_BINARY value, expressed in hex numbers and many settings related to visual effects are stored in this one value. For windows to get focus but not get raised automatically, we need to subtract 40 bits from the first hex value. (40 bits because Windows adds 41 bits to the first hex value in UserPreferencesMask when it enables Xmouse, and only 1 bit is supposed to be set if you want Xmouse without autoraise behavior). In my case, the value was df,3e,03,80,12,00,00,00 but your value may be different. You can do the calculation to figure this out easily in Windows Calculator. Just start Calculator and switch to the Programmer mode from the View menu. Then select the Hex mode and select the Byte display size. In my case, df − 40 = 9f, so I changed it to 9f,3e,03,80,12,00,00,00.
- To actually change it, double click the UserPreferencesMask value and carefully select the first two bits and then type the new value.
- To make the changes done by the Registry tweak take effect, you need to sign out and sign in to your user account.
Windows will become active when you hover over them but won't be brought to the top.
Change the time out for how fast or slow windows get focus after hovering
There is one more tweakable parameter related to Xmouse behavior and that is the delay after which windows get active after the mouse hovers on them. To adjust this timeout,
- Open Registry Editor (see how).
- Go to the same registry key as above:
HKEY_CURRENT_USER\Control Panel\Desktop
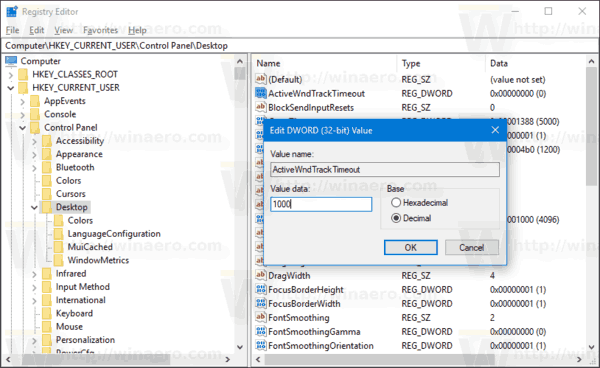
- In the right pane, locate the DWORD value called ActiveWndTrkTimeout.
- Double click the ActiveWndTrkTimeout value and change to the Decimal base. Enter the time in milliseconds (ms). 1000 ms means the window will become active after you hover over it for 1 second. If you set it to 0, the windows will get the focus instantly although we don't recommend that you set it to 0 even if you want the focus to be transferred faster - set it to 500 instead.
- To make the changes done by the Registry tweak take effect, you need to sign out and sign in to your user account.
If you want to avoid registry tweaking and prefer a simple GUI tool to tweak this, get the app called Winaero Tweaker.
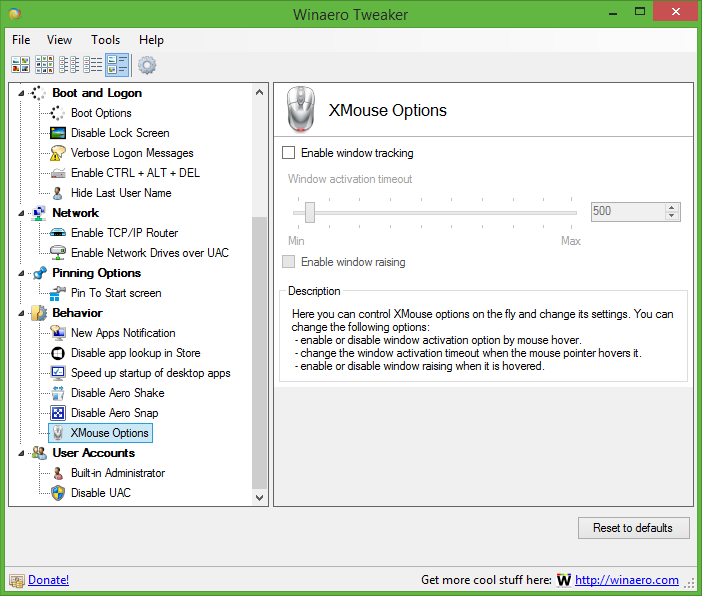 Use its options to avoid Registry editing.
Tip: The same can be done in Windows 8.1, Windows 8 and Windows 7.
Support us
Winaero greatly relies on your support. You can help the site keep bringing you interesting and useful content and software by using these options:

Unfortunately, The focus without raising window feature doesn’t work. it only works on the same application windows. e.g. two windows explorer windows but doesn’t work between visual studio and regedit.
It looks like it fails to process windows opened “as administrator”.
The checkbox to disable MouseHover stealing focus has been removed, and all registry hacks that previously worked are now being ignored by the end Apr 2021 update. I can’t imagine why anyone would want Mouse Hover as an option.
Mmmmm, nope? 2022 here in Windows 11, changing the registry works fine.
When ‘Enable window tracking’ is checked in xmouse options,
The mouse jump to (move to) the center of new active window.
For example, when I select a program by clicking in task bar,
the mouse move to the center of selected window.
What can be the source of this problem?
Very helpful, thanks for the clear explanation! I wanted to use the mouse to move focus between multiple monitors but the window raising was annoying.