How to Enable Windows Hello for Payments in Google Chrome
To secure online payments in Chrome, Google is now rolling out support for Windows Hello authentication on Windows 10. It will be used to authenticate purchases in Google Chrome running on Windows 10 using Windows Hello’s options, such as a fingerprint, or face recognition.
Advertisеment
Windows Hello is an additional security feature available in Windows 10 and Windows 8.1 to protect your user account and all the sensitive data inside it. When enabled, it can be entered instead of the password.
Microsoft describes Windows Hello as follows:
Windows Hello is a more personal, more secure way to get instant access to your Windows 10 devices using fingerprint or facial recognition. Most PC's with fingerprint readers already work with Windows Hello, making it easier and safer to sign into your PC.
Windows Hello protection features include
- Windows Hello Face
- Windows Hello Fingerprint
- Windows Hello PIN
- Security key
- Password
- Picture password
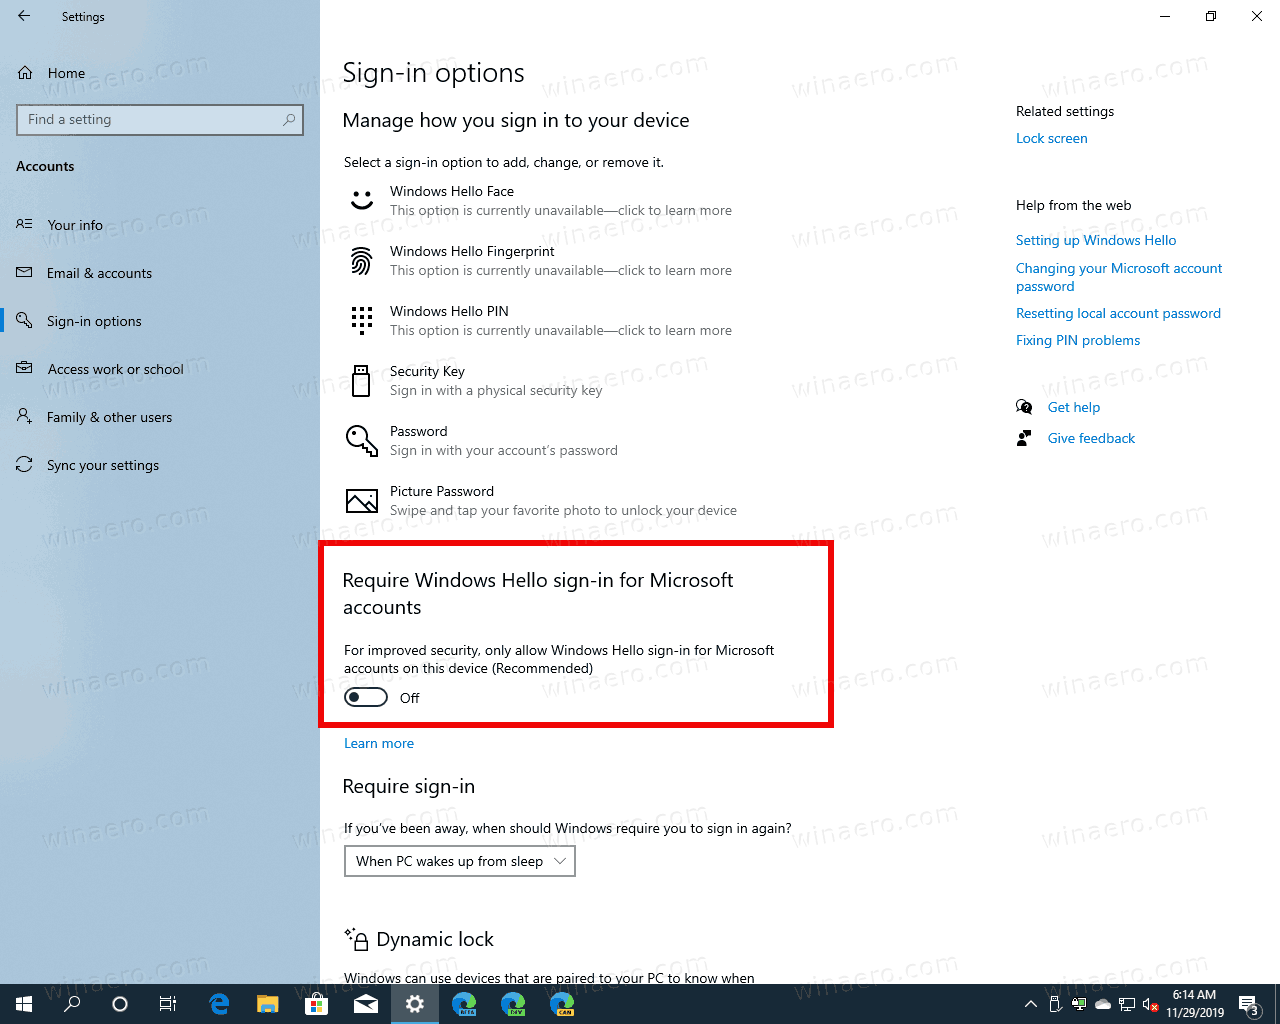
When a CVC required to perform the payment, Google Chrome will show the following dialog if your device is Windows Hello-capable.
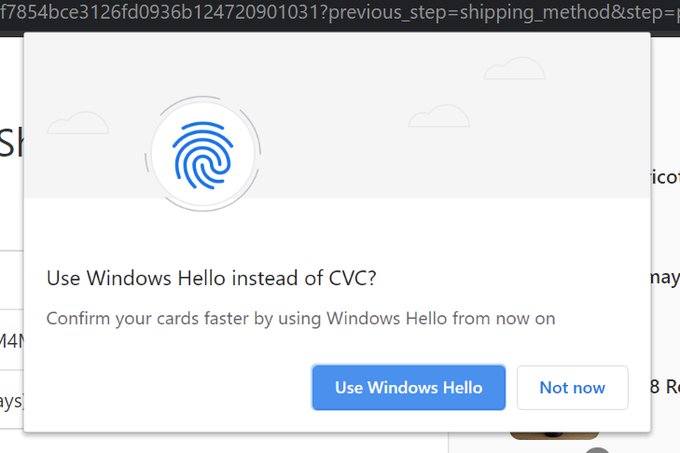
There, you can pick the Use WIndows Hello option and confirm the card data access.
If you use Chrome and your device supports Windows Hello, here is how to enable this new feature.
To Enable Windows Hello for Payments in Google Chrome,
- Open Google Chrome.
- Open the Chrome main menu (Alt + F).
- Select Settings from the menu.
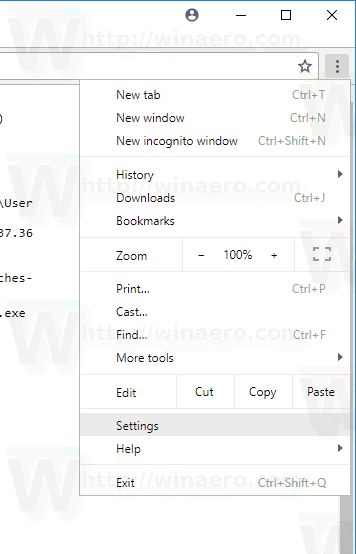
- Click Autofill on the left, and then click on Payments methods on the right.

- On the next page, turn on the Windows Hello toggle option.
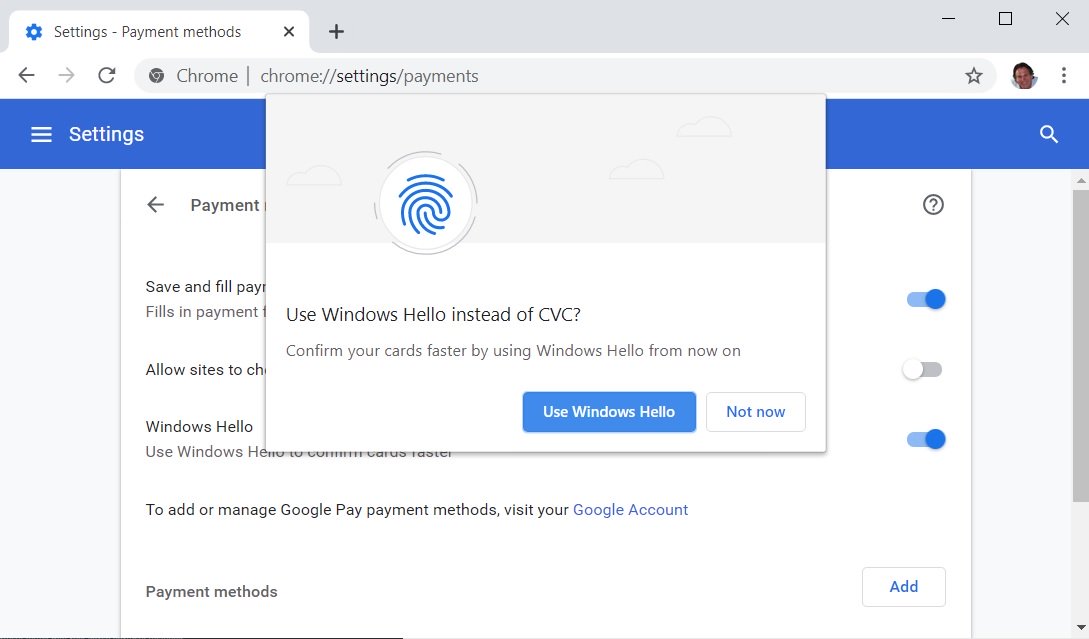
You are done!
Once enabled, Windows Hello will allow you to skip the manual CVC-based authentication on payment services.
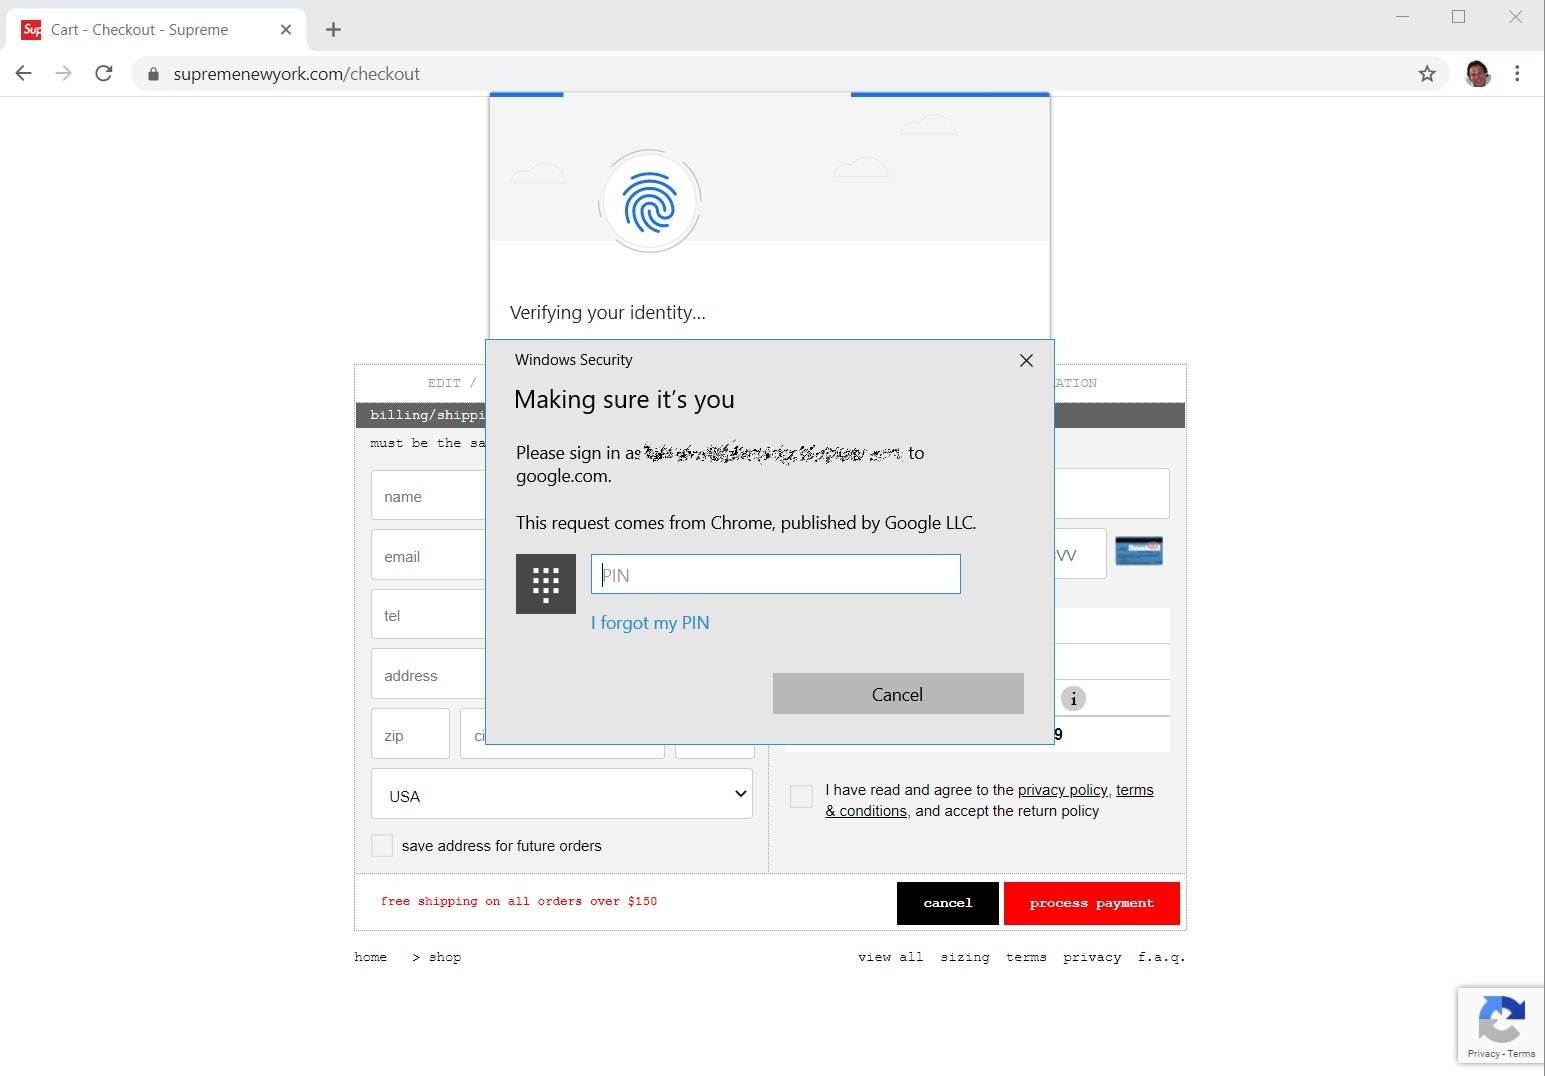
You can use your fingerprint, facial recognition, or PINs to make credit card payments without entering the CVC numbers. If you omit the Windows Hello prompt, you will be asked to enter CVC instead.
That's it.
Articles of interest
- Enable Profile Picker in Google Chrome
- Enable Tab Groups Collapse in Google Chrome
- Enable WebUI Tab Strip In Google Chrome
- Enable Shared Clipboard In Google Chrome
- Enable Tab Freezing in Google Chrome
- Enable QR Code Generator For Page URL in Google Chrome
- Enable DNS over HTTPS in Chrome (DoH)
- Enable Tab Thumbnail Previews in Google Chrome
- Disable Tab Hover Cards Previews in Google Chrome
- Create Google Chrome Incognito Mode Shortcut
- Force Enable Guest Mode in Google Chrome
- Start Google Chrome Always in Guest Mode
- Enable Color and Theme for New Tab Page in Google Chrome
- Enable Global Media Controls in Google Chrome
- Enable Dark Mode for Any Site In Google Chrome
- Enable Volume Control and Media Key Handling in Google Chrome
- Enable Reader Mode Distill page in Google Chrome
- Remove Individual Autocomplete Suggestions in Google Chrome
- Turn On or Off Query in Omnibox in Google Chrome
- Change New Tab Button Position in Google Chrome
- Disable New Rounded UI in Chrome 69
- Enable Native Titlebar in Google Chrome in Windows 10
- Enable Picture-in-Picture mode in Google Chrome
- Enable Material Design Refresh in Google Chrome
- Enable Emoji Picker in Google Chrome 68 and above
- Enable Lazy Loading in Google Chrome
- Permanently Mute Site in Google Chrome
- Customize New Tab Page in Google Chrome
- Disable Not Secure Badge for HTTP Web Sites in Google Chrome
- Make Google Chrome Show HTTP and WWW parts of URL
Credits go to BleepingComputer.
Support us
Winaero greatly relies on your support. You can help the site keep bringing you interesting and useful content and software by using these options:
