How to Change Sound Audio Balance for Left and Right Channels in Windows 10
In modern versions of Windows, the audio balance control is hidden behind the several levels of options deep inside the Sound Control Panel and Settings. In this blog post, we will review various methods you can use to adjust it.
Advertisеment
The balance control is useful if an audio is playing unbalanced in the left and right audio channels of your playback output device. This usually gives unpleasant experience, especially if you are using headphones. Some apps may allow adjusting the sound balance, but many of them don't include the appropriate option. In this case, you may need to manually adjust the left and right audio channel balance level.
In this post, we will review two methods that you can use to change the sound balance for the left and right audio channels. One of them involves the classic Control Panel app, and the other one is the use of the Settings app.
To Change Sound Audio Balance for Left and Right Channels in Windows 10,
- Open the Settings app.
- Go to System > Sound.
- On the right, select the output device from the Choose your output device drop-down for which you want to adjust the channel balance.
- Click on the Device properties link.
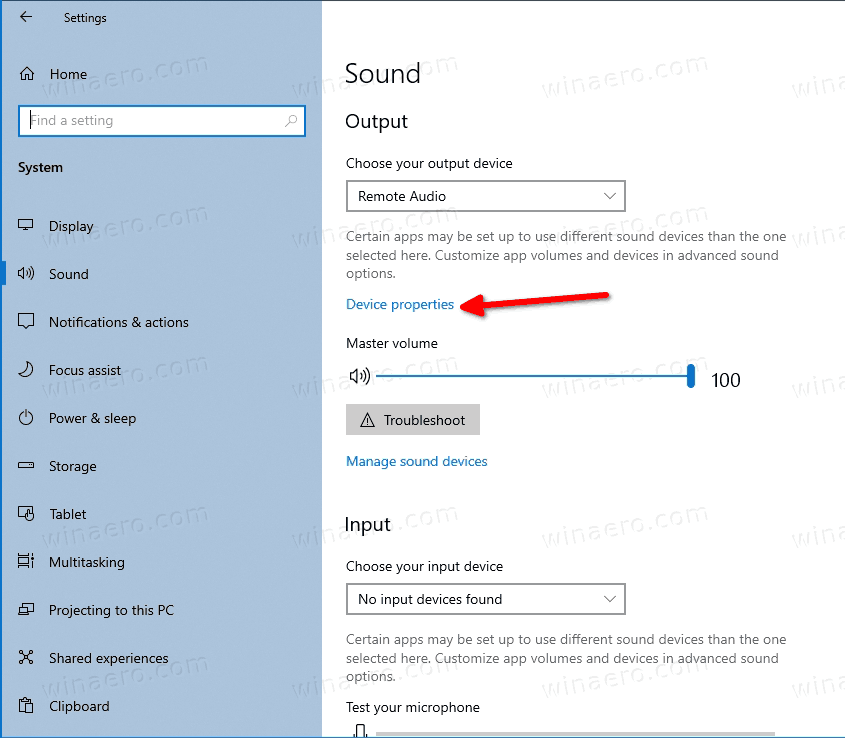
- On the next page, adjust the Left and Right audio balance level options for what you want.
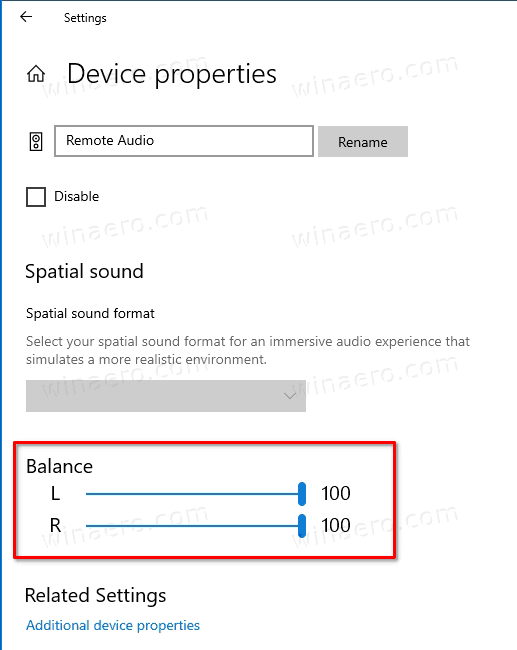
You are done. Now you can close the Settings app.
Alternatively, it is possible to use the classic Sound applet of the Control Panel.
- Open the classic Sound options. You can right-click on the sound icon in the taskbar, and select Sounds from the menu.
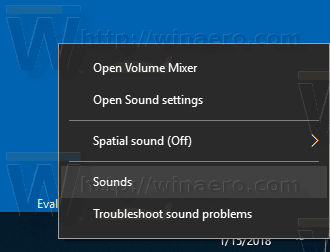
- Switch to the Playback tab.
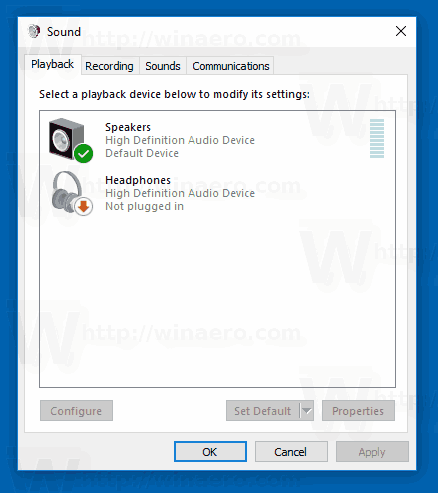
- Find your audio output devices in the list and double-click on it.
- In the device properties dialog, switch to the Levels tab.
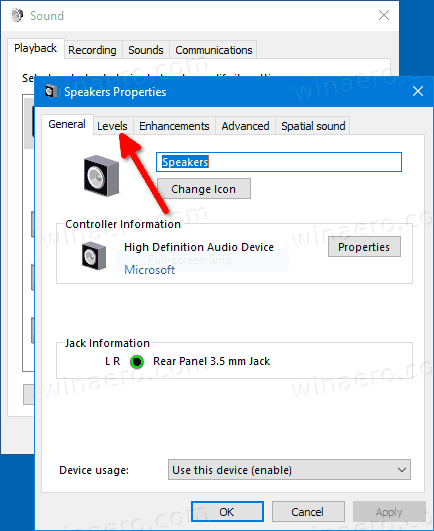
- There, click on the Balance button.
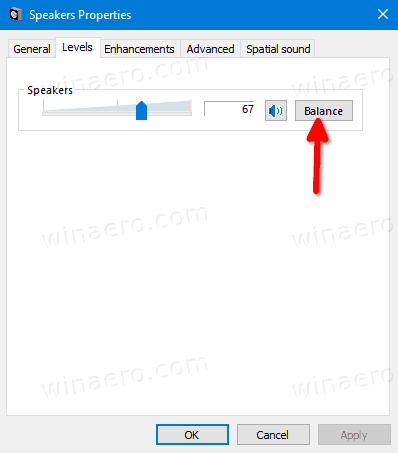
- In the Balance dialog, adjust the Left and Right audio channel balance level, and click OK.

- You can now close all other Control Panel windows.
Finally, here is a bonus tip. You can save your time, and try my SimpleSndVol app. Here is how it looks.
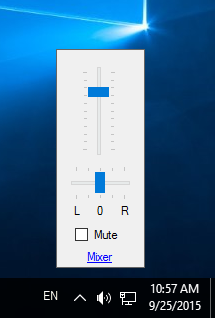
SimpleSndVol is one of the older tools at Winaero. It provides fast access to control your main volume as well as the left and right speaker balance. The above dialog opens with a click on its tray icon. The app can be downloaded here:
Some info about this app can be found here.
Support us
Winaero greatly relies on your support. You can help the site keep bringing you interesting and useful content and software by using these options:

This is still an awesome and useful tool compared to the Windows 10 volume flyout. Can you add microphone level adjustment slider and mute toggle for it too?
Okay.
It doesn’t work at all. Both cursors move together when moving only one of them
Really? You expect user to make 20 clicks? There should be some app already to quickly change the balance without the struggle.
It is called SimpleSndVol
HEllo, Please help me here. I tried these steps, but once i drag left bar, right bar also moves parallel to it. Please Help me with it