Starting with Windows 10 build 14997, Windows 10 allows you to pause updates. A special option was added to the Windows Update page of the Settings app. Once enabled, updates will be paused for 35 days. If you are a system administrator or have another reason to restrict access to this feature, you can use a new option starting with Windows 10 version 1809.
Advertisеment
Starting in Windows 10 'October 2018 Update', Microsoft has added a new Group Policy option to enable or disable the Pause Updates feature in the Settings app. The Pause Updates option can be found in Settings under Update & security\Windows Update. To access it, click on the link Advanced settings. You will see the appropriate option on the next page.
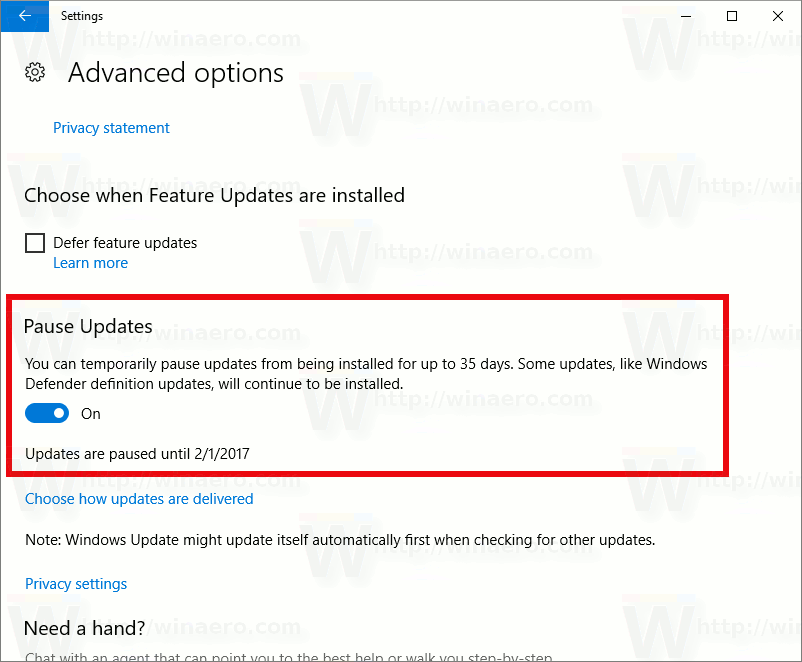
When the option is enabled, updates will be paused for 35 days. If you are a Windows Insider, and your PC is configured to receive pre-release builds of the OS, then updates will be paused for 7 days only. Also, some important updates like definitions for Windows Defender will continue to be downloaded and installed regardless of the state of the Pause Updates option.
To restrict access to the Pause Updates feature in Windows 10, do the following.
- Open the Registry Editor app.
- Go to the following Registry key.
HKEY_LOCAL_MACHINE\SOFTWARE\Policies\Microsoft\Windows\WindowsUpdate
See how to go to a Registry key with one click. Create this Registry key manually if you don't have it.
- On the right, create a new 32-bit DWORD value SetDisablePauseUXAccess. Note: Even if you are running 64-bit Windows you must still create a 32-bit DWORD value.
- To disable the Pause Updates feature, set its value data to 1.

- To make the changes done by the Registry tweak take effect, you need to restart Windows 10.
To save your time, you can download the following ready-to-use Registry files.
The undo tweak is included.
Using Local Group Policy Editor
If you are running Windows 10 Pro, Enterprise, or Education edition, you can use the Local Group Policy Editor app to configure the options mentioned above with a GUI.
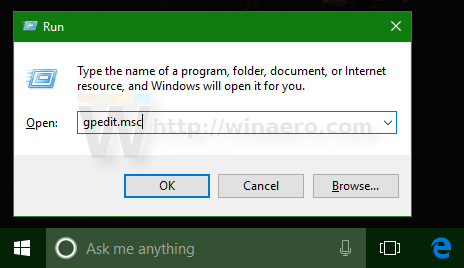
- Press Win + R keys together on your keyboard and type:
gpedit.msc
Press Enter.
- Group Policy Editor will open. Go to Computer Configuration\Administrative Templates\Windows Components\Windows Update. Enable the policy option Remove access to "Pause updates" feature, as shown below.

That's it.
Related articles:
Pause Windows Updates in Windows 10 Creators Update
Support us
Winaero greatly relies on your support. You can help the site keep bringing you interesting and useful content and software by using these options:

OT:
to stop updates and update warnings, in Win10 1803, you have to disable also:
-Windows Update Medic Service
-Update Orchestrator Service.
You you don’t disable them, you will get a message in systray by “MusNotifyIcon.exe”.
So please, Sergey, update your tweaker by introducing this 2 tweaks.
Thanks!
I will do.
Great!