Windows 10, Windows 8.1 and Windows 8 come with Client Hyper-V so you can run a supported guest operating system inside a Virtual Machine. Hyper-V is Microsoft's native hypervisor for Windows. It was originally developed for Windows Server 2008 and then ported to Windows client OS. It has improved over time and is present in the latest Windows 10 release as well. In this article, we will see how to disable the floppy drive in a Hyper-V virtual machine if you find no use for it.
Advertisеment
Note: Only Windows 10 Pro, Enterprise, and Education editions include the Hyper-V virtualization technology.
What is Hyper-V
Hyper-V is Microsoft's very own virtualization solution that allows creating virtual machines on x86-64 systems running Windows. Hyper-V was first released alongside Windows Server 2008, and has been available without additional charge since Windows Server 2012 and Windows 8. Windows 8 was the first Windows client operating system to include hardware virtualization support natively. With Windows 8.1, Hyper-V has got a number of enhancements such as Enhanced Session Mode, enabling high fidelity graphics for connections to VMs using the RDP protocol, and USB redirection which is enabled from the host to VMs. Windows 10 brings further enhancements to the native hypervisor offering, including:
- Hot add and remove for memory and network adapters.
- Windows PowerShell Direct – the ability to run commands inside a virtual machine from the host operating system.
- Linux secure boot - Ubuntu 14.04 and later, and SUSE Linux Enterprise Server 12 OS offerings running on generation 2 virtual machines are now able to boot with the secure boot option enabled.
- Hyper-V Manager Down-level management - Hyper-V manager can manage computers running Hyper-V on Windows Server 2012, Windows Server 2012 R2 and Windows 8.1.
To remove the default floppy drive in a Hyper-V virtual machine running a Windows guest OS, you need to apply a Registry tweak to the guest operating system.
Remove Floppy Disk Drive in Windows Hyper-V Virtual Machine
- Start your virtual machine.
- Open the Registry Editor app.
- Go to the following Registry key.
HKEY_LOCAL_MACHINE\SYSTEM\CurrentControlSet\Services\flpydisk
See how to go to a Registry key with one click.
- On the right, modify or create a new 32-Bit DWORD value Start.
Note: Even if you are running 64-bit Windows you must still create a 32-bit DWORD value.
Set its value to 4 in decimal.
- Restart your guest Windows OS.
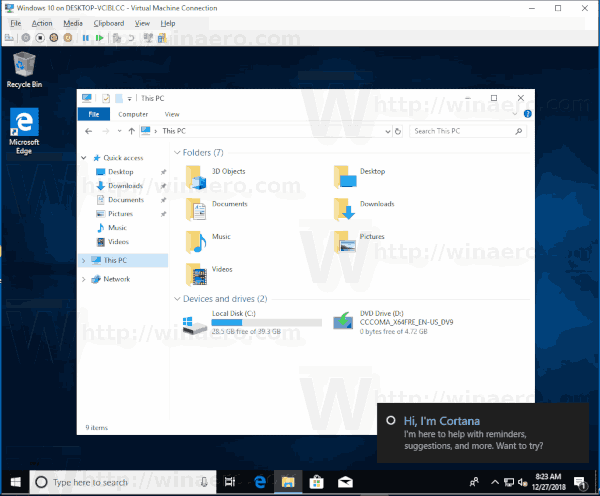
The result will be as follows.
To undo the change, set the mentioned Start value to 3 and restart the VM.
That's it.
Related articles:
- Change DPI of Hyper-V Virtual Machine (Display Scaling Zoom Level)
- Create Shortcut for Hyper-V Virtual Machine in Windows 10
- Enable or Disable Hyper-V Enhanced Session in Windows 10
- How to Enable and Use Hyper-V in Windows 10
- Create Ubuntu Virtual Machines with Hyper-V Quick Create
Support us
Winaero greatly relies on your support. You can help the site keep bringing you interesting and useful content and software by using these options:
