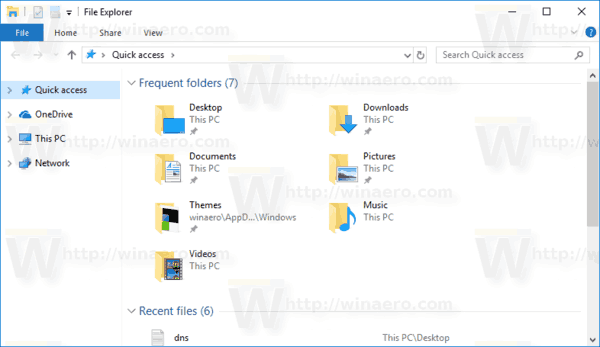
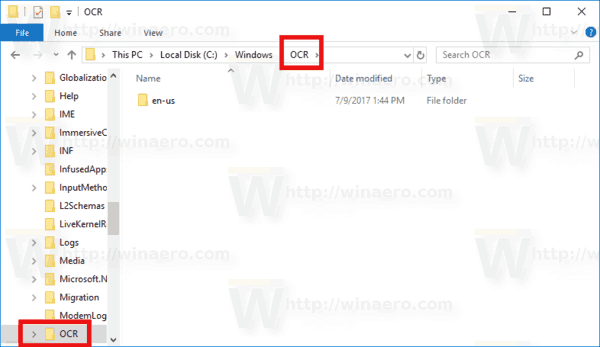
The Navigation pane is a special area on the left side of File Explorer which shows folders and system places like This PC, Network, Libraries and so on. In this article, we will see how to tweak its behavior and make it show more folders on the left including all the folders on the Desktop.
The user is not allowed to customize the Navigation Pane because the user interface lacks the required options, but this is possible with a hack. See this article:
Advertisеment
Add custom folders or Control Panel applets to Navigation Pane in File Explorer
By default, the Navigation pane shows only a few folders. However, you can tweak its behavior and make it show the whole navigation tree, like in older versions of Windows before Windows 7.
To make the navigation pane show all folders in Windows 10, do the following.
- Open This PC in File Explorer.
- Enable the navigation pane if required.
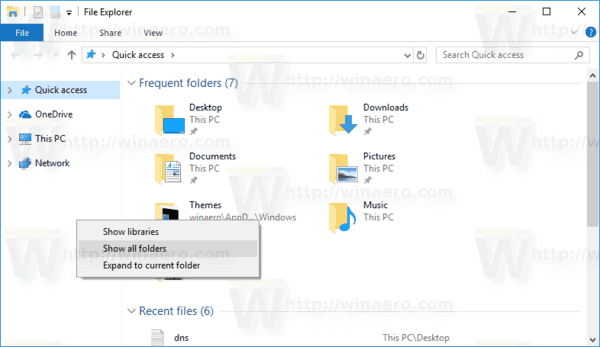
- Right click the empty space on the left to open the context menu.
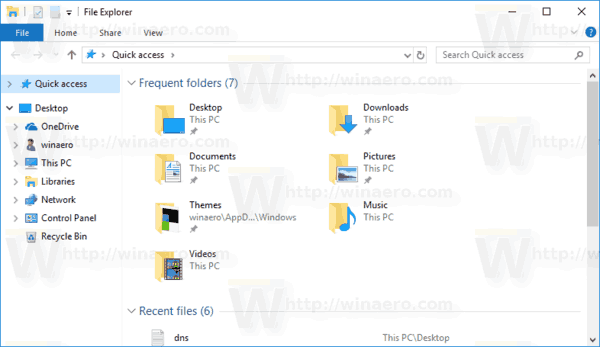
- Enable the option Show all folders. This will enable the complete folder tree on the left. See the following screenshot.
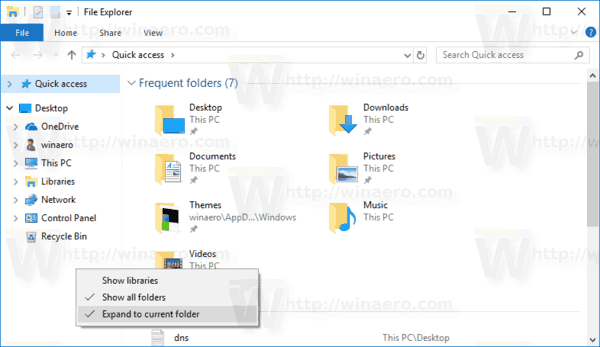
- There in the context menu, you can also turn on the option Expand to current folder to make the navigation pane automatically expand to the currently opened folder in the right pane by default. This can be very useful in the full tree mode.
There are two alternative methods to enable the options mentioned above.
Instead of the context menu, you can use the Ribbon user interface. Go to the View tab of the Ribbon. In the menu of the "Navigation pane" button, you'll find the commands "Show all folders" and "Expand to open folder" as shown below.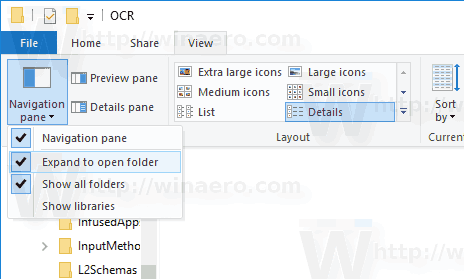
Alternatively, the same options can be enabled via the File Explorer options dialog. The File Explorer Options command is on the View tab of the Ribbon.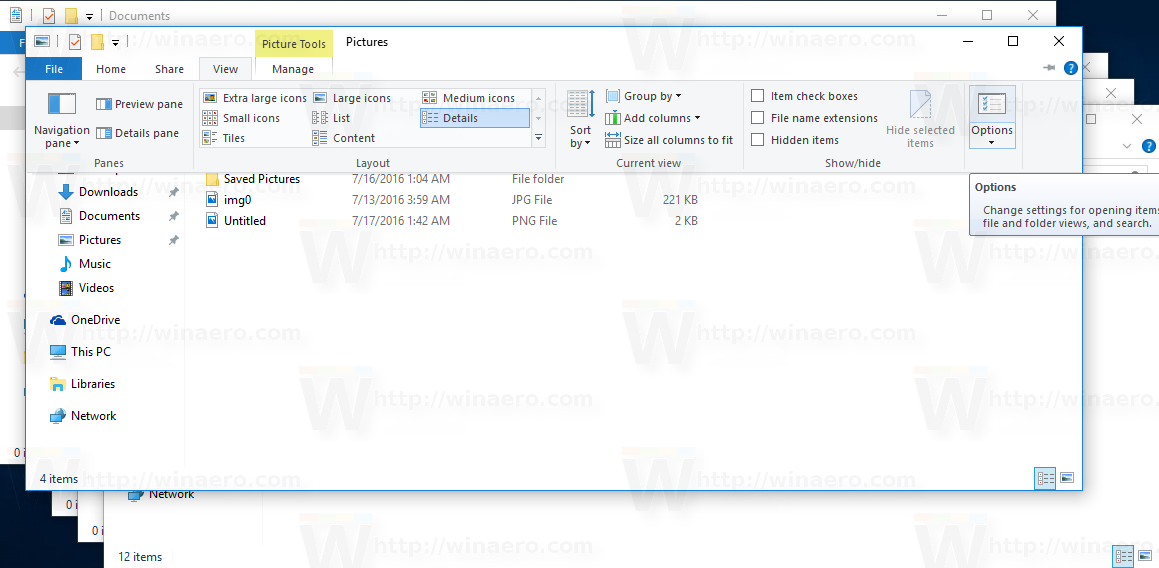 If you disabled the Ribbon, press Alt+T on your keyboard to open the Tools menu and then open File Explorer Options.
On the View tab of the window, you will find the appropriate check boxes. See the following screenshot.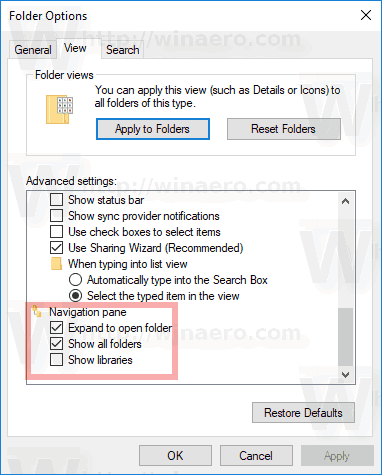
Both options mentioned above can be enabled or disabled with a simple Registry tweak. Here is how it can be done.
- Open the Registry Editor app.
- Go to the following Registry key.
HKEY_CURRENT_USER\SOFTWARE\Microsoft\Windows\CurrentVersion\Explorer\Advanced
See how to go to a Registry key with one click.
- On the right, modify or create a new 32-Bit DWORD value "NavPaneShowAllFolders". Set it to 1 to enable the "Show all folders" option. Set it to 0 to disable it.Note: Even if you are running 64-bit Windows you must still create a 32-bit DWORD value.
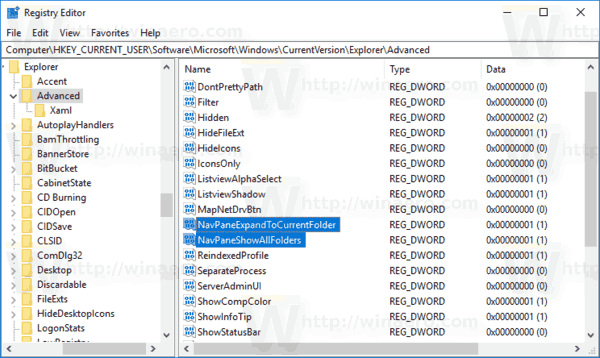
- To make Explorer automatically expand to the currently opened folder, create or modify the "NavPaneExpandToCurrentFolder" 32-bit DWORD value and set it to 1. A value data of 0 will disable the feature.
- To make the changes done by the Registry tweak take effect, you need to sign out and sign in to your user account.
That's it.
Support us
Winaero greatly relies on your support. You can help the site keep bringing you interesting and useful content and software by using these options:
