If your build 25120 lacks the new feature, you can easily enable the desktop search bar in Windows 11 manually. Microsoft is testing it with a small limited number of users. So the chances that you won't have it are high.
Advertisеment
Starting in build 25120.1000, Microsoft has added a new experimental feature to Windows 11. It is a desktop search box. Microsoft says they want to bring lightweight interactive objects, similar what widgets offer, but to the Desktop.
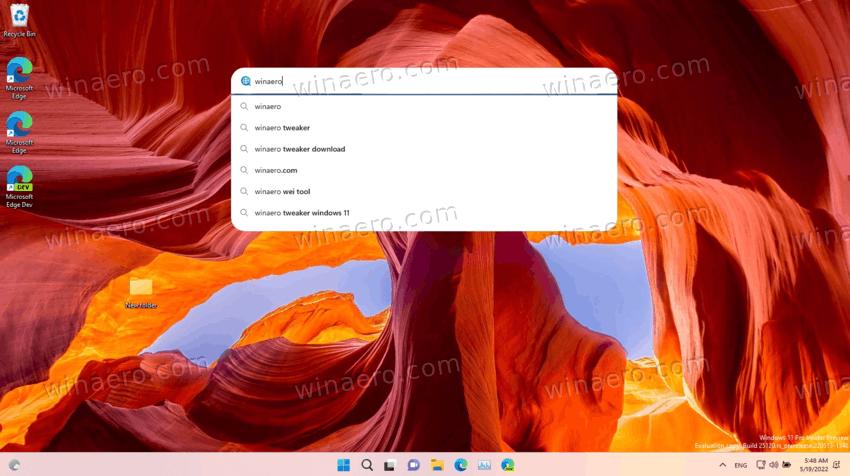
The Desktop search box is the first such object. It appears on the Desktop, outside of the Widgets panel. As you could guess, it is supercharged by Bing.
As long as you type a search term in the search box, it will query Bing for possible suggestions and display when in the drop-down list. This behavior resembles the search in the browser, on both Bing and Edge new tab page.
Traditionally for Microsoft, searches open in Edge, with search results listed in a new tab with Bing. There is no option to change the search engine or web browser. Perhaps we won't see them even if this experimental feature reaches the stable version of Windows 11 (any of them).
So, if your Dev channel installation lacks the desktop search bar, but you want to give it a try, you need to enable it manually. In such cases, we always use ViveTool to active hidden options of the OS, e.g. to enable tabs in File Explorer. Today is not an exception. To enable the search box, do the following.
Enable Desktop Search Bar in Windows 11
- Download the latest version of ViveTool from its home on GitHub.
- Extract the downloaded ZIP archive to some convenient location, such as c:\ViveTool.
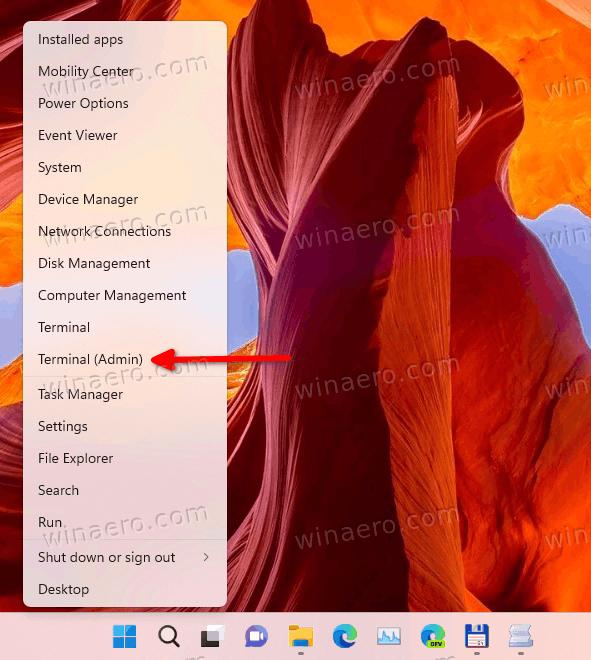
- Press Win + X and select Terminal (Admin) to open it elevated, e.g. with high privileges.
- Now, type the following command
c:\vivetool\vivetool addconfig 37969115 2. Change the path to the vivetool.exe binary if required.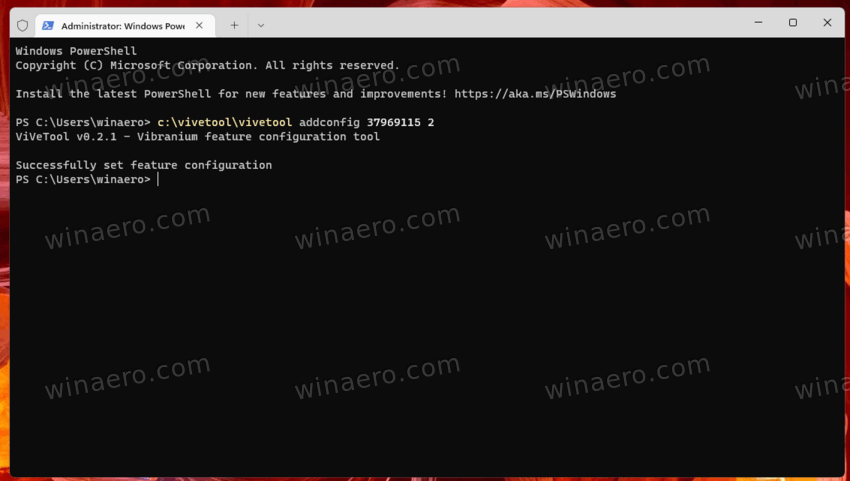
- Finally, restart Windows 11.
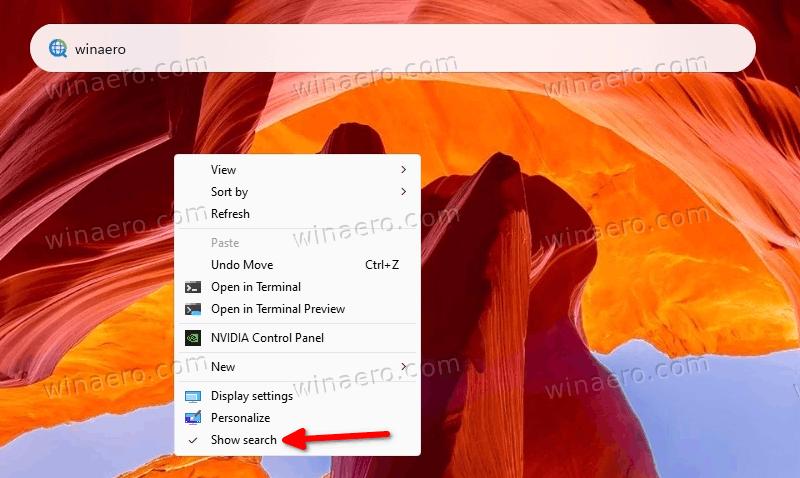
- Now, right-click anywhere on the desktop and select Show more options.
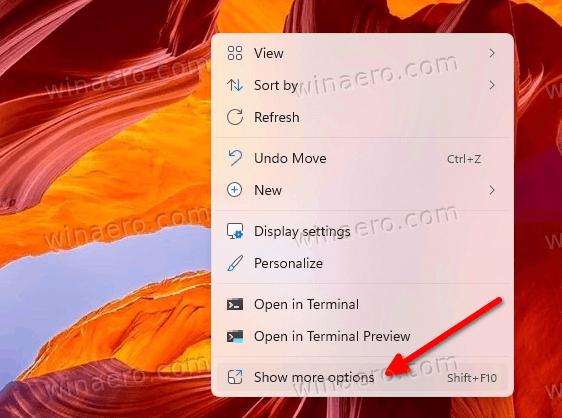
- Select Show search to make it have a checkmark. If it already have a checkmark but the box isn't visible, uncheck and check it.
Now you have the search box on desktop in Windows 11.
To undo the change, you need to run another command.
Disable the search box
- Right-click the Start button and select Terminal (Admin) from the menu.
- Type the following command in either PowerShell or Command Prompt tab:
c:\vivetool\vivetool delconfig 37969115 2. - Restart Windows 11.
The search box on desktop will disappear.
Everything above has been tested on Windows 11 build 25120. The instruction may stop working in any forthcoming version of the OS. There is guarantee that it will find its path into production. But if that happens, there will be no need to play with ViveTool.
That's all about how to enable the search box on desktop in Windows 11.
Support us
Winaero greatly relies on your support. You can help the site keep bringing you interesting and useful content and software by using these options:

wow…i finally got it to work..ty
still not working on 22621
no longer works
have u found a way to unblock this
the code is missing now