This article will show you how to change Power Plan in Windows 11. Modern computers (this also applies to devices running Windows 10, 8, and 7, for that matter) can work with different power plans to provide the optimal balance between power consumption and performance levels. Besides managing how your computer sips the juice from its battery, power plans can change other features, for example, what happens when you close the laptop lid.
Advertisеment
In Windows 11, you can pick one of the following power options:
- Balanced Plan: the default option with optimized power consumption to performance ratio.
- Power Saver Plan: switch to this one if you want maximum battery life.
- High-Performance Plan: switch to this mode if the power consumption does not matter.
- Ultimate Performance Plan: this power plan is available on high-end, crazy-powerful computers with the Windows 11 Pro for Workstation SKU. Ultimate Performance Plan is based on High-Performance Plan but uses additional optimizations to reduce micro-latencies and other techniques to squeeze every drop of performance in your hardware.
- Custom Plans: chipset drivers for your motherboard or additional software from the laptop manufacturer might add more options with hardware-specific optimizations. Most of the time, selecting a vendor optimized plan is the best option for optimal performance.
It is also worth mentioning that you can export and import power plans to share them between devices for extra convenience. Learn how to import/export power plans here.
Change the power plan in Windows 11
You can change the power plan in Windows 11 using two methods: through the classic Control Panel and Windows Terminal. In Windows Terminal, you have to run the powercfg tool to switch between the available power schemes. Here we go.
Change Power Plan in Windows 11 with Control Panel
- Press Win + R and enter the
controlcommand in the Run box. You can also use other methods to open the Control Panel.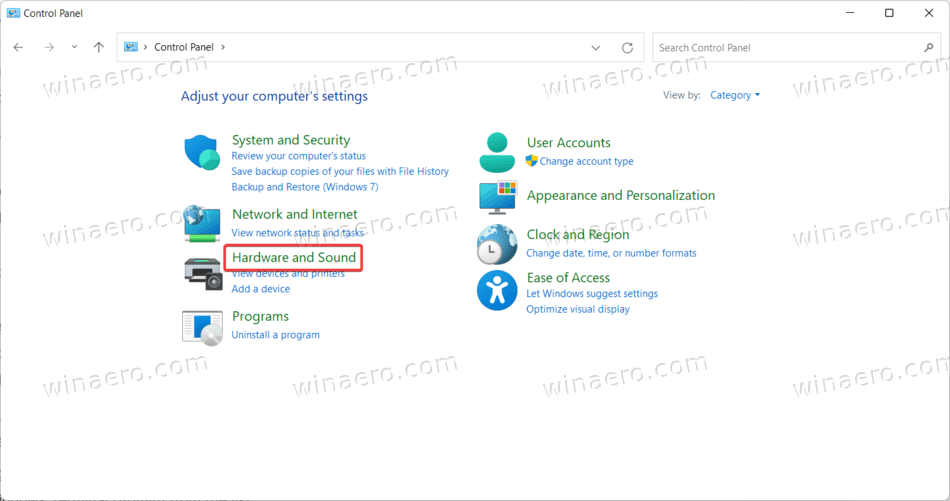
- If you use the Category view, go to Hardware and Sound > Power Options.
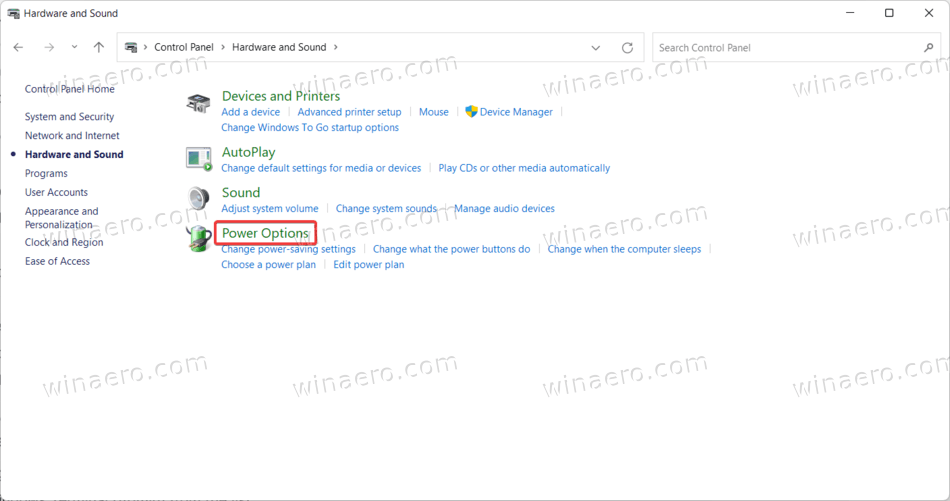
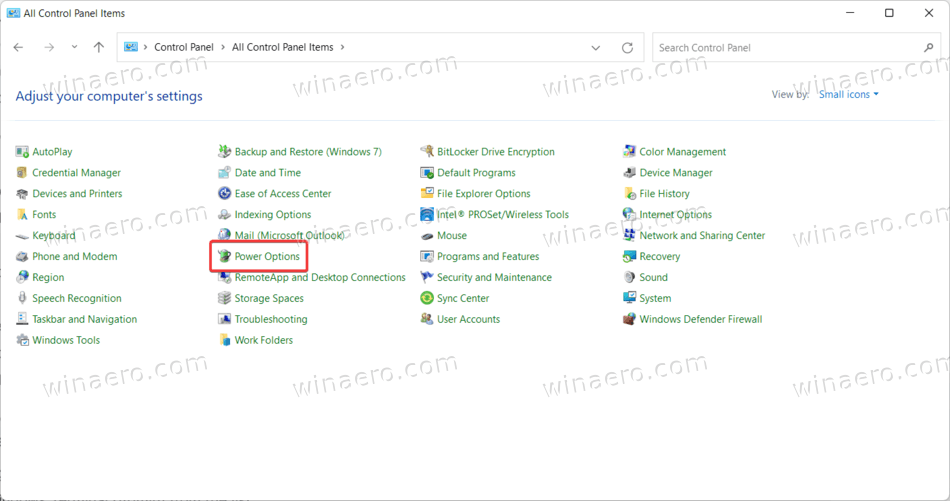
- If you use the Large icons or Small icons view, click Power Options.
Select one of the available plans in the Preferred plans section. Note that Windows 11 hides some of the plans in the Show additional plans section.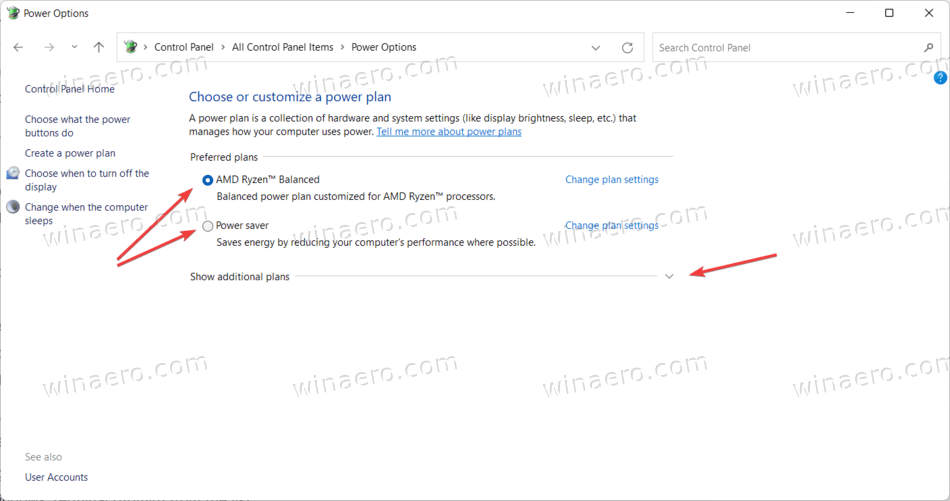 You are done.
Now, let's see how to do the same in Windows Terminal using the powercfg app.
Using Windows Terminal
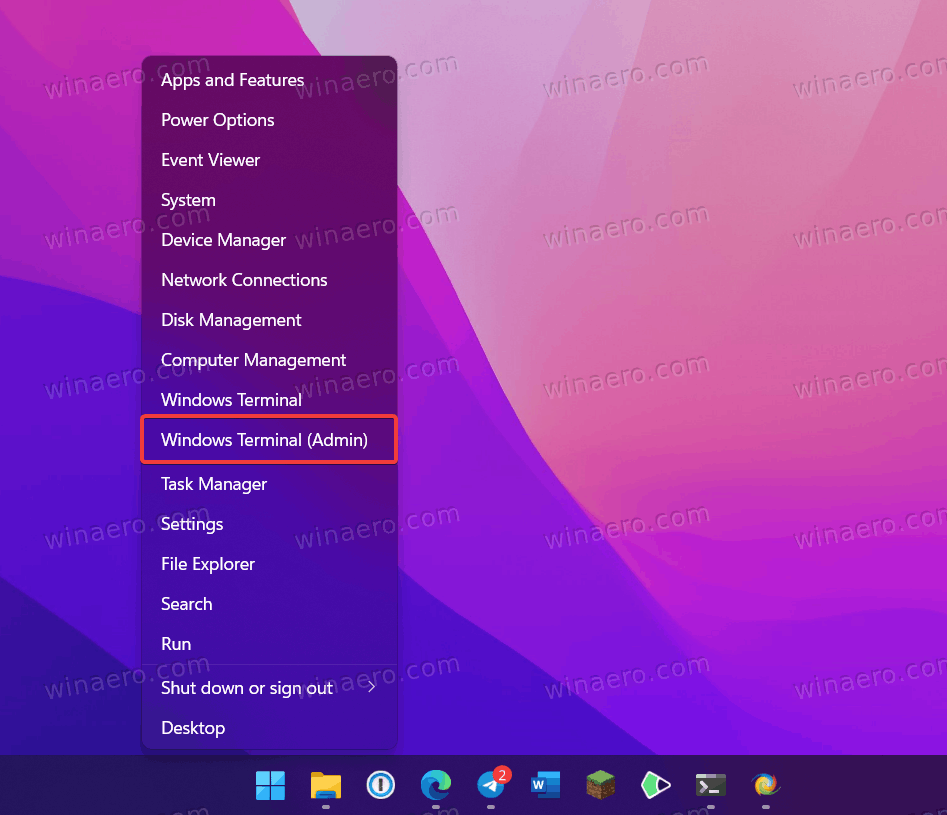
- Right-click the Start menu button or press Win + X. Launch Windows Terminal (Admin) from the menu.
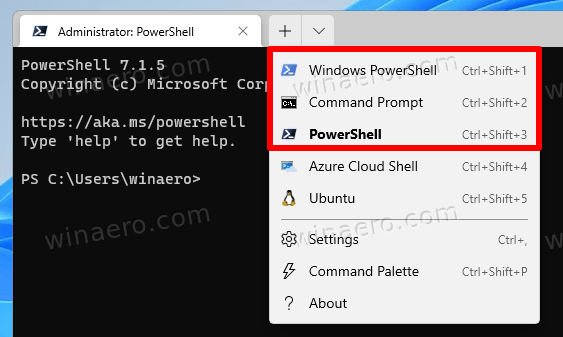
- If required, switch it to either PowerShell or Command Prompt profile - both will do.
- Enter the following command:
powercfg /list. That command will show you all available plans on your computer. Tip: the asterisk (*) indicates your current power plan in Windows 11.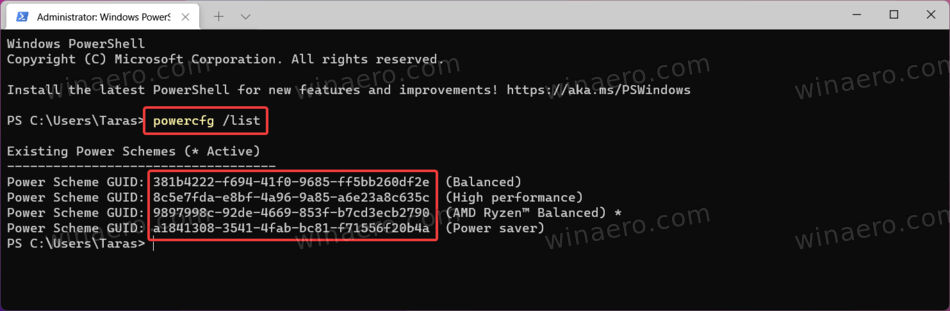
- Copy the GUID value for the plan you want to enable, for example,
381b4222-f694-41f0-9685-ff5bb260df2e. - Enter the
powercfg /setactive GUIDcommand. Replace GUID with the value for the power you want to activate. E.g. the command enables the Power Saver plan in Windows 11:powercfg /setactive a1841308-3541-4fab-bc81-f71556f20b4a.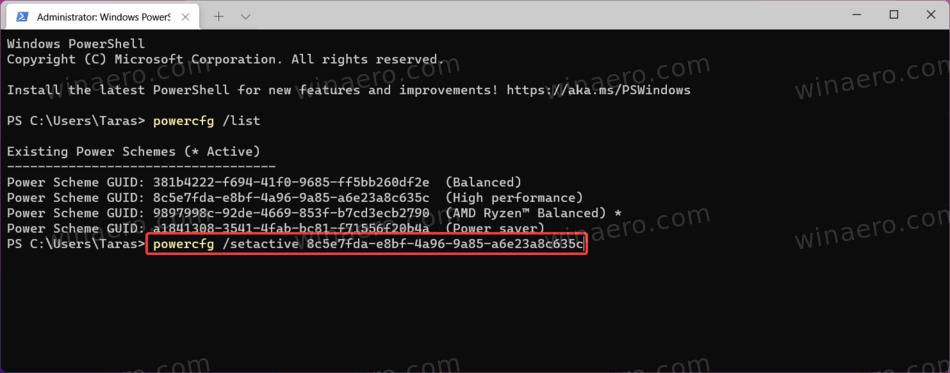
You are done. The next list contains commands you can use to switch the power plan.
Commands to activate the built-in Power Schemes
- Power Saver:
powercfg.exe /setactive a1841308-3541-4fab-bc81-f71556f20b4a - Balanced:
powercfg.exe /setactive 381b4222-f694-41f0-9685-ff5bb260df2e. - High Performance:
powercfg.exe /setactive 8c5e7fda-e8bf-4a96-9a85-a6e23a8c635c - Ultimate Performance:
powercfg.exe /setactive e9a42b02-d5df-448d-aa00-03f14749eb61
Using the above commands, you can create a useful context menu and switch between power plans much faster!
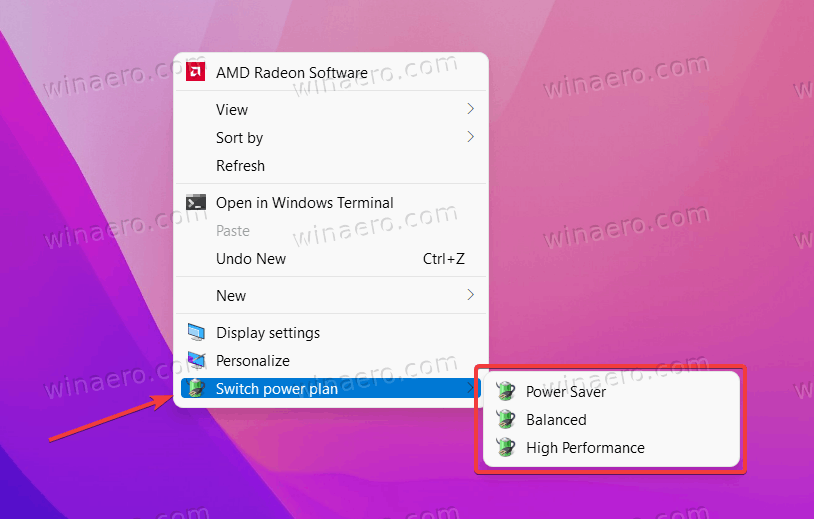
If you frequently switch power plans in Windows 11, navigating to the Contol Panel or using long commands in Windows Terminal might become a tedious chore. To make your life easier, add a power plan switcher to the context menu. It will allow you to change the power plan in Windows 11 with just a couple of clicks. To do that, download Winaero Tweaker and tick a single checkmark inside the app.
To add the Switch Power Plan context menu in Windows 11, do the following.
- Download Winaero Tweaker using this link and install it.
- Launch Winaero Tweaker and navigate to Context Menu > Switch Power Plan.
- Place a checkmark next to Add Switch Power Plan to context menu on Desktop.

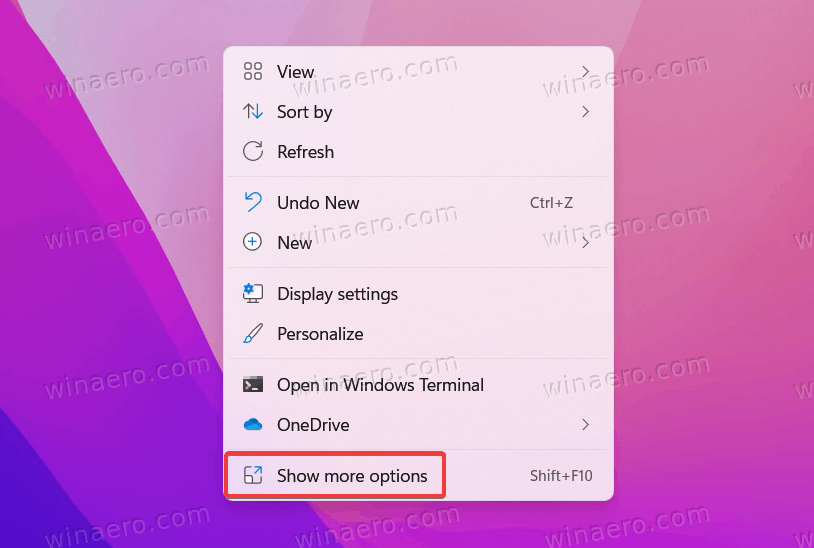
- Right-click anywhere on the Desktop and select Show More Options.
- Pick a power plan from the context menu and you are good to go.
If you don't want to use Winaero Tweaker, we have here a set of ready-to-use Registry files that do the same.
Ready-to-use REG files
Download the registry files using this link and extract two REG files to any folder of your choice. Now, double-click the file Switch Power Plan Desktop context menu.reg and confirm the UAC request.
The undo tweak is also available, so you can remove the menu at any moment later.
That is how you change the power plan in Windows 11.
Support us
Winaero greatly relies on your support. You can help the site keep bringing you interesting and useful content and software by using these options:
