How to Disable Recent Files Dropdown List in File Dialog in Windows 10
The common 'open file dialog' is one of the classic controls available in Windows 10. It implements Open, Save, Import, and Export dialog boxes for plenty of apps, including built-in apps like Regedit.exe, and for a number of third-party apps.
Advertisеment
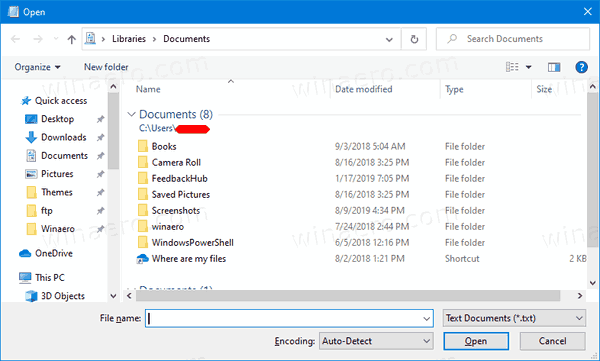
Starting in Windows Vista, Microsoft has implemented a new version of the Open/Save dialog, along with a modern folder browser dialog. See the screenshot.
However, there are plenty of apps, both old and modern, which utilize the classic dialog. Even the built-in Registry editor is using it.
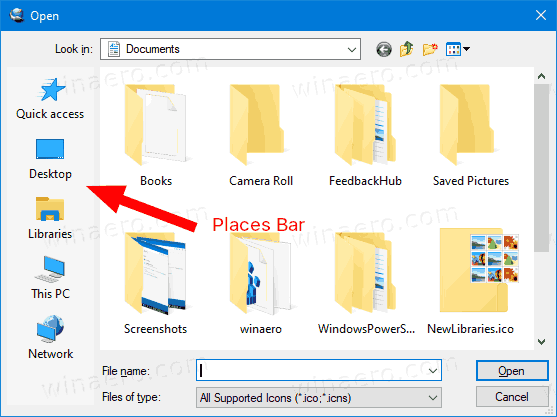
The classic Common File Dialog includes a Places bar on the left that allows quickly accessing the locations like Desktop, Quick Access, Libraries, This PC etc. If you worked with Windows XP, you must be familiar with such dialog boxes.
By default, the File name box in the common open/save file dialog includes a drop-down list that contains the recently used files. You can select a file from there for faster access when needed.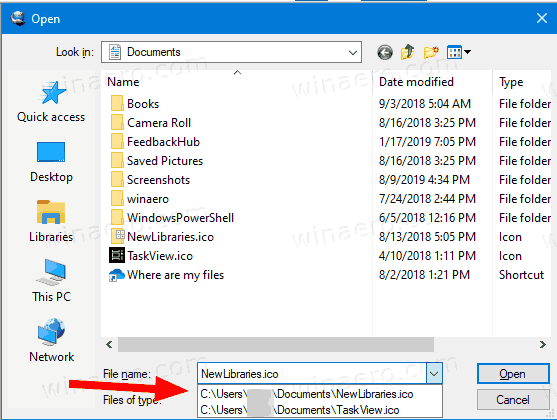
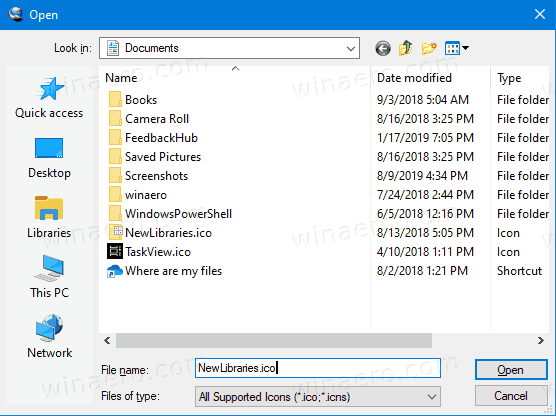
However, for privacy reason, e.g. if you share your PC with someone else, you may want to disable that drop-down list, so the dialog box won't expose the files you have opened earlier.
This can be done with either Registry tweak or Group Policy.
To Disable Recent Files Dropdown List in File Dialog in Windows 10,
- Open Registry Editor.
- Go to the following Registry key:
HKEY_CURRENT_USER\Software\Microsoft\Windows\CurrentVersion\Policies\comdlg32.
Tip: See how to jump to the desired Registry key with one click. If you do not have such a key, then just create it. - Here, create a new 32-bit DWORD value NoFileMru. Note: Even if you are running 64-bit Windows, you still need to use a 32-bit DWORD as the value type.
- Set its value data to 1 to disable the recent files drop-down list.

- To make the changes done by the Registry tweak take effect, you need to sign out and sign in again to your user account.
You are done!
Note: To undo the change, remove the NoFileMru value, then sign out and sign in again to your user account in Windows 10.
If you are running Windows 10 Pro, Enterprise, or Education edition, you can use the Local Group Policy Editor app to configure the options mentioned above with a GUI.
Disable Recent Files Dropdown List in File Dialog using Group Policy
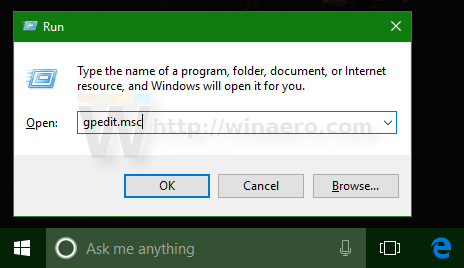
- Press Win + R keys together on your keyboard and type:
gpedit.msc
Press Enter.
- In Group Policy Editor, go to User Configuration > Administrative Templates > Windows Components > File Explorer > Common Open File Dialog.
- Enable the policy option Hide the dropdown list of recent files.
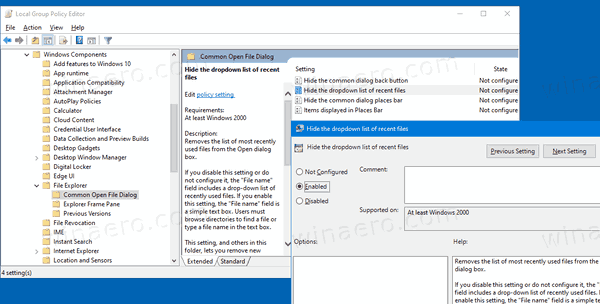
- Click Apply and OK.
You are done!
To undo the changes you made, just set the mentioned policy to Not configured.
That's it!
Support us
Winaero greatly relies on your support. You can help the site keep bringing you interesting and useful content and software by using these options:
