By default, Windows 10 assigns a barebones user avatar for every user account with a grey background and the user represented by white curves. The user can customize the account picture and change it to a different image. The operating system provides a special Group Policy option which forces the default user image for all user accounts and prevent users from changing their user avatar afterwards.
Advertisеment
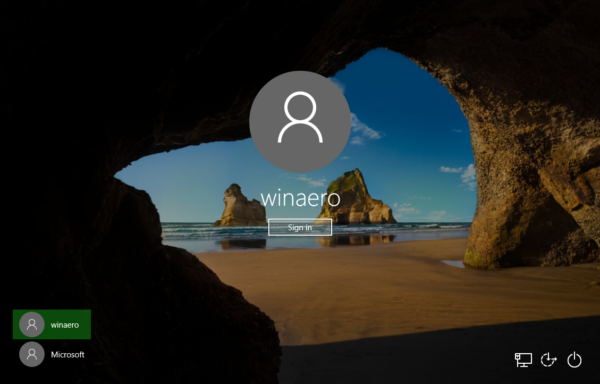
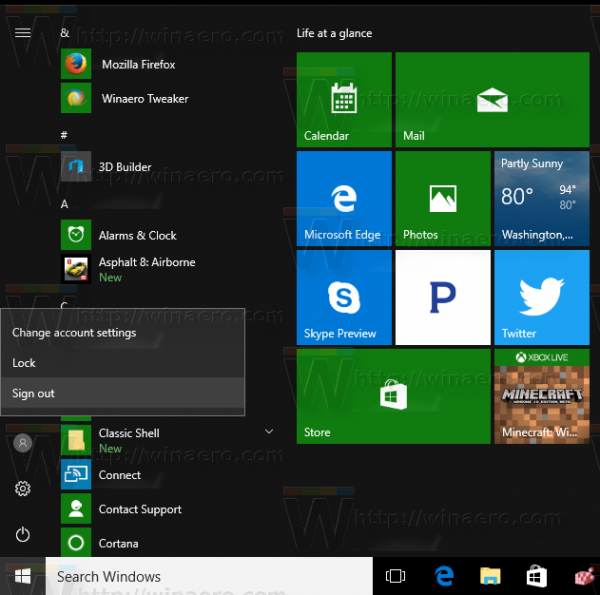
The user picture will be visible every time you sign in with your Windows 10 account. It is also visible in the Start menu as a tiny round thumbnail.
Instead of the default image, you can use your favorite wallpaper or your real photo. If your account is a Microsoft Account, the image you set will be uploaded to Microsoft's servers and used in all their cloud services like OneDrive, Office 365 and so on. By default, it will be synced across all your devices.
We have already covered how to change the user account picture in Windows 10 and how to restore the default image for your user account.
Recently, we have learned how to change the default user avatar to what you want in detail:
How to Replace Default User Account Picture in Windows 10
After the procedure described in the article above, the new image will be applied to ALL user accounts which use the default picture. For example, my user image was also replaced once I replaced the files. The customized user images will remain unchanged.
Today, we will see how to standardize the account pictures for all users on the PC and prevent users from changing their user avatar afterwards, so all the user accounts will use the default image. Ensure that you are signed in as Administrator before proceeding.
Apply the default user picture for all users in Windows 10
- Open Registry Editor.
- Go to the following Registry key:
HKEY_LOCAL_MACHINE\SOFTWARE\Microsoft\Windows\CurrentVersion\Policies\Explorer
If you do not have such a key, then just create it.
- Here, create a new 32-bit DWORD value UseDefaultTile. Note: Even if you are running 64-bit Windows, you still need to use a 32-bit DWORD as the value type.
Set it to 1 to disable the customized user avatars feature.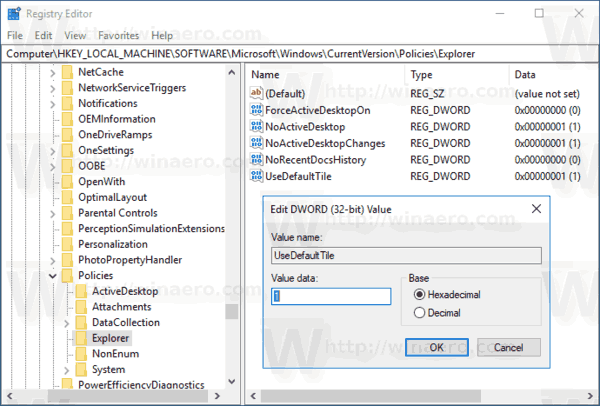
- To make the changes done by the Registry tweak take effect, you need to restart Windows 10.
Later, you can delete the UseDefaultTile value to restore the default behavior.
To save your time, I made ready-to-use Registry files. You can download them here:
If you are running Windows 10 Pro, Enterprise, or Education edition, you can use the Local Group Policy Editor app to configure the options mentioned above with a GUI.
Apply the default user picture using Local Group Policy Editor
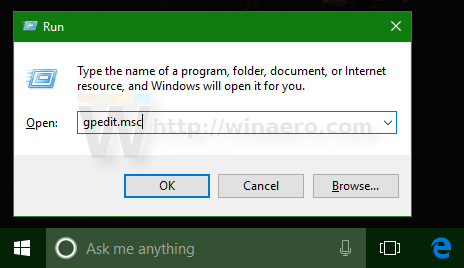
- Press Win + R keys together on your keyboard and type:
gpedit.msc
Press Enter.
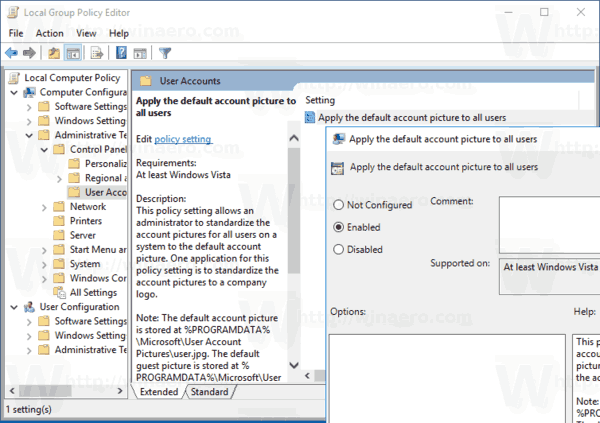
- Group Policy Editor will open. Go to Computer Configuration\Administrative Templates\Control Panel\User accounts. Enable the policy option Apply the default account picture to all users as shown below.
That's it.
Support us
Winaero greatly relies on your support. You can help the site keep bringing you interesting and useful content and software by using these options:

Existe alguma configuração a ser feita para escolher uma determinada imagem para os perfis?