To do a clean install of Windows 11, you need to create a bootable USB with Windows 11. Most modern PCs support loading the OS from a USB drive, and do not include an optical drive. There is nothing new in creating a bootable USB drive, but in case of Windows 11, you need to keep in mind its strict requirements.
Advertisеment
In case of Windows 11, Microsoft requires you to have UEFI, Secure Boot, and TPM 2.0 to successfully install the OS. Also, its comes with a large file install.wim that is bigger than 4GB.
Here is a limitation. UEFI requires you to have a FAT32 partition on the flash drive to boot from. However, FAT32 can't fit files larger than 4 GB in size. The solution here is to partition the USB drive and create two partitions. Usually I create one FAT32 partition to boot from, and one NTFS partition specially to store install.wim/install.esd.
How to Create Bootable USB with Windows 11
To create a Windows 11 bootable USB, you need to partition your USB drive. This will remove all its contents. After that, you need to copy installation files in a certain way. Let's review these steps.
1) Partition USB drive
- Connect your USB drive to your computer.
- Now, press Win + R keys to open the Run dialog, and type
diskpart.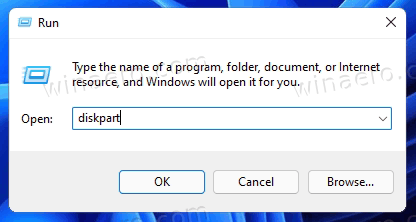
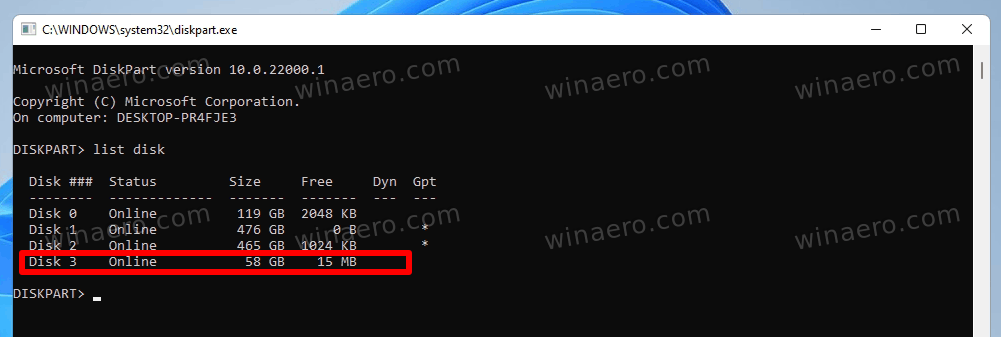
- In the DiskPart console, type
list disk. - Note the number that matches the USB stick drive in the listing. For example, mine is Disk 3.
- Enter the
select disk #command, where#is the number of your USB drive. In my case it isselect disk 3.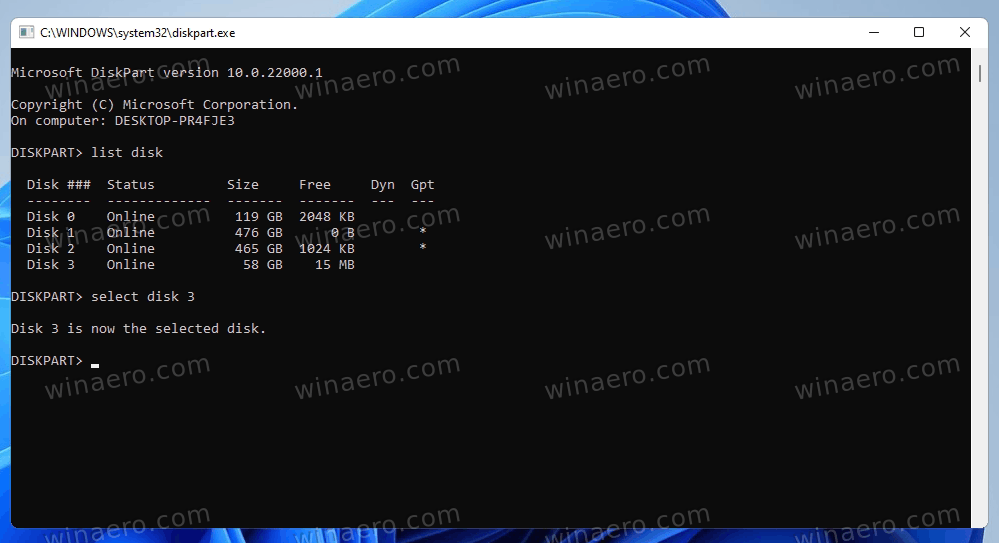
- Now, type
cleanto erase the drive contents and all existing partitions, and hit Enter.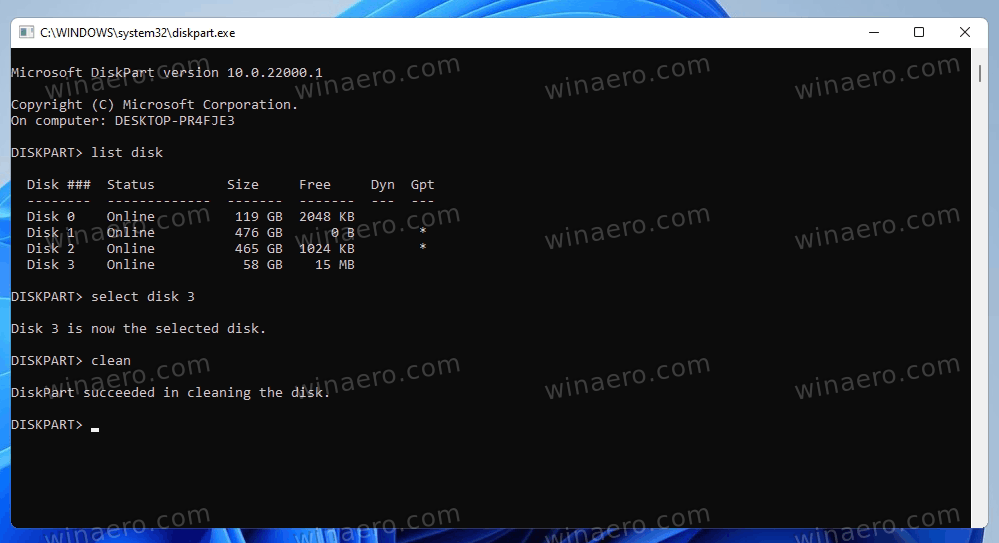
- Type
create partition primary size=1000to create a new partition of 1GB.
- After that, enter the
create partition primarywithout extra params to create yet another partition that will take the rest of the remaining drive space.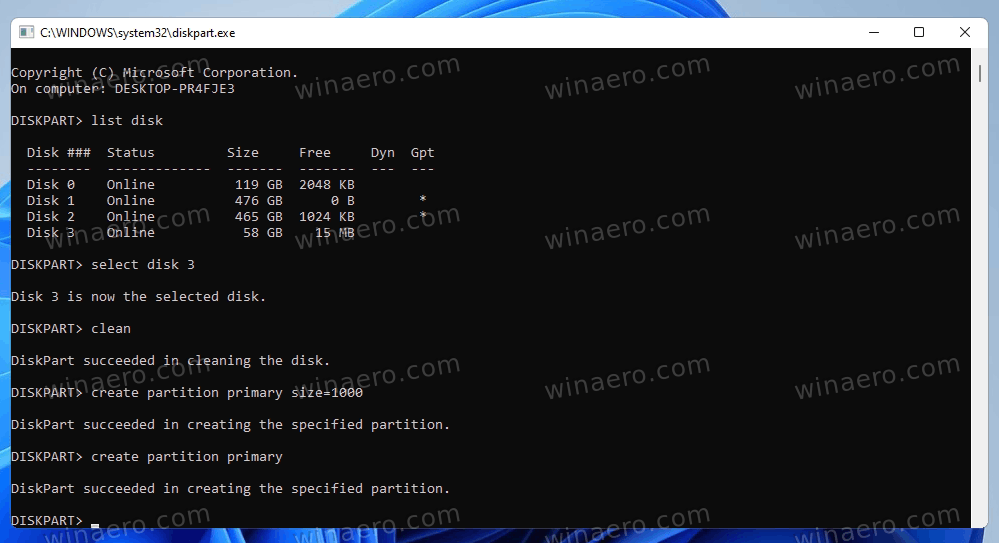
- Type
select partition 1to select the first (1GB) partition.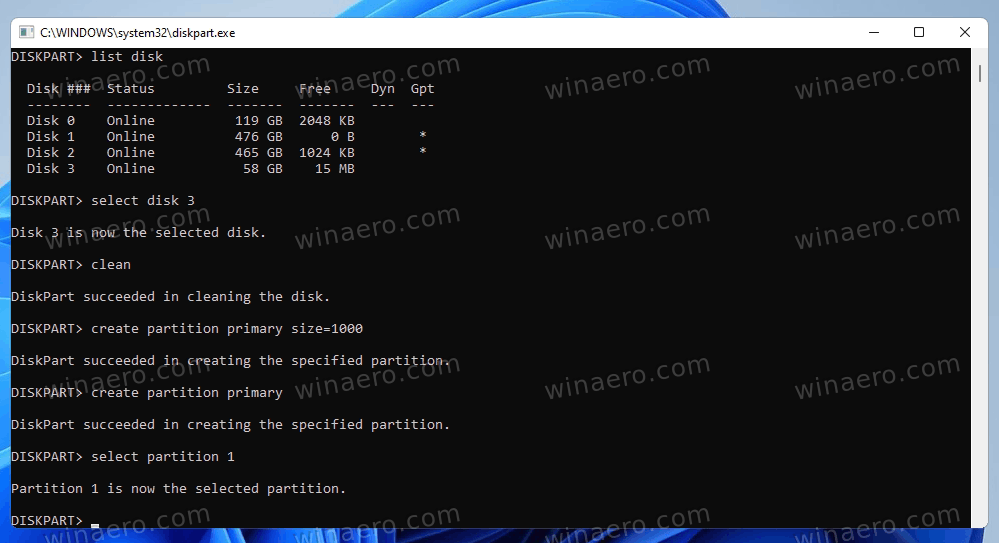
- Now, as you already learned, you need to format it with FAT32 as follows:
format fs=fat32 quick.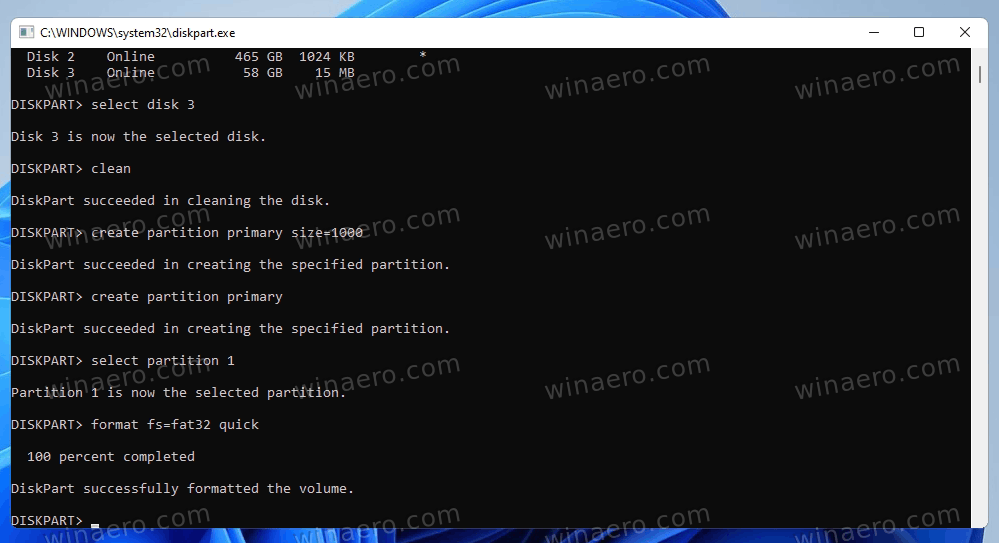
- Assign it the X letter:
assign letter=X.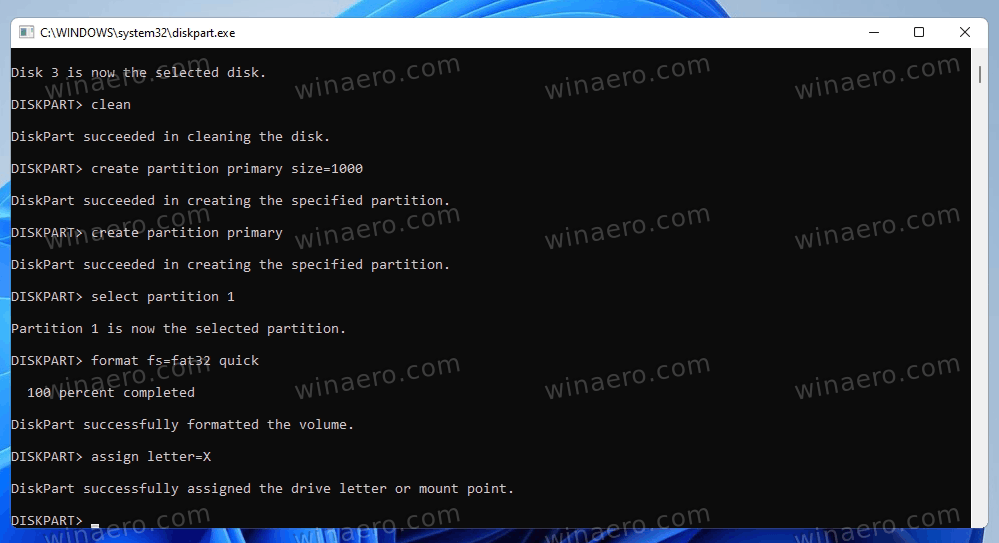
- Make it bootable with the command
active.
- Now, select the second partition:
select partition 2.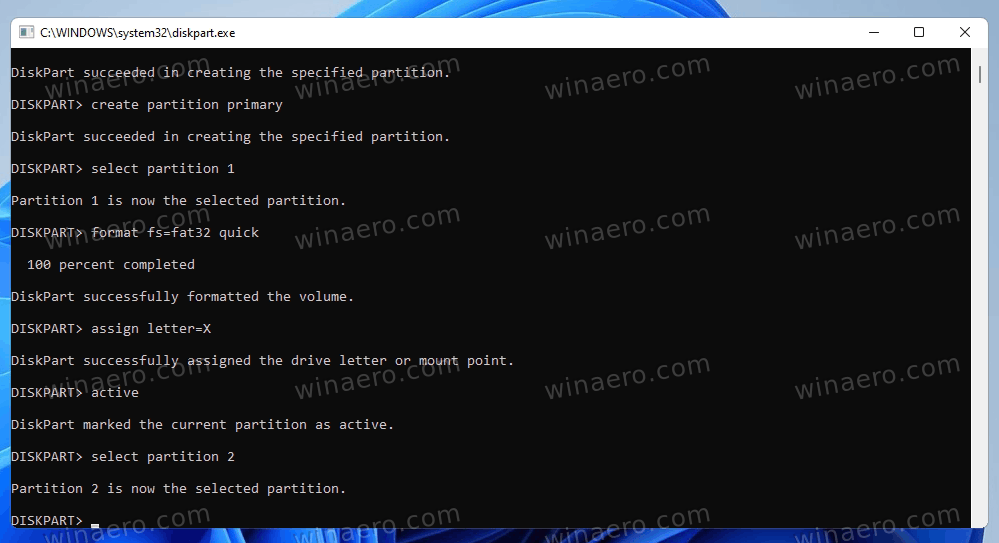
- Format it to NTFS using the command
format fs=ntfs quick.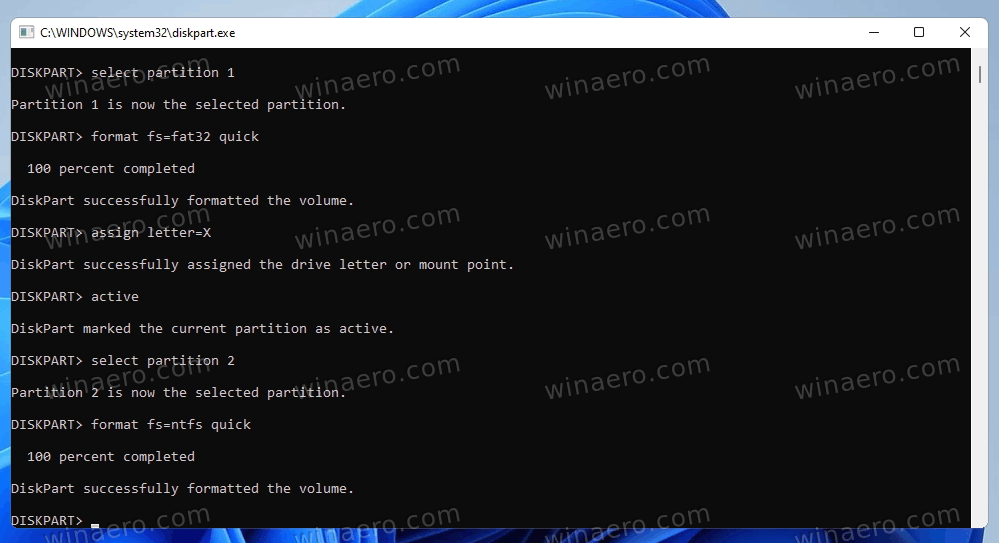
- Assign it the
Yletter:assign letter=Y.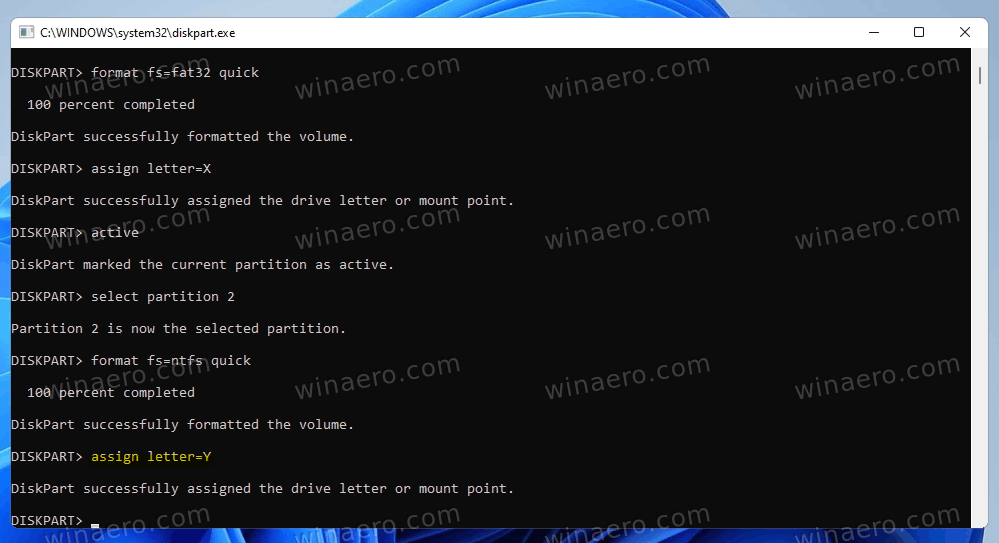
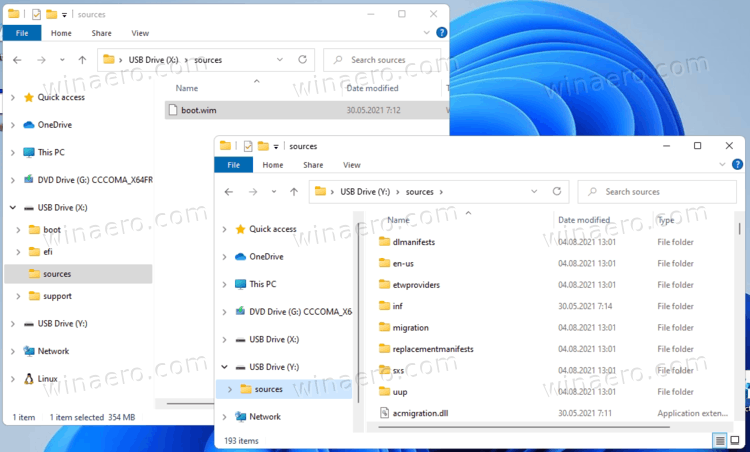
You have successfully formatted your USB drive to make it bootable and compatible with Windows 11. It now contains two partitions:
- The one is Fat32, 1 GB. It has the
Xdrive letter in File Explorer. - The other one is NTFS, it is a bigger partition formatted to NTFS. It will store the big install.wim/install.esd file. It has the
Yletter in the File Explorer.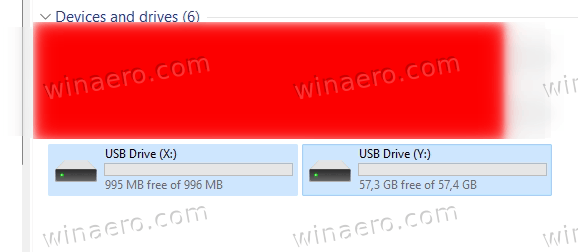
You can now exit DiskPart by closing its console window, or with the exit command.
2) Copy Windows 11 Files to Bootable USB
- Double-click your Windows 11 ISO file to get it mounted in File Explorer. If it is associated to some other app, right-click it and select Mount from the context menu.
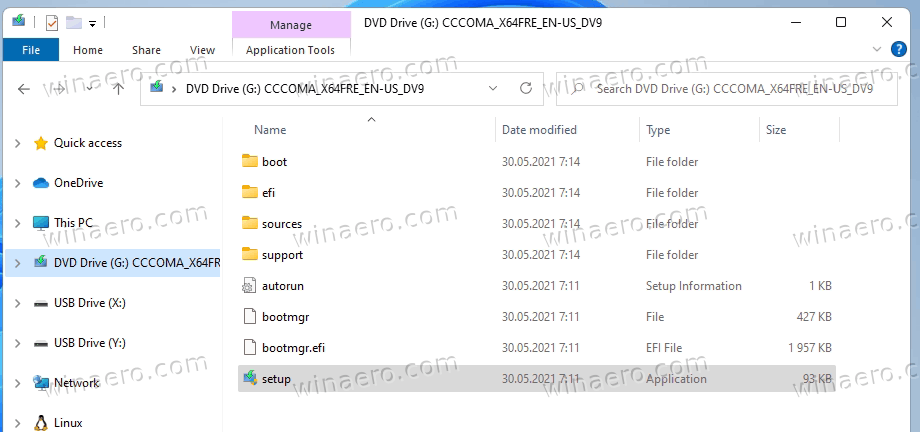
- Copy everything except the
sourcesfolder to theX:drive (the FAT32 one).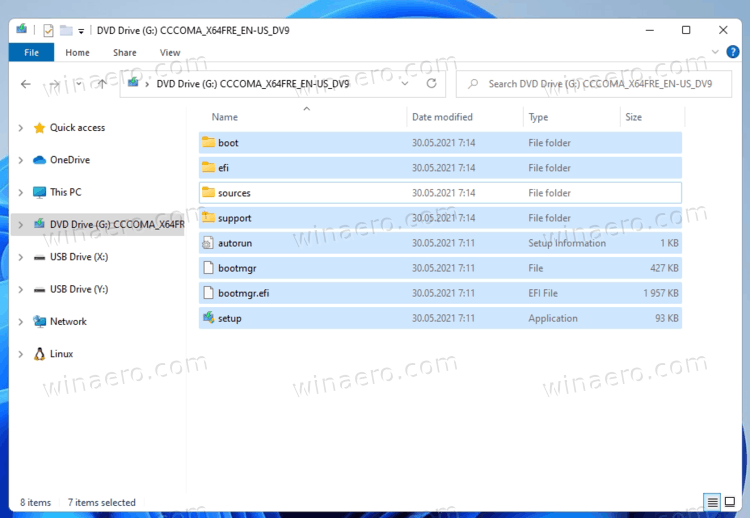
- Copy the sources folder to the
Y: drive(the NTFS partition).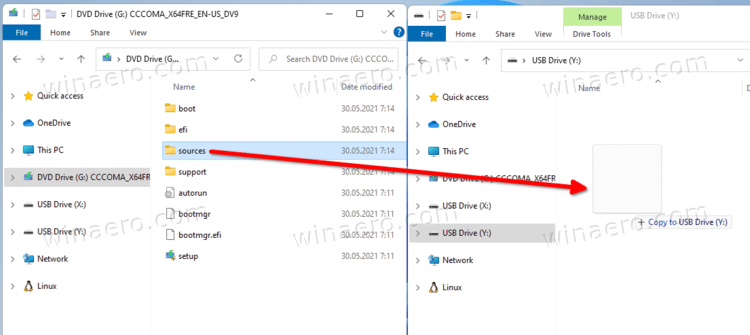
- Now, create a new folder named sources on the
X:FAT32 partition.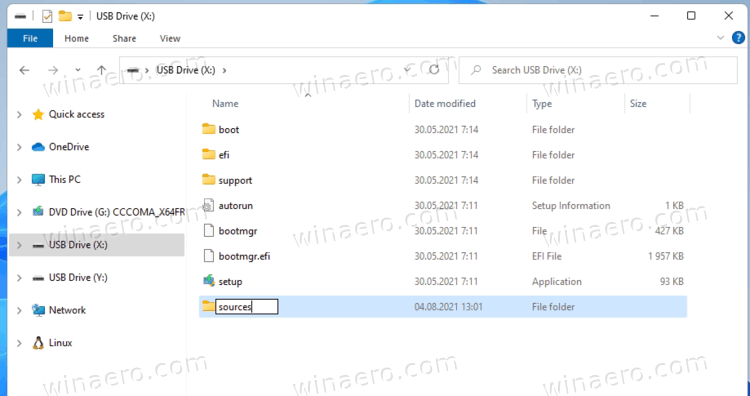
- Move the
boot.wimfile fromY:\sources(the NTFS partition) to theX:\sourcesfolder (on the FAT32 partition).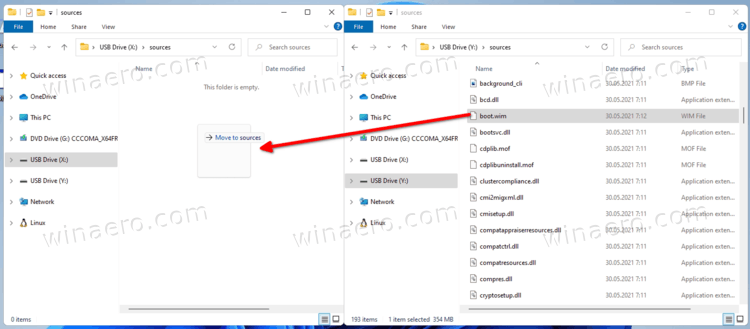
Note: Boot.wim is an image file that contains the files to launch the Windows 11 setup. Therefore, it must be located on a FAT32 partition in the Sources folder next to EFI, Boot, Bootmgr, bootmgr.efi, and other files.
You are done!
Finally you can connect the drive you just created to a target computer and start it from that USB drive.
You can also use the bootable USB drive you have created to access the Windows Recovery Environment. Unlike restoring the environment running from an internal drive, it will not require you to sign in to your account for basic troubleshooting and system restore tasks.
Finally, there is an alternative method that doesn't involve the DiskPart tool or direct drive partitioning.
Using Windows Media Creation Tool
Microsoft ships its exclusive Windows Media Creation Tool app for every release of Windows.
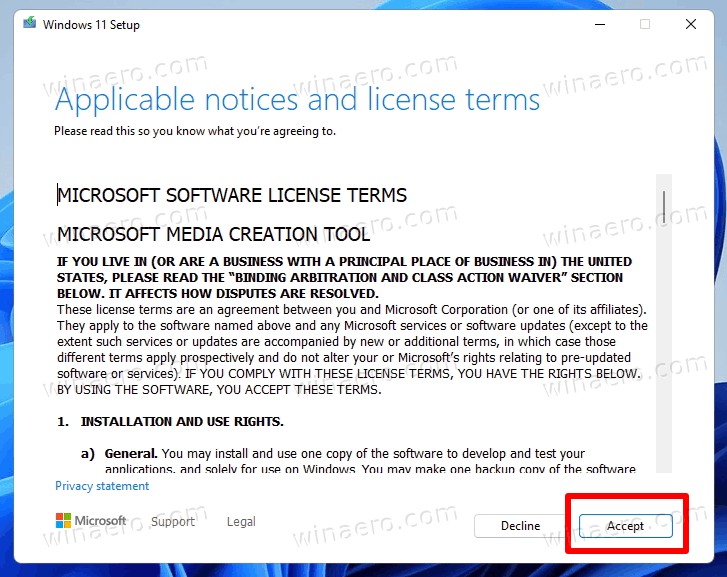
Download Windows Media Creation Tool for Windows 11 using this link. Run the tool, and accept the license.
On the next page, review the language and edition settings. If they are wrong, uncheck the Use the recommended options for this PC, and select the proper values in each drop-down menus.
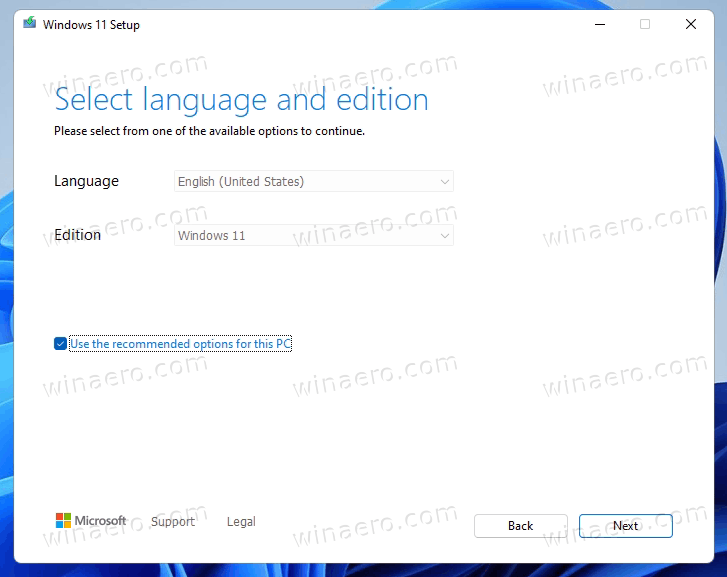
The Media Creation Tool app pre-select these values from your current operating system, so the defaults could be already fine.
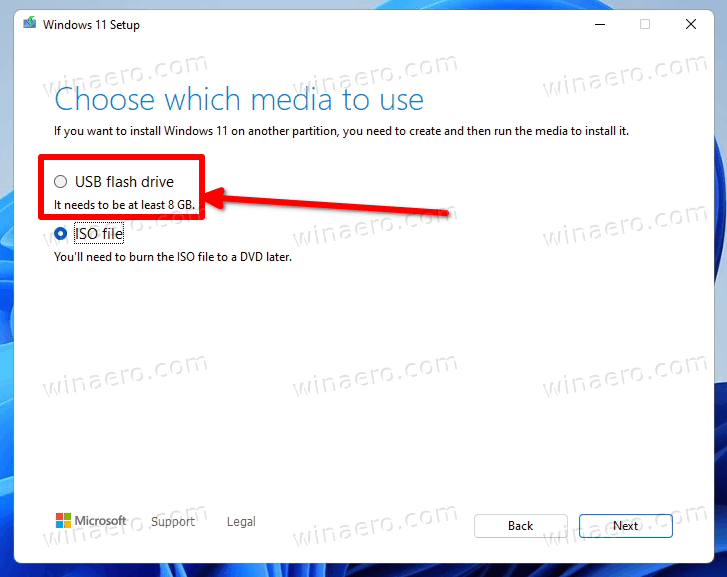
Finally, on the page "Choose which media to use", pick the option "USB Flash Drive" and specify your connected disk to proceed.
Also, there are a number of third-party tools that can create bootable disks with Windows 11. The famous Rufus tool is one of the most popular apps. However, as of this writing, Rufus requires you to disable Secure Boot, which is a mandatory hardware requirement for Windows 11, and should not be avoided.
That's it.
Support us
Winaero greatly relies on your support. You can help the site keep bringing you interesting and useful content and software by using these options:

I can’t find the media creation tool at the link
It is “coming”.
Wouldn’t Ventoy be easier and faster? Download the iso and just copy to USB
Il y a vraiement plus simple :
Utilitaire Rufus.
https://rufus.ie/fr/
https://github.com/pbatard/rufus
******************************************************
There is really simpler :
Utilitarian Rufus.
https://rufus.ie/fr/
https://github.com/pbatard/rufus
It doesn’t support secure boot. This makes it useless.