How to Specify Work Week Days in Windows 10 Calendar
Windows 10 has a Calendar app pre-installed out of the box. It is available in the Start menu. Occasionally, it receives updates from the Microsoft Store. It is useful for those who need just a basic calendar app for storing important events, appointments, holidays etc. It allows specifying what are the work days for the week view. Other days will be hidden. This is quite a useful feature.
Advertisеment
Windows 10 Calendar supports the following views:
- Day view: The day view shows a single day by default. If you click the down arrow next to Day, you can choose to view 1, 2, 3, 4, 5, or 6 days at once.
- Work week: The work week view shows you the days you've defined as work days.
- Week: The week view shows you seven days, starting on the day you've chosen in settings as your first day of the week.
- Month: The month view shows you a calendar month by default. If you scroll down, you can view five weeks at a time.
- Year: The year view shows you an entire calendar year at a glance. You can't view appointments or events in Year view.
Here is how you can specify the work days for Windows 10 Calendar to customize the Work Week view. Before proceeding, it is a good idea to activate the Work Week view.
Activate the Work Week View
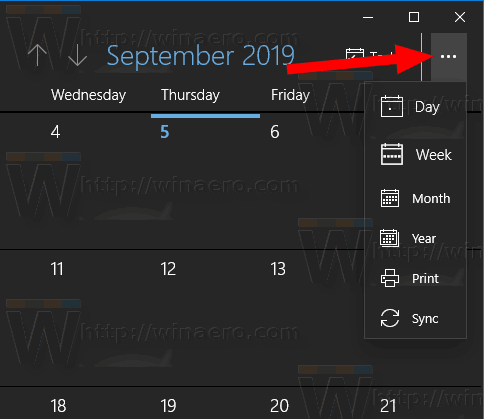
- Run the Calendar app.
- Click on the menu button with three dots.
- Hover over the 'Week' item.
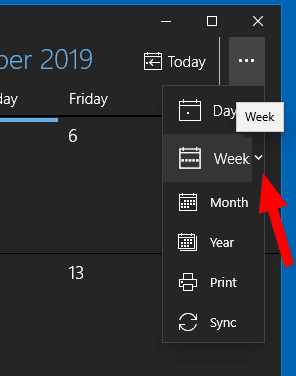
- Click on the down arrow icon and select 'Work Week'.
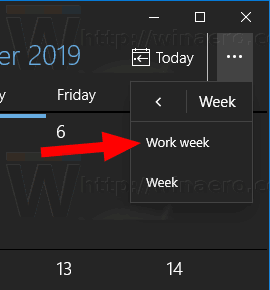
You are done.
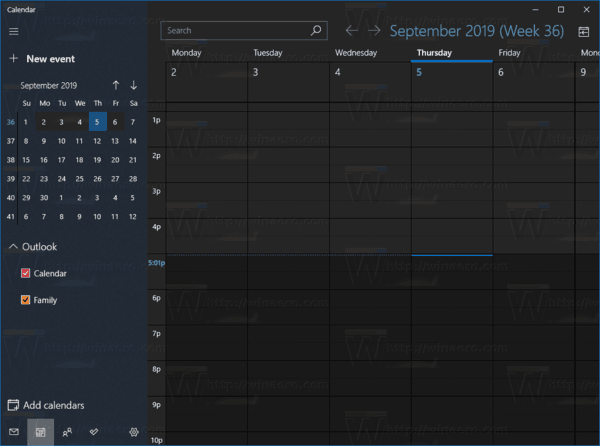
Now, let's change the work days in our week.
To Enable Week Numbers for Calendar app in Windows 10,
- Launch the Calendar app from the Start menu.

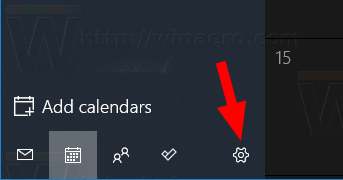
- Click on the Settings icon in the left pane (the button with the gear icon).
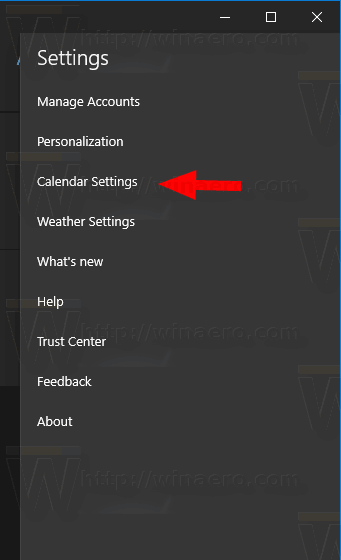
- In Settings, click on Calendar Settings.
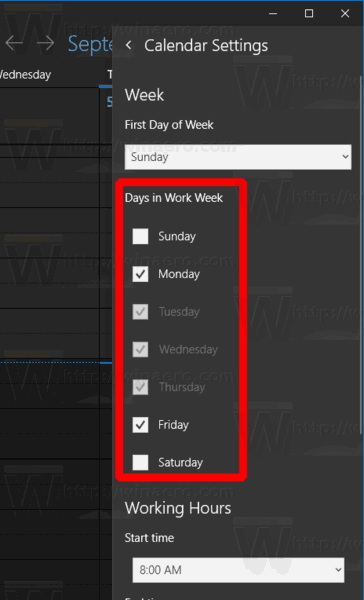
- Under Days in Work Week, enable (check) the days which are the work days for you. Disable (uncheck) the other days of week.
- Now you can close the Calendar settings.
You are done!
Note: While Mail and Calendar for Windows 10 supports Outlook, Exchange, and Office 365 accounts, they are separate applications from Outlook or Outlook.com.
You can find the Mail and Calendar app on Microsoft Store.
Related articles:
- Enable Week Numbers for Calendar app in Windows 10
- Create New Event in Calendar in Windows 10
- Change First Day of Week in Windows 10 Calendar
- Prevent Cortana from Accessing Contacts, Email, and Calendar in Windows 10
- Disable App Access To Calendar In Windows 10
- Disable Calendar Agenda in Windows 10
- Make Windows 10 Calendar show national holidays
Support us
Winaero greatly relies on your support. You can help the site keep bringing you interesting and useful content and software by using these options:
