How to Create a New Event in the Calendar app in Windows 10
Windows 10 has a Calendar app pre-installed out of the box. It is available in the Start menu. Occasionally, it receives updates from the Microsoft Store. It is useful for those who need just a basic calendar app for storing important events, appointments, holidays etc.
Advertisеment
The Mail and Calendar apps help you stay up to date on your email, manage your schedule and stay in touch with people you care about the most. Designed for both work and home, these apps help you communicate quickly and focus on what’s important across all your accounts. Supports Office 365, Exchange, Outlook.com, Gmail, Yahoo! and other popular accounts. Also, you can make Windows 10 Calendar show national holidays.
There are a number of methods you can use to create create a new event or reminder in Windows 10 Calendar. Windows 10 build 18936+ adds to them the ability to directly create an event or reminder from the Calendar flyout on the taskbar. Let's review these methods.
To Create a New Event in Calendar in Windows 10,
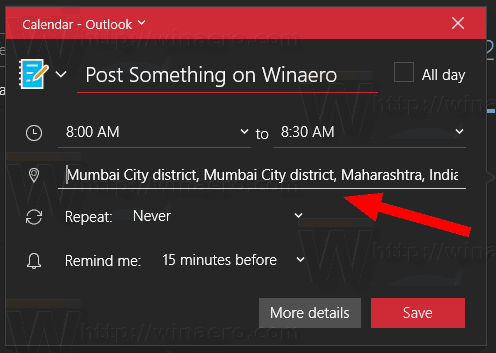
- Click on the clock in the notification area to open the Calendar flyout.
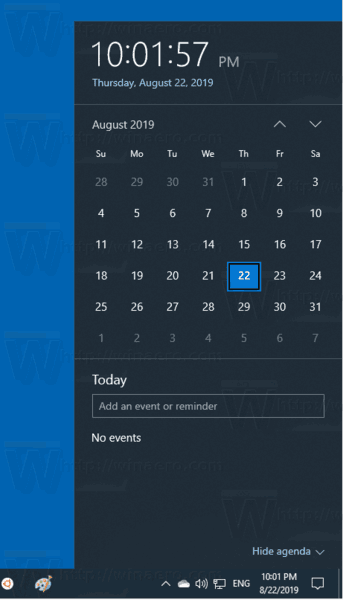
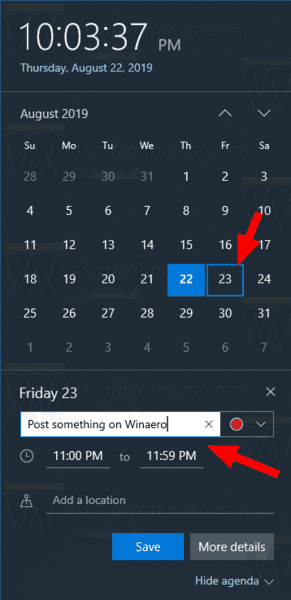
- In the Calendar pane, select the date on which you want the event to occur.
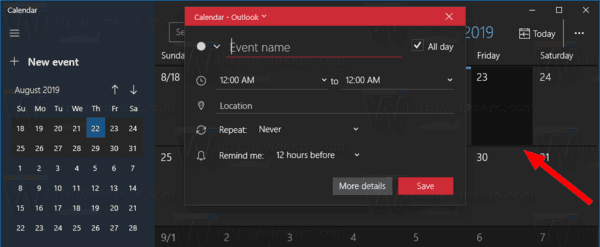
- Enter the event name below the calendar view.
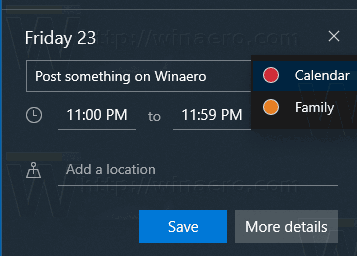
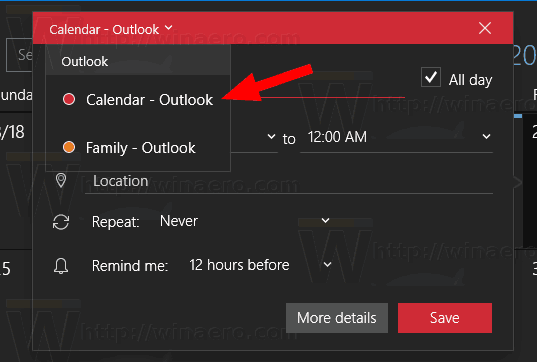
- If you have multiple calendars, select the calendar to store your new event.
- Customize the start and end times for the event.
- If required, enter the location information.
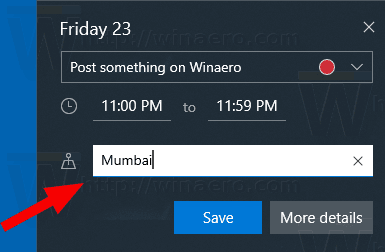
- Click on the Save button and you are done.
Note: Clicking on the More details button will open the Calendar app in Event editing mode.
Alternatively, you can launch and use the standalone Calendar app to do the same.
Using the Calendar app
- Launch the Calendar app from the Start menu.

- Go to the date on which you want your event to occur and click on it.
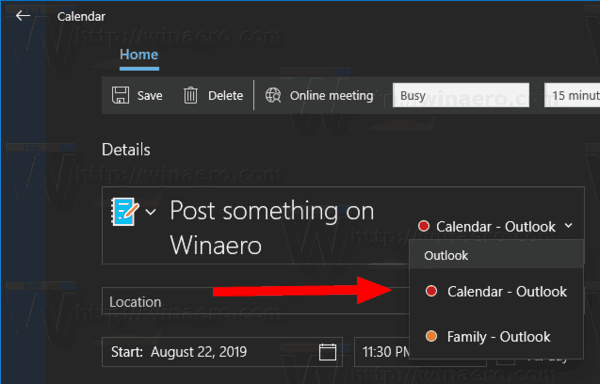
- If you have more than one calendar, select the calendar to store your event.
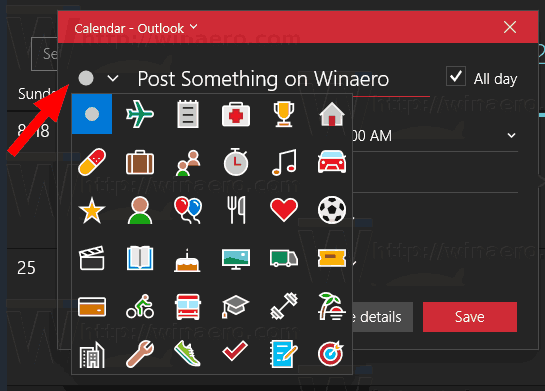
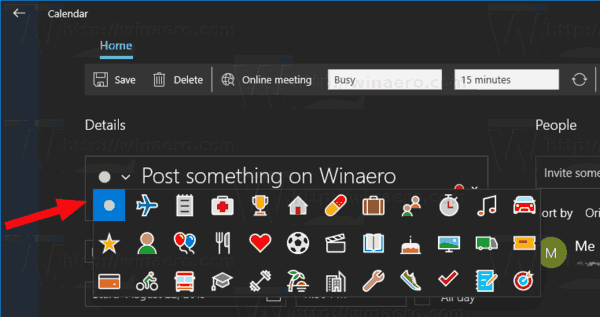
- On the left side of the event name you can set an emoji for the new event.
- Enter the event name.
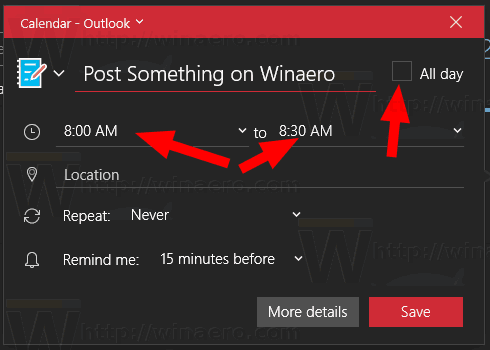
- Specify the start and end times for the event, or check the All day option.
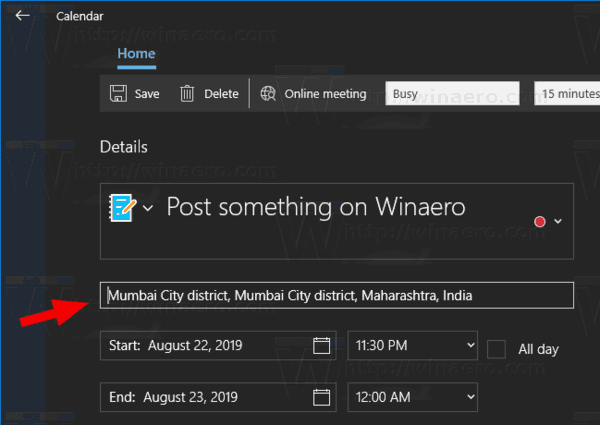
- Set the location information if required.
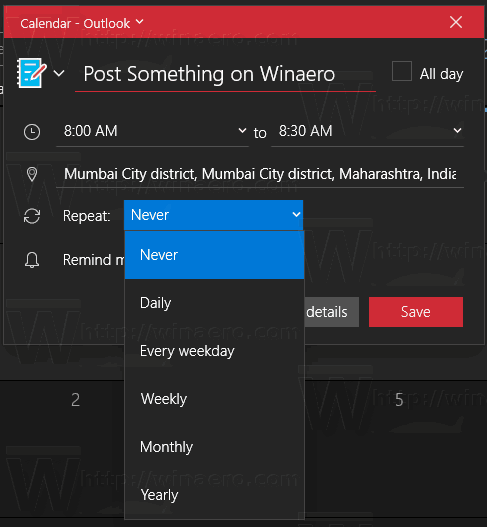
- You can create your event as a recurring event by using the Never, Daily, Every weekday, Weekly, Monthly, or Yearly options from the Repeat drop down list.
- Use the Remind me option to enable a reminder notification for your event.
- Finally, click on the Save button to create your new event and save the changed options.
Your new event is now created and added to the selected Calendar.
The two methods reviewed above are designed to create a new event quickly. They lack a number of options which are available in the full New Event dialog. There is a special New Event button that allows changing more settings for a new event.
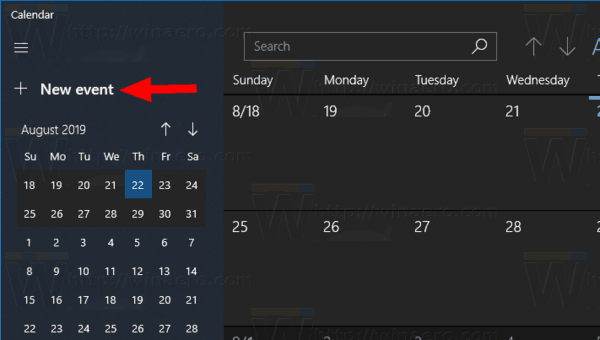
- Launch the Calendar app from the Start menu.
- Click on the New event button at the top on the left.
- Enter the event name.
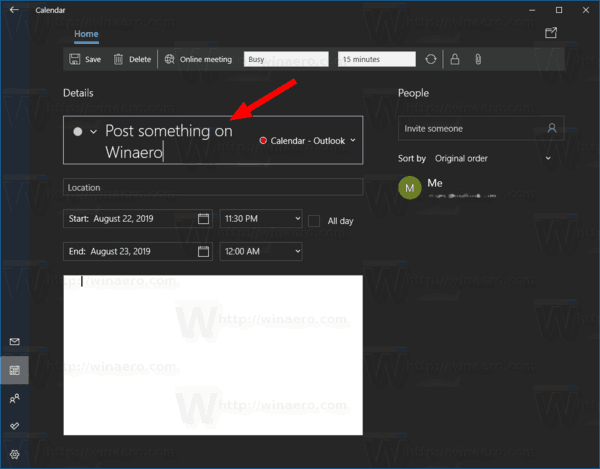
- You can also assign an emoji icon to your event using the drop down list to the left of the event name text box.
- If you have more than one calendar, select the destination calendar to store your new event.
- Specify a location for the event if required.
- Set the Start and End times for the event, or check the All day box.
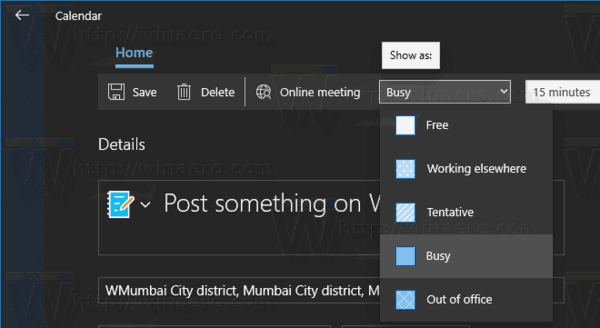
- The Show as option allows showing the event as Free, Working elsewhere, Tentative, Busy, or Out of office in the calendar.
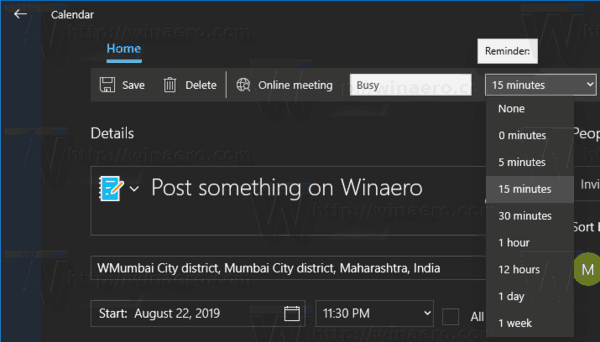
- Click on the Reminder drop down list in the toolbar to set a reminder notification.
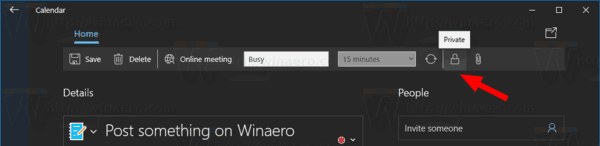
- You can also make your event Private by clicking on the padlock icon on the toolbar. This will hide the event from other users with whom you share the destination calendar.
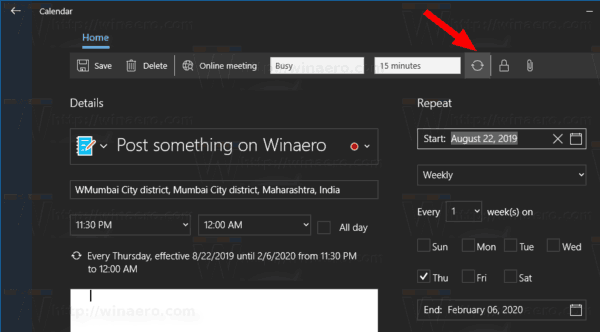
- To create a recurring event, use the Repeat option in the toolbar.
- Click on the empty text area below the event option to enter the description for your event. By switching to the Format tab at the top, you can customize the appearance of the text.

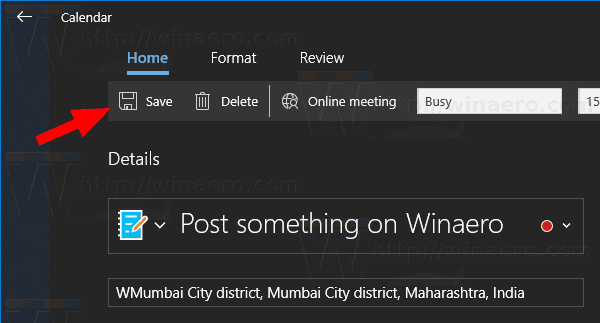
- Go back to the Home tab at the top and click on the Save button to finish creating your new event.
You are done. The event is now added to your Calendar.
You can find the Mail and Calendar app on Microsoft Store.
Related articles:
- Change First Day of Week in Windows 10 Calendar
- Prevent Cortana from Accessing Contacts, Email, and Calendar in Windows 10
- Disable App Access To Calendar In Windows 10
- Disable Calendar Agenda in Windows 10
- Make Windows 10 Calendar show national holidays
Support us
Winaero greatly relies on your support. You can help the site keep bringing you interesting and useful content and software by using these options:
