Almost all modern devices come with a camera these days. Laptops and tablets come with webcams and 2-in-1s like Surface come with dual cameras. Windows 10 ships with a Camera app for all essential functionality related to capturing video or pictures. Skype calls, various online services, Win32 apps and Universal apps can access your camera. From a privacy point of view, it is a good idea to control which of your installed apps have access to the camera and revoke permissions if that app does not really need camera access for its core function. Here is how it can be done.
Advertisеment
Most external web cams and portable devices have an activity indicator, which is usually a LED that turns on when the camera is in use by an app. If your device does not have a LED for the built-in camera, Windows 10 shows a notification which can be quickly viewed in the Action Center. You can pick apps which are allowed to access the camera.
Prevent Apps from Accessing Camera in Windows 10
The Settings app in Windows 10 provides a simple user interface which should be enough in most cases.
- Open Settings.
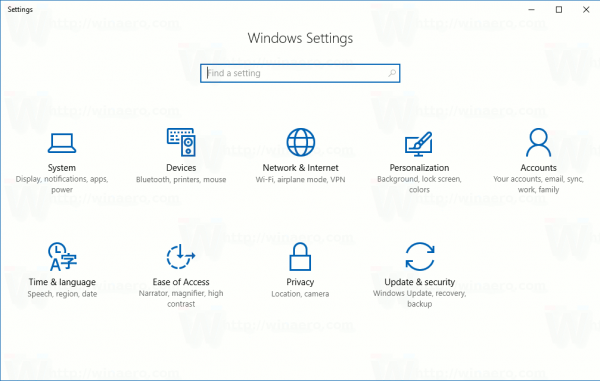
- Go to Privacy\Camera:

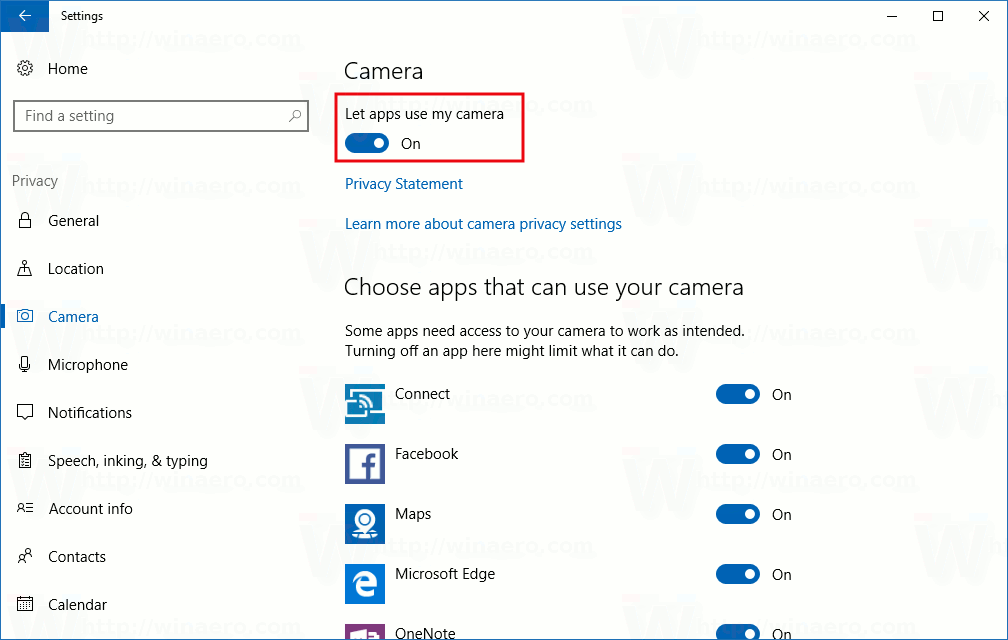
- On the right, you'll find the switch Let apps use my camera.
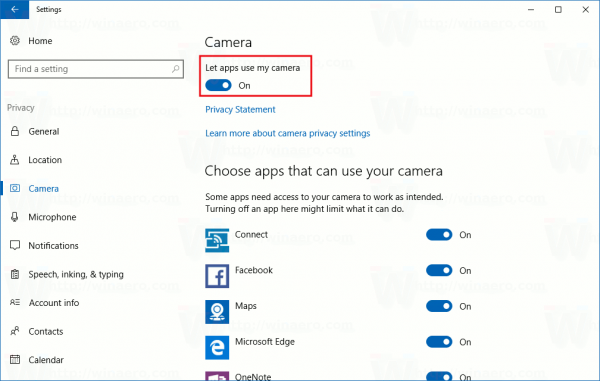
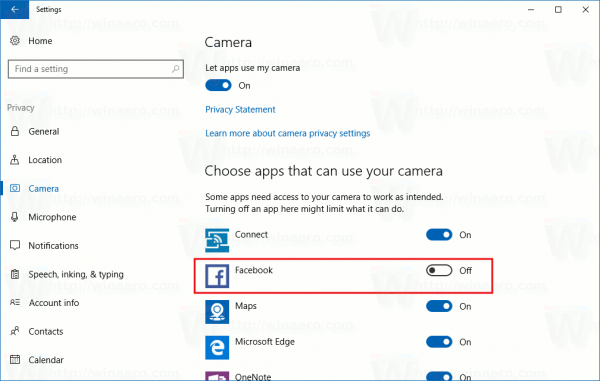
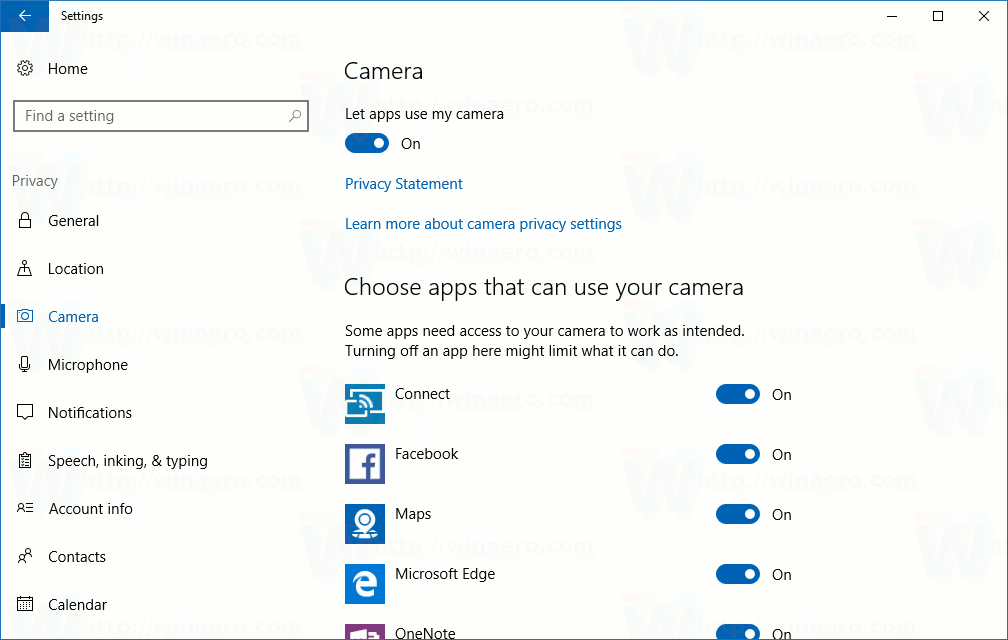
Once you turn it off, none of your installed Store apps will be able to access your camera. This might be not so convenient, you might need to allow certain apps to always access the camera. You can prevent individual apps from accessing your camera. - To prevent individual apps from accessing your camera, enable the switch Let apps use my camera and scroll down to the list Choose apps that can use your camera.
- Find the required app in the list and turn off its switch to deny it access to the camera.


Alternatively, you can turn off camera access for apps in Windows 10 using a simple Registry tweak.
Prevent Apps from Accessing Camera in Windows 10 using a Registry tweak
- Open Registry Editor.
- Go to the following Registry key:
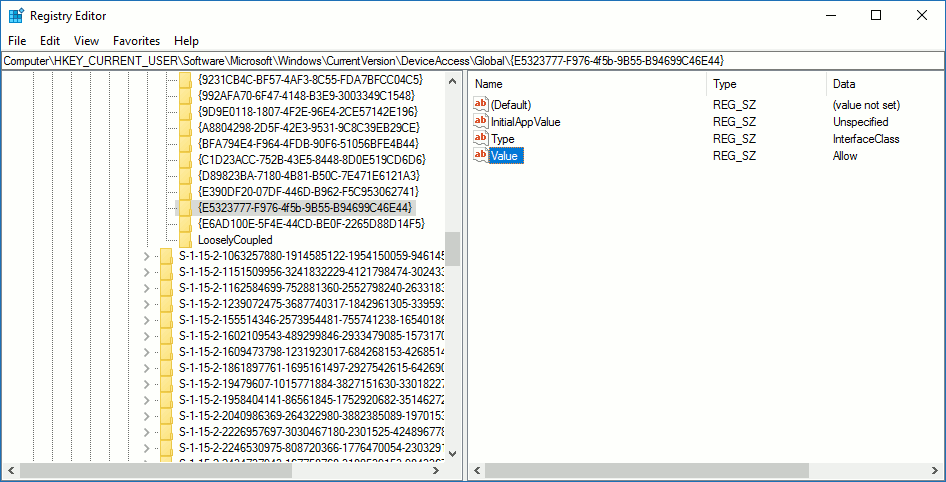
HKEY_CURRENT_USER\Software\Microsoft\Windows\CurrentVersion\DeviceAccess\Global\{E5323777-F976-4f5b-9B55-B94699C46E44}Tip: How to jump to the desired registry key with one click.
- Here, create or modify the string value, also named as "Value". Set its data to the one of the following:
- Allow - turn on camera access for apps.
- Deny - prevent apps from accessing the camera on your device.
The change should be applied instantly.
There is a special Group Policy setting in Windows 10 which can be used to deny camera access to apps. Before you continue, please keep in mind that Group Policy overrides options in the Settings app and disables them, so the user won't be able to change anything when the Group Policy option is applied.
Using Local Group Policy
If your edition of Windows 10 comes with the Group Policy editor app (gpedit.msc), use it as follows.
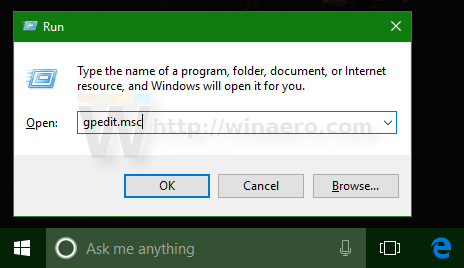
- Press Win + R keys together on your keyboard and type:
gpedit.msc
Press Enter.
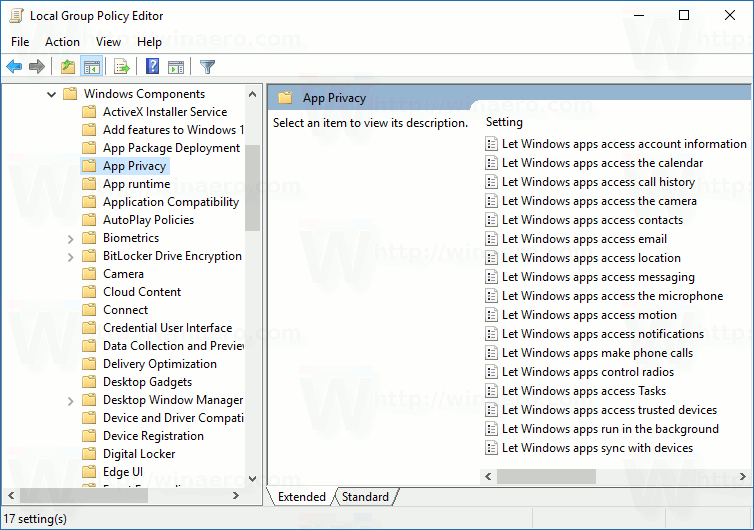
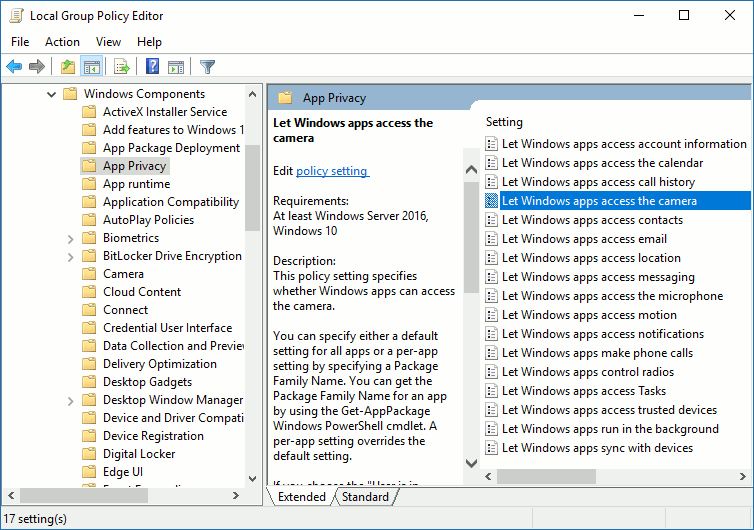
- Group Policy Editor will open. Go to Computer Configuration\Administrative Templates\Windows Components\App Privacy.
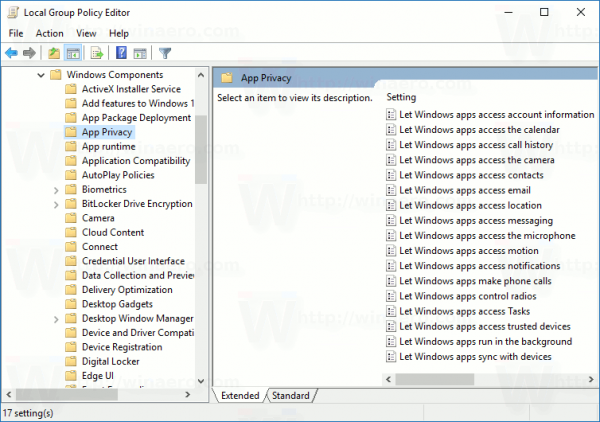
- There, find the option Let Windows apps access the camera.
 Double click it and disable the option to deny camera access for Windows apps.
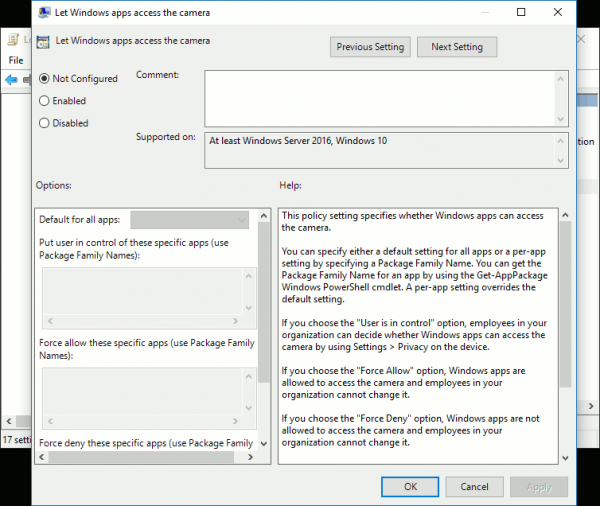
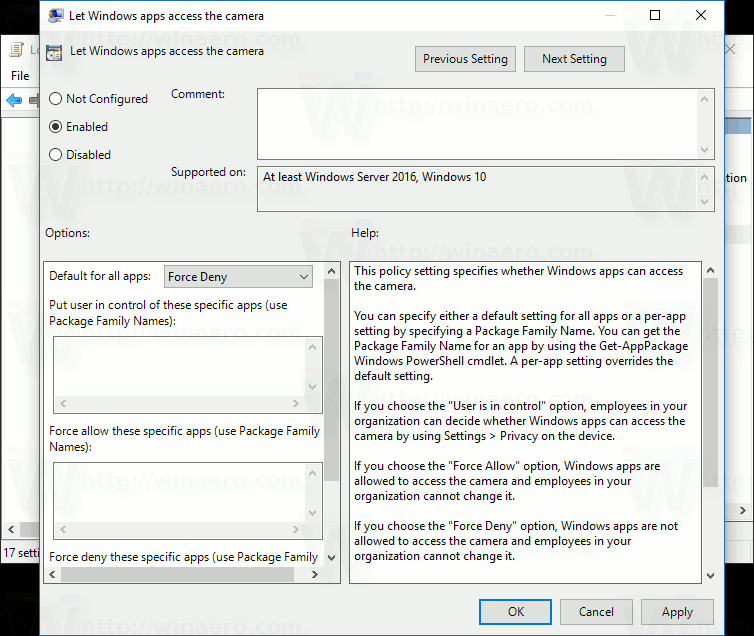
- If you enable the option, camera access will be determined by the option "Default for all apps":

If it is set to "Force Deny", apps will be prevented from accessing the camera by default.If it is set to "Force Allow", apps will be allowed to access the camera by default.
If it is set to "User is in control", everything will be configurable from the Settings app.
- Restart Windows 10.

To undo this trick, you need to set the mentioned policy to the "Not configured" state.
Tip: You can use the mentioned policy to whitelist or blacklist certain apps from accessing the camera. The user interface of the Group Policy Editor has text boxes to enter AppIDs of installed apps. These boxes are:
- Put user in control of these specific apps - apps listed here will remain under the user's control.
- Force allow these specific apps - apps listed here will be allowed to use the camera and the user won't be able to change it.
- Force deny these specific apps - apps listed here will be prevented from using the camera and the user won't be able to change it.
A per-app setting overrides the default setting.
To fill these boxes, you need to know Package Family Name for the installed app. To get it, do the following.
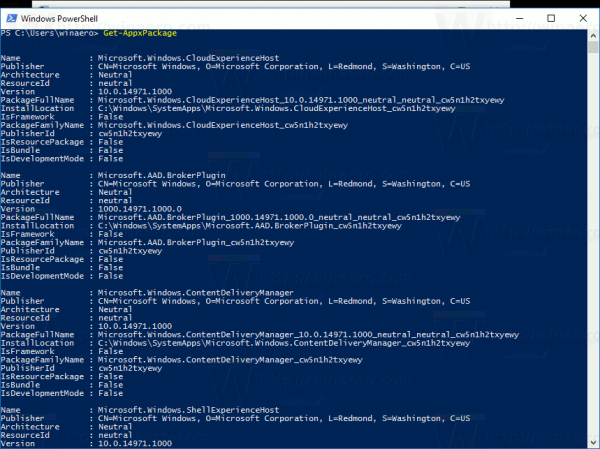
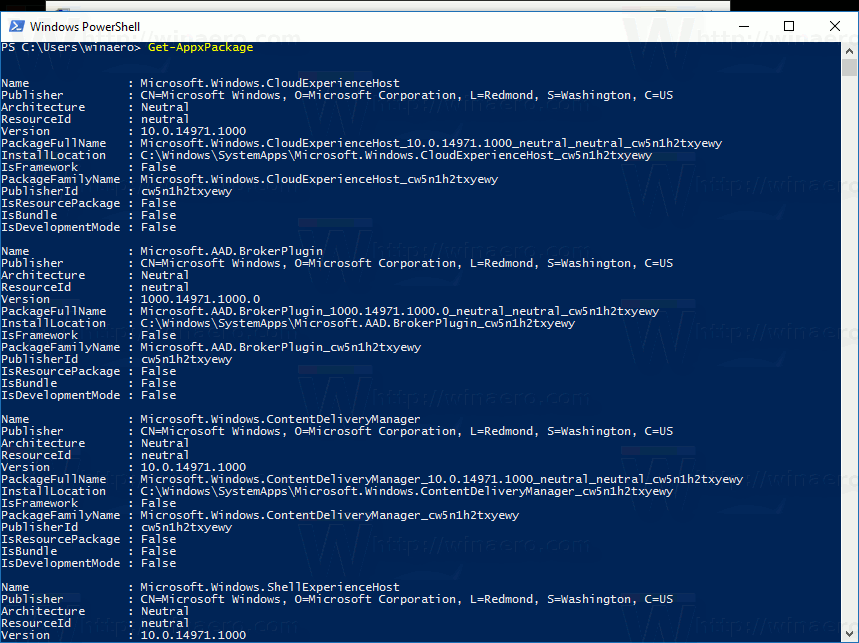
- Open PowerShell.
- Type or paste the the following command:
Get-AppxPackage
- Copy the PackageFamilyName parameter from the output and paste it into the appropriate text box of the Group Policy editor.

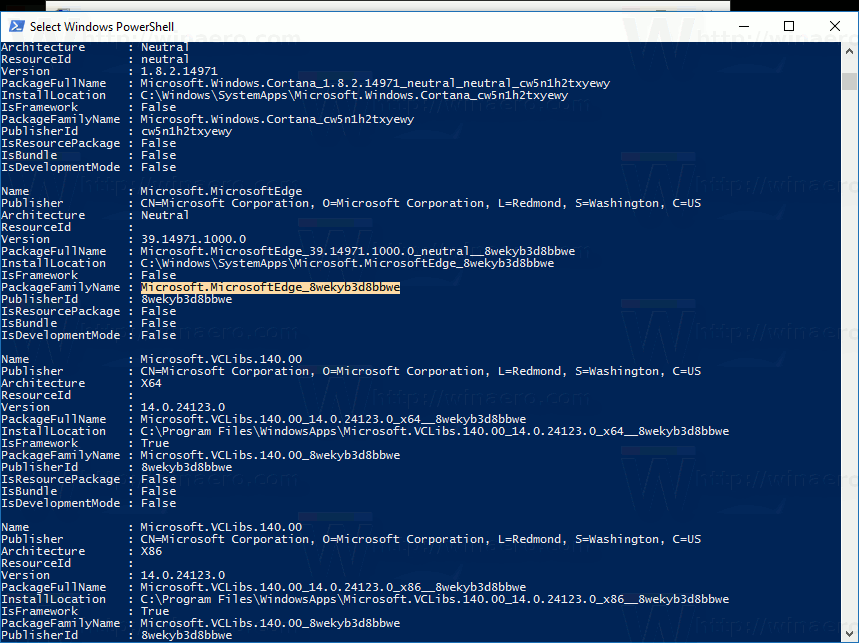
In the example below, I whitelisted the Edge app but blocked all other apps by default.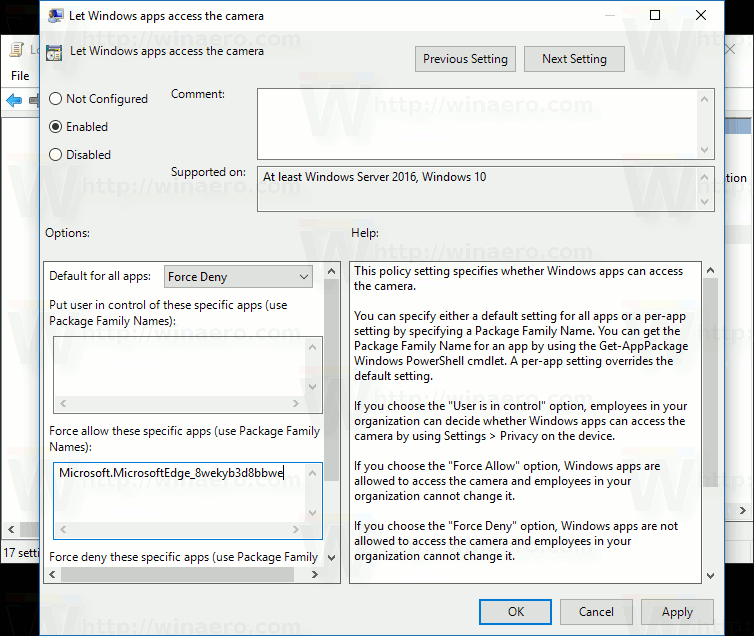
That's it.
Support us
Winaero greatly relies on your support. You can help the site keep bringing you interesting and useful content and software by using these options:
