As you may already know, yesterday Linux Mint 18.2 left the beta stage and became available for everyone. It is now possible to upgrade all Linux Mint editions to version 18.2.
Advertisеment
Linux Mint 17, 17.1, 17.2 and 17.3 are supported until 2019. So you need to find a strong reason to upgrade your PC. You can always try a Live CD/USB mode to check out all the changes yourself and decide if you really need them. Linux Mint 18.2 offers updated software versions of essential apps, new themes and wallpapers, and new versions of its "x-apps", a set of apps available in all supported desktop environments. You can read in detail here:
How to upgrade to Linux Mint 18.2
- In the Update Manager, click on the Refresh button to check for any new version of mintupdate and mint-upgrade-info. If there are updates for these packages, apply them.
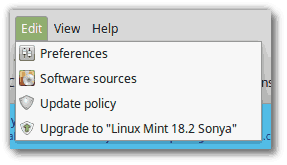
- Launch the System Upgrade by clicking on "Edit->Upgrade to Linux Mint 18.2 Sonya".
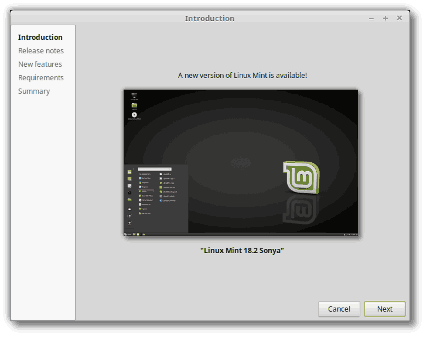
- Follow the instructions on the screen.
- When asked whether to keep or replace configuration files, choose to replace them.
- Once the upgrade is finished, reboot your computer.
Additional info
- Although Linux Mint 18.2 features a newer kernel, this upgrade does not change the installed kernel. If you need the updated kernel, you can install it yourself any moment.
- Same goes for the choice of display manager or the software selection. Brasero won’t be removed and MDM won’t be switched for LightDM on your behalf. You can decide to make these changes, but you certainly don’t have to.
- It is recommended to disable the screensaver before upgrading. If the screensaver activates during the upgrade and you’re unable to log back in, switch to console with CTRL+ALT+F1, log in, and type “killall cinnamon-screensaver” (or “killall mate-screensaver” in MATE). Use CTRL+ALT+F7 or CTRL+ALT+F8 to get back to your session.
How to switch from MDM to LightDM
Warning: This is not recommend for novice users.
First, install LightDM by typing the following commands in a terminal:
apt install slick-greeter lightdm-settings
When asked to select a default display manager, select LightDM.
Then, remove MDM and reboot by typing the following commands in a terminal:
apt remove mdm
sudo reboot
That's it. Source: Mint Blog.
Support us
Winaero greatly relies on your support. You can help the site keep bringing you interesting and useful content and software by using these options:
If you like this article, please share it using the buttons below. It won't take a lot from you, but it will help us grow. Thanks for your support!
Advertisеment
