In this article, we will see how to create a special shortcut to open Indexing Options in Windows 10. It can be useful, if you change the Search index options frequently, for example, it order to add or remove certain file types from search. Here is how it can be done.
Advertisеment
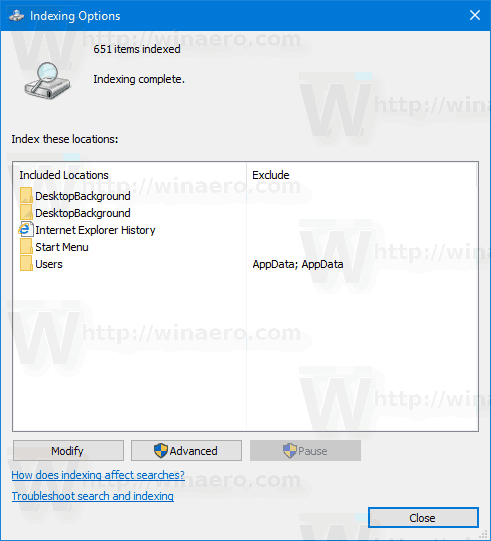
As you may already know, search results in Windows are instant because they are powered by the Windows Search indexer. It is not new to Windows 10, but Windows 10 uses the same indexer-powered search like its predecessors although it uses a different algorithm and a different database. It runs as a service that indexes file names, contents and properties of file system items and stores them in a special database. There is a designated list of indexed locations in Windows, plus Libraries which are always indexed. So, instead of performing a real-time search through files on the file system, the search performs a query to the internal database, which allows showing results immediately.
If this index becomes corrupted, Search doesn't work properly. In our previous article, we reviewed how to reset the search index in case of corruption. See the article:
How to Reset Search in Windows 10
You can create a special shortcut to open Indexing Options with one click in Windows 10.
To create the Indexing Options shortcut in Windows 10, do the following.
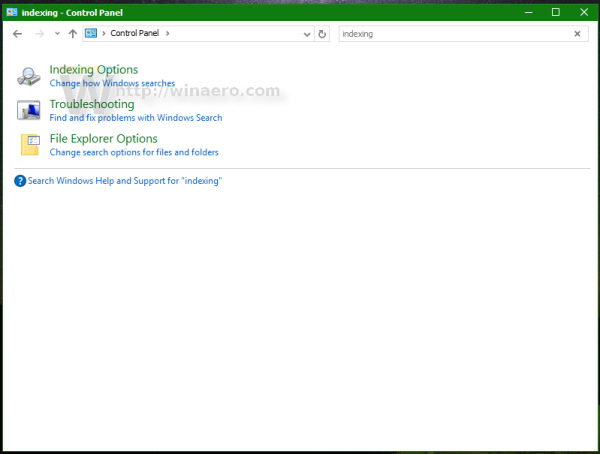
- Open the Control Panel.
- Type indexing options in the search box of the Control Panel. The item 'Indexing Options' will appear in the list.
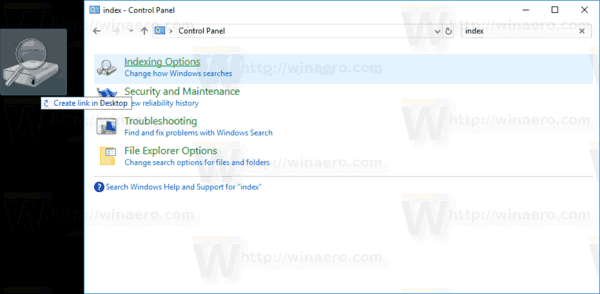
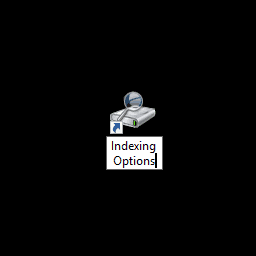
- Now, drag-n-drop it to your Desktop. Windows will create a new shortcut for you. See the following screenshot:
Pretty easy, isn't it?
Alternatively, you can create the same shortcut manually using a special RunDll32 command or a CLSID command. Let's see how it can be done.
Create Indexing Options Shortcut in Windows 10 Manually
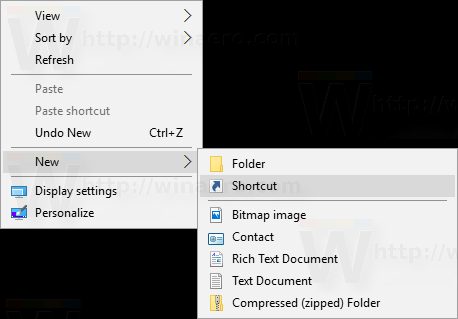
- Right click the empty space on your Desktop. Select New - Shortcut in the context menu (see the screenshot).
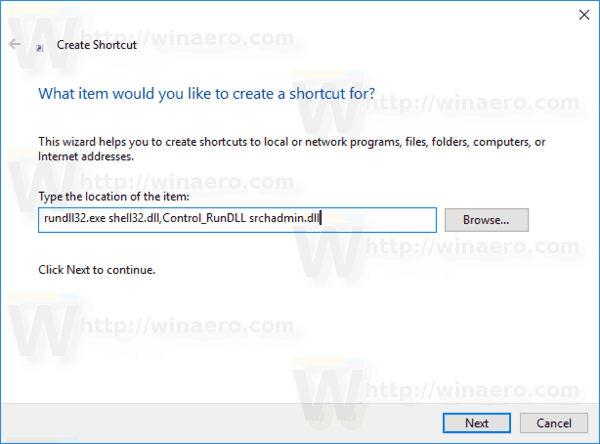
- In the shortcut target box, type or copy-paste the following command:
rundll32.exe shell32.dll,Control_RunDLL srchadmin.dll
Alternatively, you can use the following command:
explorer shell:::{87D66A43-7B11-4A28-9811-C86EE395ACF7}They do the same.
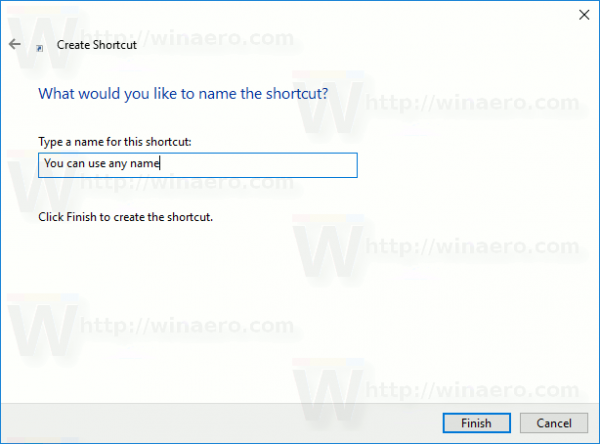
- Use the line "Indexing Options" without quotes as the name of the shortcut. Actually, you can use any name you want. Click on the Finish button when done.
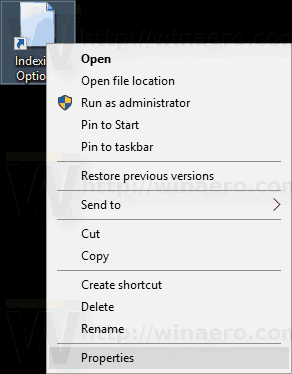
- Now, right click the shortcut you created and select Properties.
 On the Shortcut tab, you can specify a new icon if you wish. You can use the icon from the c:\windows\system32\srchadmin.dll file.
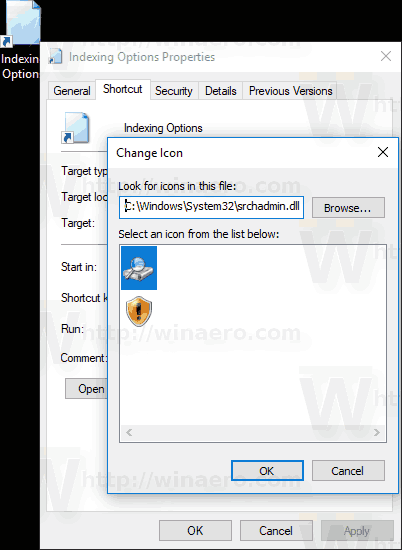
Click OK to apply the icon, then click OK to close the shortcut properties dialog window.
Now, you can move this shortcut to any convenient location, pin it to taskbar or to Start, add to All apps or add to Quick Launch (see how to enable Quick Launch). You can also assign a global hotkey to your shortcut.
Support us
Winaero greatly relies on your support. You can help the site keep bringing you interesting and useful content and software by using these options:
