In Windows 10, the Start menu was added again to make the Desktop more complete again. However, Microsoft did not add the Windows 7 Start Menu, instead the Start menu in Windows 10 has some features of the Start screen. Now it is possible to pin Live tiles of Modern apps and icons to the right side of the Start menu. If you customized the Start menu from the default and wish to reset it to the default layout, here is how you can do that in Windows 10.
Advertisеment
Update: Microsoft removed the files from the folder listed below. It is unclear currently if it is still possible to backup and restore the start menu in newer builds and also the final version of Windows 10.
The Start menu in Windows 10 keeps almost all data related to pinned apps and tiles in the following file:
%LocalAppData%\Microsoft\Windows\appsFolder.menu.itemdata-ms

To locate that file, you may also use the following trick:
- Press Win + R keys together on your keyboard. The "Run" dialog will be displayed on the screen.
- Type the following:
shell:Local AppData
Tip: You can get the full list of shell commands from here: The full list of shell commands.
To reset the Start menu layout in Windows 10, you need to perform the following simple steps.
- Exit Explorer.
- Delete the appsFolder.menu.itemdata-ms file.
- Run Explorer again.
Let's see how it can be done.
Exit Explorer
Before you leave the Explorer shell, open an elevated command prompt and type:
cd /d %LocalAppData%\Microsoft\Windows\
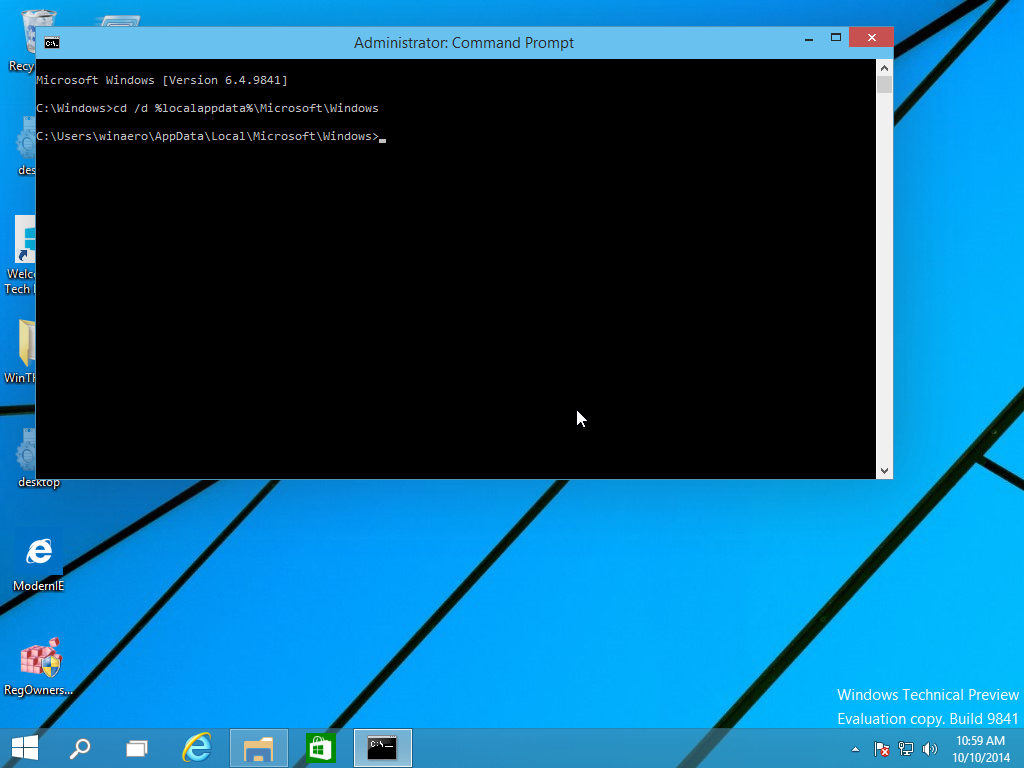
Do not close this window, leave it open, you will need it a bit later.
To exit the Explorer shell, use the secret "Exit Explorer" context (right-click) menu item on the Taskbar or Start Menu, which is described in the following article: "How to properly restart the Explorer shell in Windows".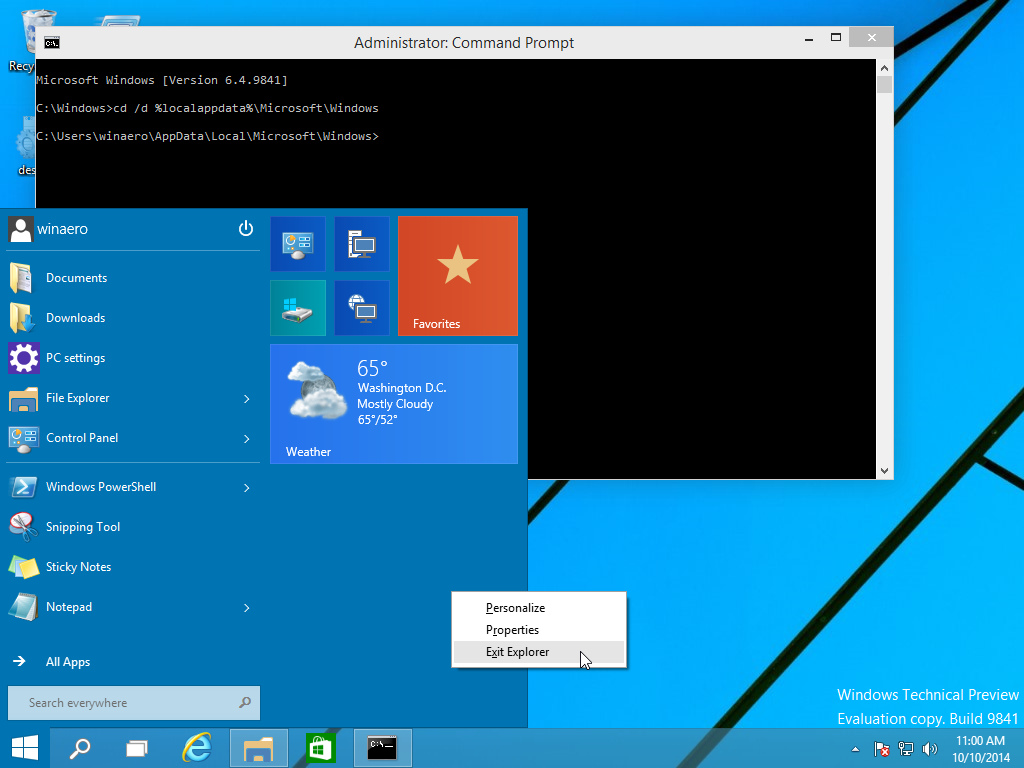
Your Desktop wallpaper and the taskbar will disappear when you exit Explorer: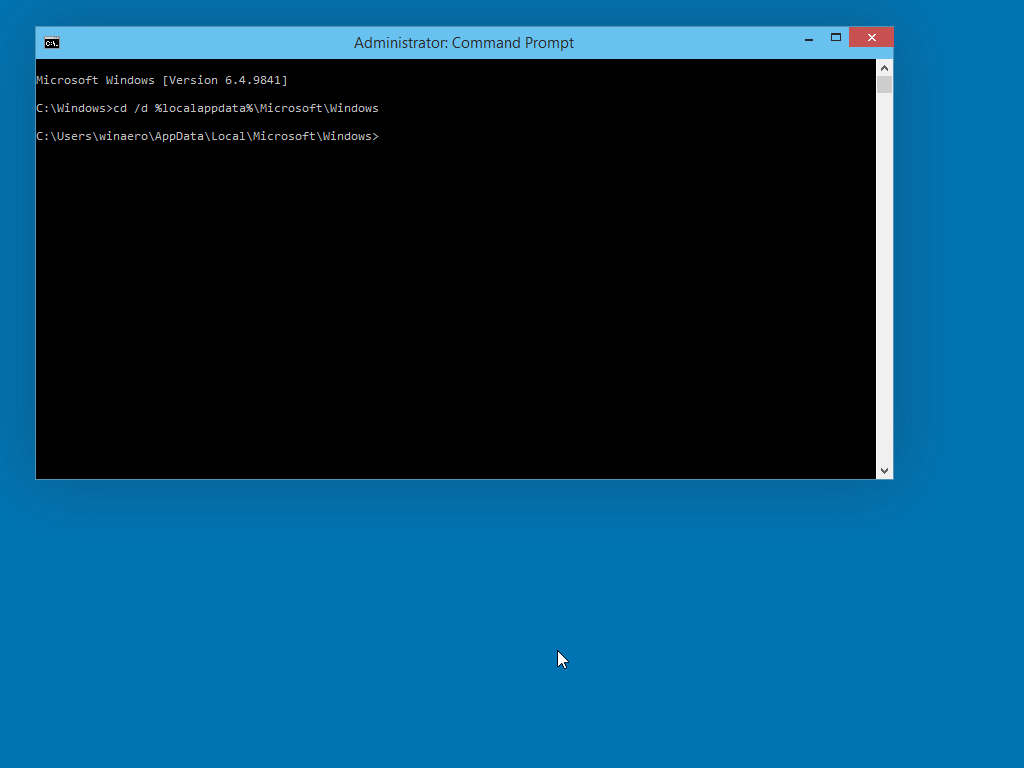
Now type the following in the command prompt (you may need to switch to the command prompt using Alt+Tab):
del appsfolder.menu.itemdata-ms
del appsfolder.menu.itemdata-ms.bak
This will remove appsFolder.menu.itemdata-ms and appsfolder.menu.itemdata-ms.bak files from your hard drive. Note that these commands do not produce any message, they are completely silent. Now you can close the elevated command prompt window.
Run Explorer again
Press Ctrl + Shift + Esc shortcut key together on your keyboard. It will open the Task Manager. Choose File -> Run new task and type explorer in the 'Create new task' dialog and click OK or press Enter: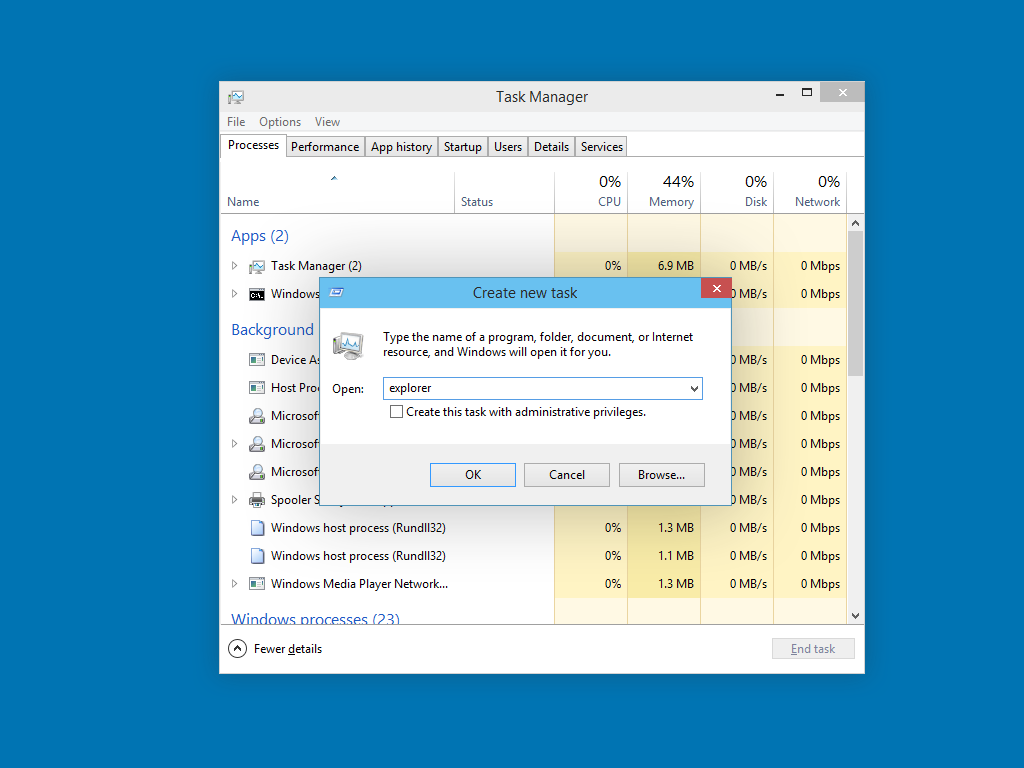
The Taskbar will reappear. Open the Start menu, you will see that its layout has been reset to default.
That's it.
Support us
Winaero greatly relies on your support. You can help the site keep bringing you interesting and useful content and software by using these options:

This is one of the advantages of recreating the Start menu with the new Start screen code.
Hmm, maybe, but the OLD Start menu could be saved via Registry backup, e.g. just with the reg file.
How? I never knew it was possible!
Well, It is a good topic for the new article.
not work this in win 10 and there is not “appsfolder.menu.itemdata-ms” file
indeed. It was written for the older build, not for RTM.
I am still looking for the working way for Windows 10 RTM.
It’s now (win Win 10 release version) here: %localappdata%\TileDataLayer
(in another format, just copy the whole folder)
Not working for Windows 10 RTM.
Indeed. I cannot find any working solution for Windows 10 RTM yet.
Obsolete info, not working for Windows 10
You are right. This info was posted regarding to the one of pre-release builds of Windows 10.
I dont have those files i have just the folders.. how should I get them back… Maybe this is why my start menu is empty?