In this post, we will review all possible ways to open Local Group Policy Editor in Windows 11. This tool is a single user interface that allows changing all the settings of Local Group Policy objects available in the operating system.
Advertisеment
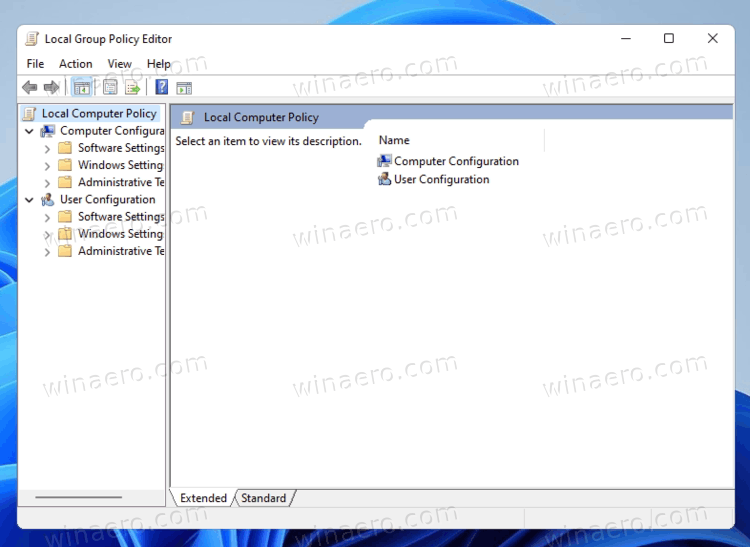
Local Group Policy Editor includes objects that apply to a computer (all users) and users (a specific user account, group, or per-user software software settings). It consists of two parts.
- Computer Configuration is used to set policies that will be applied to a computer. The change software settings, Windows settings, and administrative templates for all users. They typically change Registry keys under the HKEY_LOCAL_MACHINE Registry branch and require restarting the computer to make the change to take effect.
- User Configuration is a set of policies that apply to users. User Configuration comes with options for software settings, Windows settings, and administrative templates stored in the per-user Registry branch (HKCU).
Keep in mind that the Local Group Policy Editor is not available in Windows 11 Home. That snap-in is available in Windows 11 Professional and above, and in enterprise editions of the OS. Still, it does not mean you cannot use tweaks that require working with the Local Group Policy Editor. In a nutshell, the Local Group Policy Editor is just a user-friendly user interface for managing specific registry values in Windows 11.
Note: Opening Local Group Policy Editor in Windows 11 requires elevated privileges. If you try to open it from a regular user, Windows will ask for an administrator password on the user account control screen. Also: Everything in this article applies to Windows 10 as well.
Open Local Group Policy Editor in Windows 11
There are several ways to open Local Group Policy Editor in Windows 11. You can launch it from the Run dialog or Command Prompt. You can also run it from Windows Search and Control Panel. Finally, you can create a shortcut to it or add it to the Desktop context menu.
Open Local Group Policy Editor from the Run dialog
- Press Win + R to launch the Run dialog.
- Enter the following command:
gpedit.msc.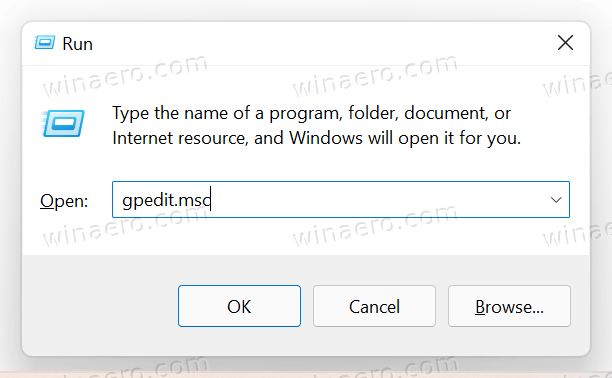
- Press Enter.
This will instantly open the gpedit tool. Alternatively, you can use Windows Search to quickly find it.
Open gpedit from the Command Prompt or PowerShell
Similarly to the Run method reviewed above, you can type the gpedit.msc command into the Command Prompt or PowerShell. Open a new Windows Terminal, and type the gpedit.msc command, then hit Enter.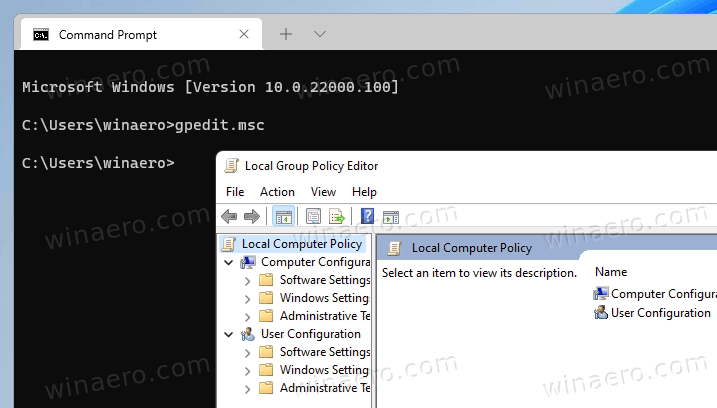
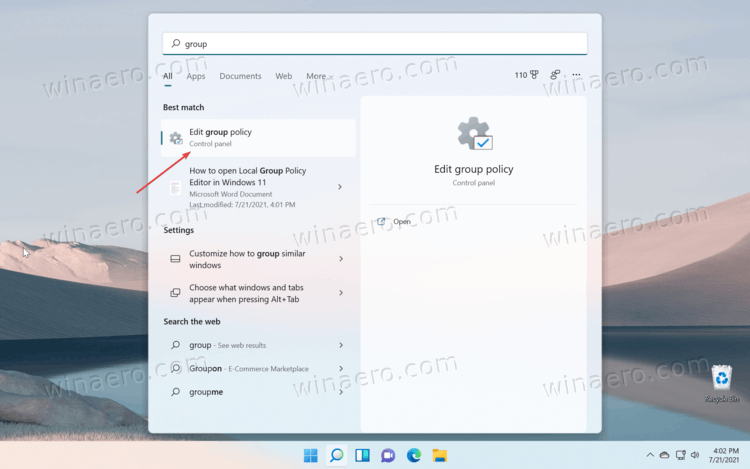
Using Windows Search
- Click the search button on the taskbar. If you prefer a cleaner taskbar look without the search button, press Win + S or open the Start menu and begin typing. Alternatively, you can click the search field at the top of the Start menu.

- Start typing Local Group Policy Editor. There is no need to enter the full name, as Windows can recognize what you are trying to find and show the needed result. As an option, you can use the gpedit.msc command as well.
- Click Edit Group Policy.
- Confirm launching the Local Group Policy Editor on the UAC screen.
Launch Local Group Policy Editor from Settings
Although the Local Group Policy Editor is not directly accessible from Windows Settings, you can use the Windows Settings app to launch the Local Group Policy Editor in Windows 11.
To open Local Group Policy Editor in Windows 11 from the Settings app, do the following.
- Press Win + I to open Windows Settings, or or use any other method to launch it.
- Click on the search field and start typing Policy.
- Windows will show the Edit Group Policy option in search results.
- Click it to launch the Local Group Policy Editor.
Similarly, the classic Control Panel allows opening the gpedit.msc tool using its search box.
Open Windows 11 Local Group Policy Editor from the Control Panel
The same idea works in the classic Control Panel. Again, there is no direct link to the Local Group Policy Editor, and it is not available in the Windows Tools folder in Windows 11. Still, you can use search in the Control Panel to locate the Editor.
- Open the Control Panel in Windows 11; for that, press Win + R an type
controlin the Run dialog. - Click the search field in the upper-right corner of the window.
- Start typing Group. You will see the Edit Group Policy option in the search results.
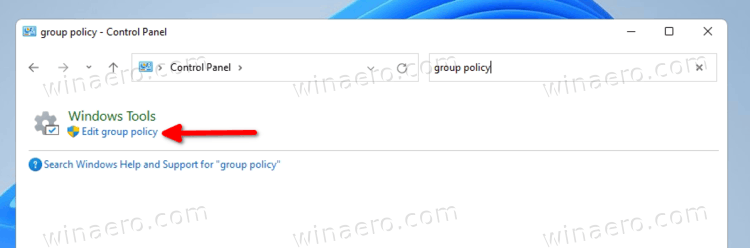
Also, you can directly integrate Local Group Policy Editor to the Control Panel. This can be done with a Registry tweak.
Add Local Group Policy Editor to Control Panel
In addition to the reviewed method, you can also add the Local Group Policy Editor app right to the classic Control Panel in Windows 11. You will be able to launch it from there like any other administrative applet.
To add Local Group Policy Editor to the Control Panel, do the following.
- Download the ZIP archive with REG files using this link.
- Extract its contents to any folder. You can place the REG files directly to the Desktop.
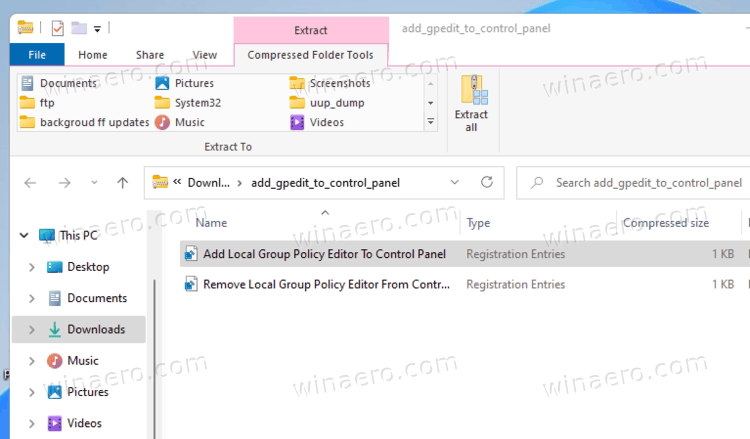
- Double click on the
Add Local Group Policy Editor To Control Panel.regfile to merge it. - Now, open the Control Panel and go to System and Security. It now contains Local Group Policy Editor.
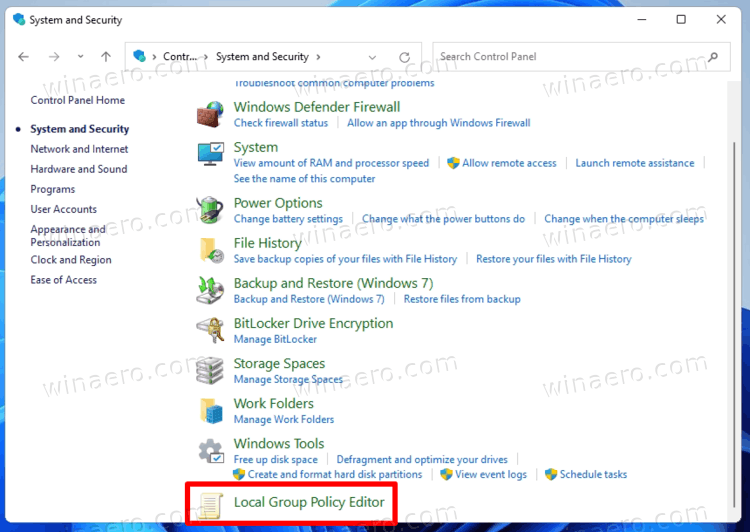
You are done! The included Remove Local Group Policy Editor To Control Panel.reg file will remove the applet from the Control Panel.
Create a Local Group Policy Editor shortcut
If you need to work with the Local Group Policy Editor in Windows 11 frequently, you may want to create a shortcut on the Desktop for better accessibility. Here is how you can do that.
To create a Local Group Policy Editor desktop shortcut in Windows 11, do the following.
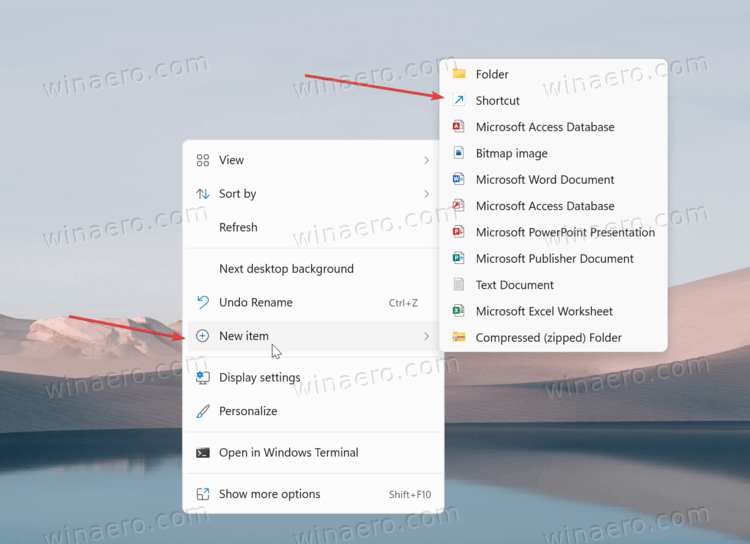
- Right-click anywhere on the Desktop and select New item > Shortcut.
- In a new window, enter
gpedit.mscinto the "Type the location of the item" field.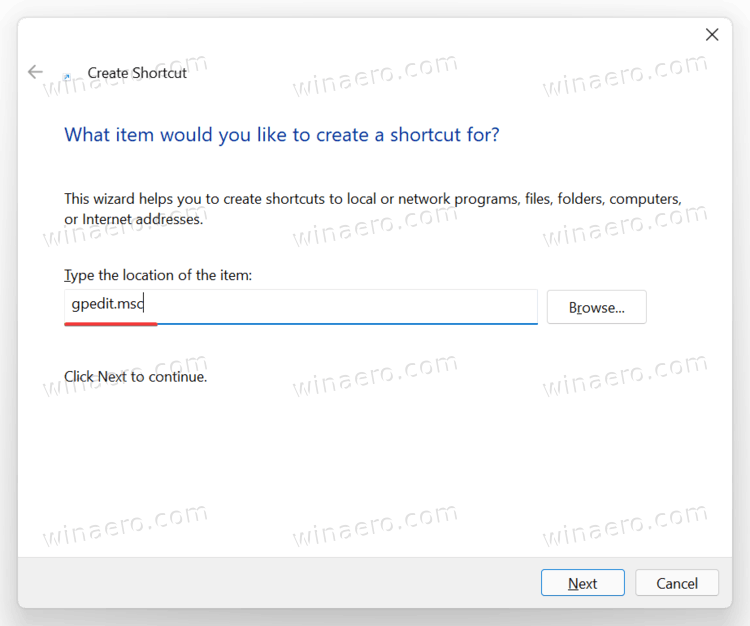
- Click Next.
- Give your shortcut a proper name, for example, Group Policy Editor.
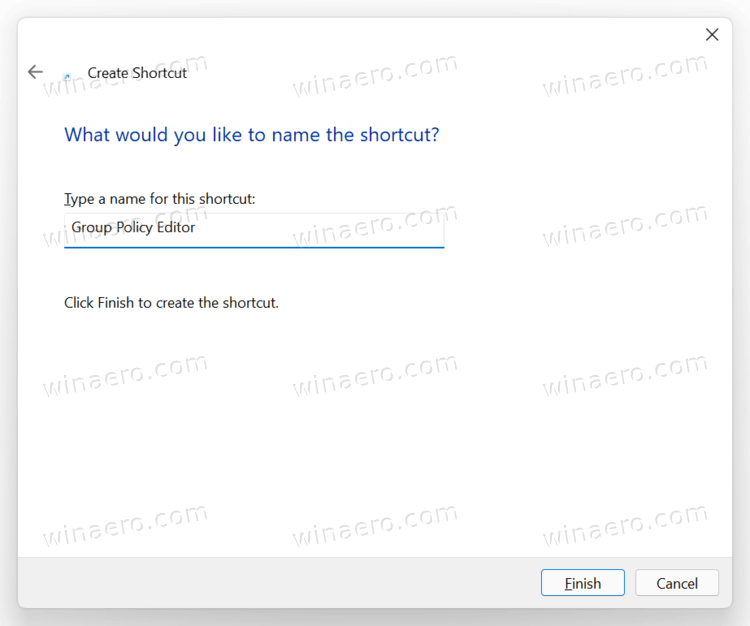
- Click Finish.
- As an option, you can change the icon for a newly made shortcut. The default one is straight from the dinosaur era, and it looks absolutely hideous. Right-click the shortcut and select Properties.
- In a new window, click Change Icon.
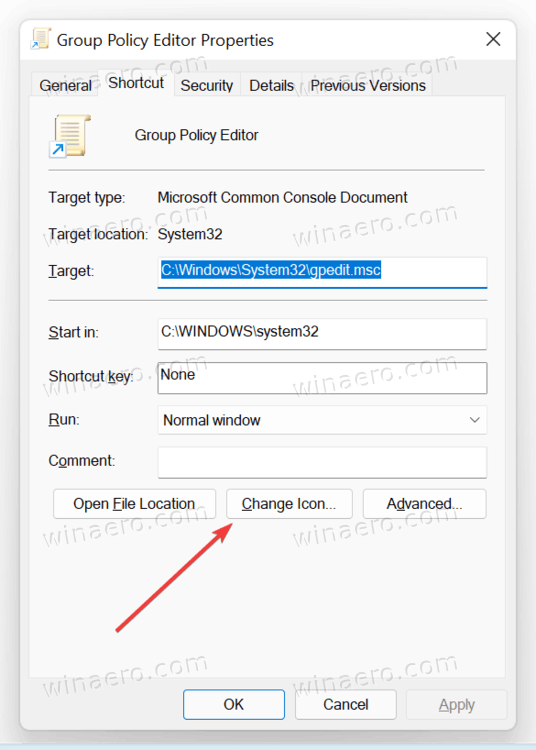
- Select a new icon, then save the changes by clicking on the OK button.
Similar to Windows 10, Windows 11 does not allow pinning the Local Group Policy Editor to the taskbar. Luckily, you can add the app to the context menus to keep it accessible from virtually anywhere.
- Download a ZIP archive using this link.
- Unpack the archive to any folder you like.
- Double-click the Add Local Group Policy Editor to Desktop context menu.reg file.

- Confirm changes in Windows Registry.
Now you can right-click anywhere on Desktop and select Show More Options > Group Policy.

If you want to restore the original look and remove the Group Policy option from the context menus, open the Remove Local Group Policy Editor from Desktop context menu.reg file.
That's it!
Support us
Winaero greatly relies on your support. You can help the site keep bringing you interesting and useful content and software by using these options:
