If you are following our blog, then you must be knowing that Microsoft made it possible to download and install themes from the Windows Store. Let's see how it can be done.
Advertisеment
The ability to install themes in Windows Store was demoed during the October 2016 Microsoft event. There was no official announcement about themes, however, a screenshot of Windows Store was shown with both free and paid themes. This indicated that Microsoft was going to sell themes using the Store.
 Today, the first set of themes became available in the Windows Store. Seven new themes found their way to the Store and were available for free.
Technically, these are still regular *.deskthemepack files. As you might be knowing, Windows 7 was the first version of the operating system which got support for themes. Windows 7 used the "*.themepack" file extension. Windows 8, Windows 8.1 and Windows 10 are using a new format, *.deskthemepack. The file contents of the deskthemepack file are identical to the themepack file, but the *.theme format is slightly updated to include additional information and can't be directly installed in Windows 7.
Tip: See how to install a Windows 8/Windows 10 theme in Windows 7 using the Deskthemepack Installer freeware. Alternatively, you can just extract the contents of deskthemepack/themepack.
Now let's see how to install themes from Windows Store in Windows 10.
How to Install Themes from Store in Windows 10
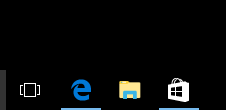
- Open the Store app. Usually, its icon is already pinned to the taskbar.
- Ensure that you are signed in to the Store app.
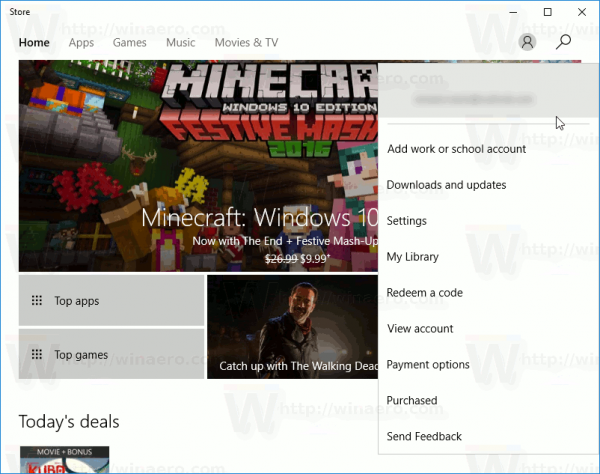
Now, do the following.
- Open Settings.
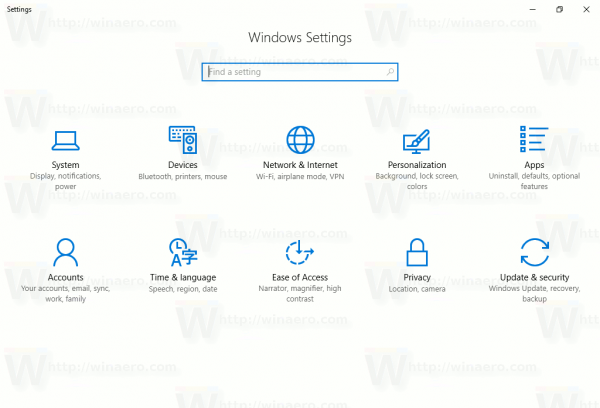
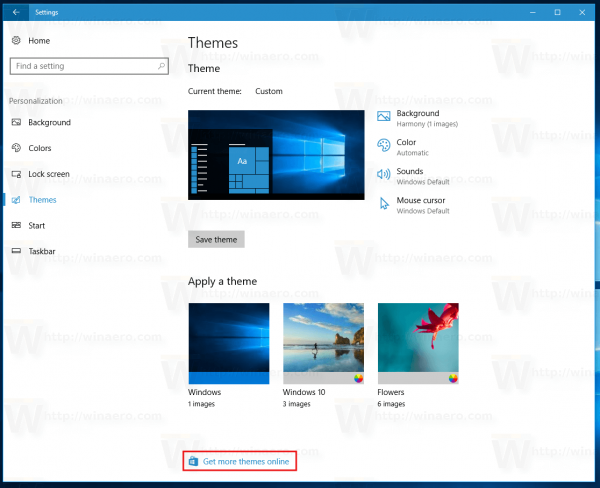
- Go to Personalization - Themes:
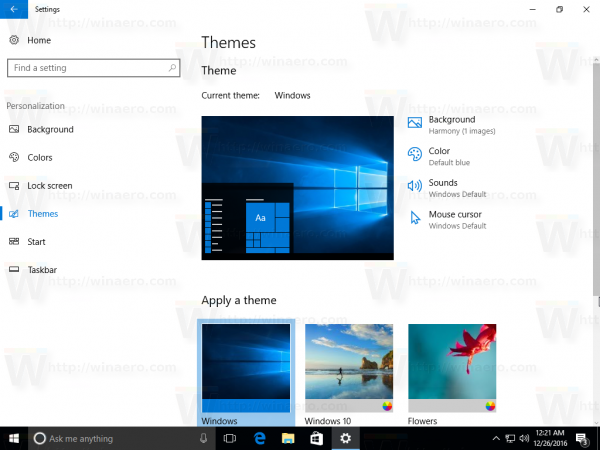
- The page lists installed themes. Under the theme list, you'll find the link Get more themes online with the Store icon. Click it.
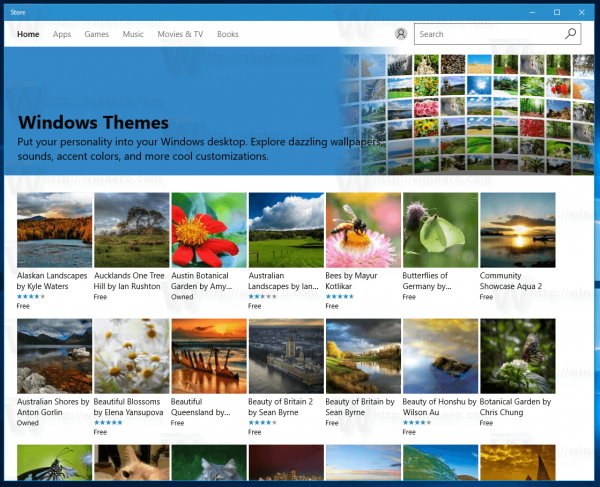
- The following page will be opened. There you will find the themes available in the Store.
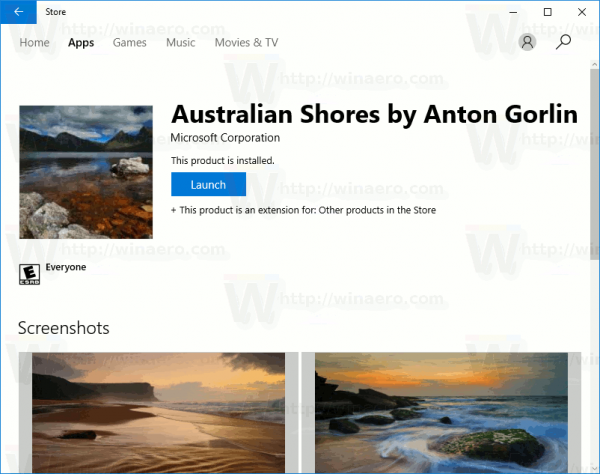
- Click a theme you like to open its details. There, see the button named "Get".

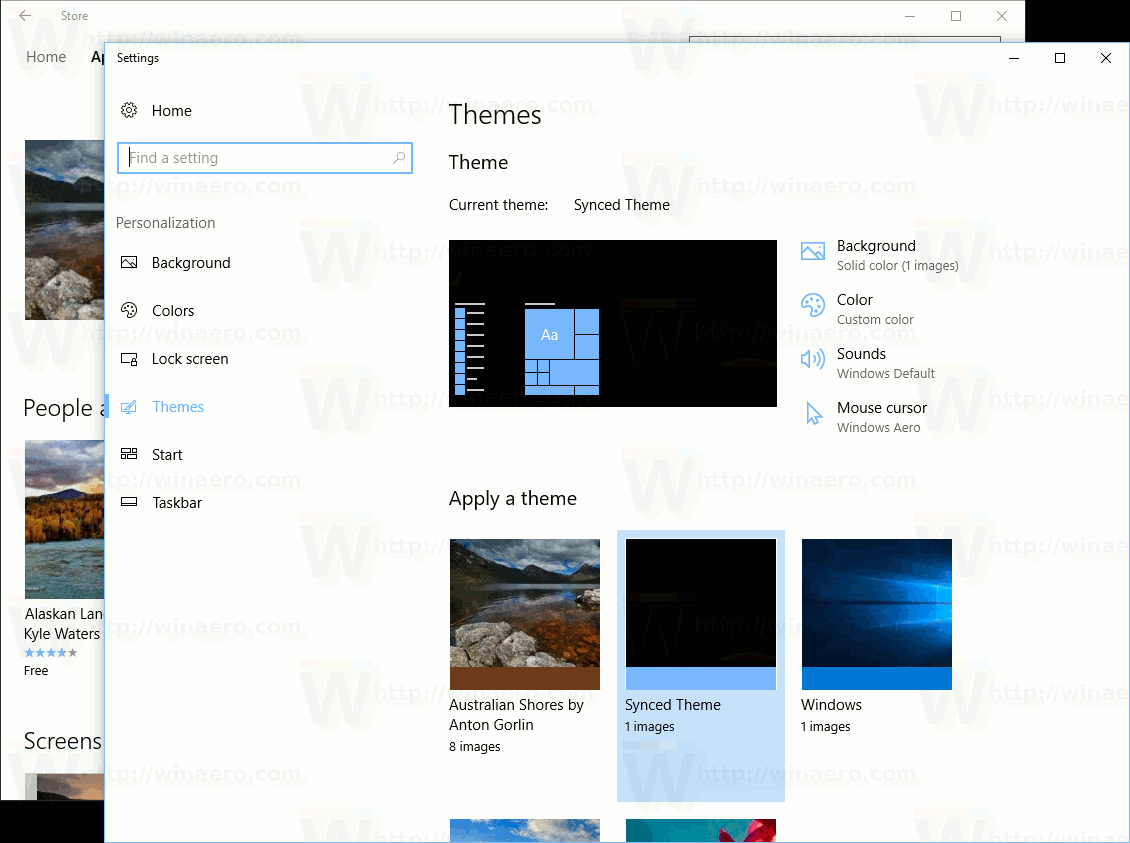
- When the theme has finished downloading, you can click on the Launch button. This will open the themes setting page.
Note: If you are running Windows 10 build 14997 and below, you should install themes from the Store manually. In older builds, the Windows Store app doesn't apply the downloaded theme automatically. It just downloads the themepack file to the folder C:\Program Files\WindowsApps and does nothing else. You need to install it manually.
How to Install Themes from Windows Store manually
- Open File Explorer.
- Paste the following text in the address bar:
%programfiles%\WindowsApps
If you get the error "access denied" or something like that, you might need to take ownership of the WindowsApps folder. See the article on How to take ownership and get full access to files and folders in Windows 10.
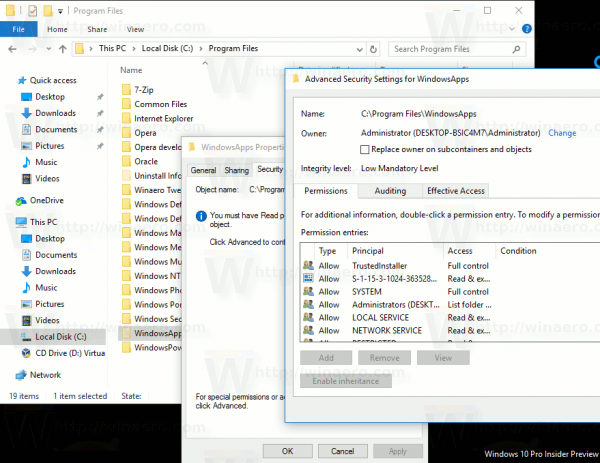 Note: you have to set your account you currently logged in as the owner of the folder. Otherwise, you won't be able to open it.
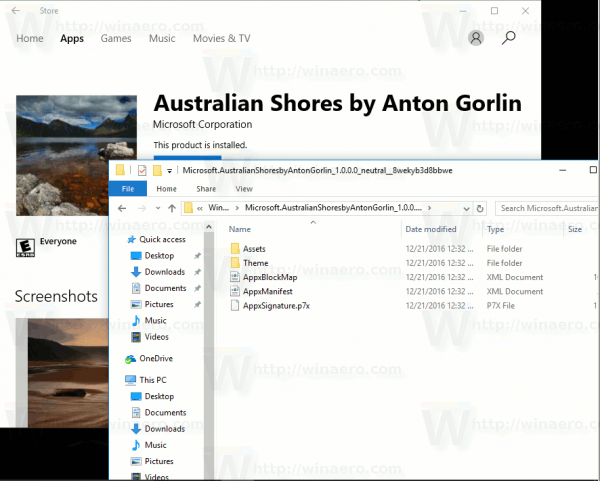
 - Find the folder named after the theme you downloaded using the steps above. For example, I downloaded the theme "Australian Shores by Anton Gorlin", so the folder is named Microsoft.AustralianShoresbyAntonGorlin_1.0.0.0_neutral__8wekyb3d8bbwe. See the following screenshot:
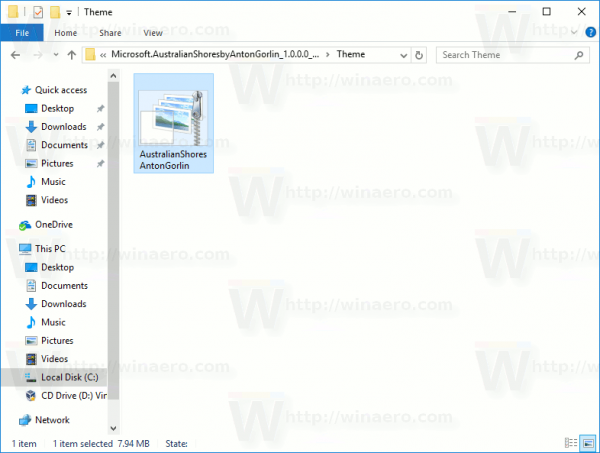
- You will find the *.themepack file in the Theme folder:
Double click it and you are done!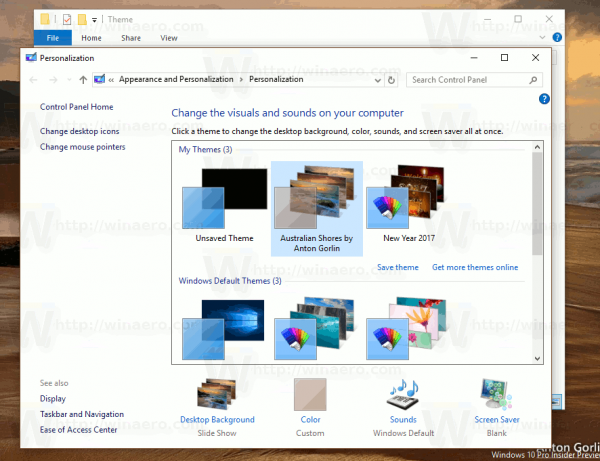
That's it.
Support us
Winaero greatly relies on your support. You can help the site keep bringing you interesting and useful content and software by using these options:

It’s funny to find my theme in the explanations :)
Thanks for your hard work. I like your theme very much!