You can enable Windows Sandbox on Windows 11, a secure environment that isolates the running apps from the main system. It is extremely useful for testing new apps and software you don't trust.
Advertisеment
Microsoft first introduced Windows Sandbox in Windows 10. You maybe already familiar with it. If not, it is a lightweight temporary desktop session to run apps of your choice isolated.
"Isolated" means that the app will run without accessing to files, Registry and other resources of you main Windows OS. Once you close the Sandbox, it will automatically erase all the data associated with it.
Due to this implementation, you cannot directly run an app in Windows Sandbox. You must install it inside the Sandbox before running it. Apps you have already installed on your host machine are not accessible from within the Sandbox.
This post will show you how to enable the Windows Sandbox feature in Windows 11.
Enable Windows Sandbox on Windows 11
- Press the Win + R shortcut keys and type
optionalfeatures.exeinto the Run dialog. Hit Enter.
- Place the check mark next to the Windows Sandbox option to enable it and click OK.
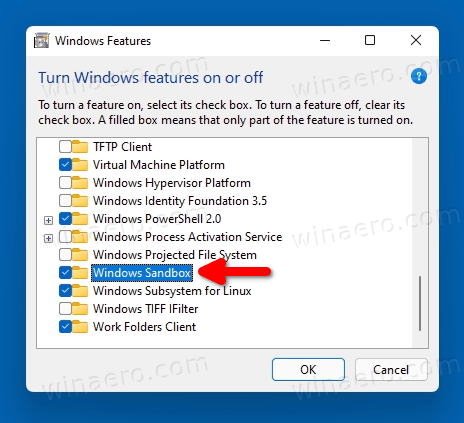
- Close the Windows Features dialog.
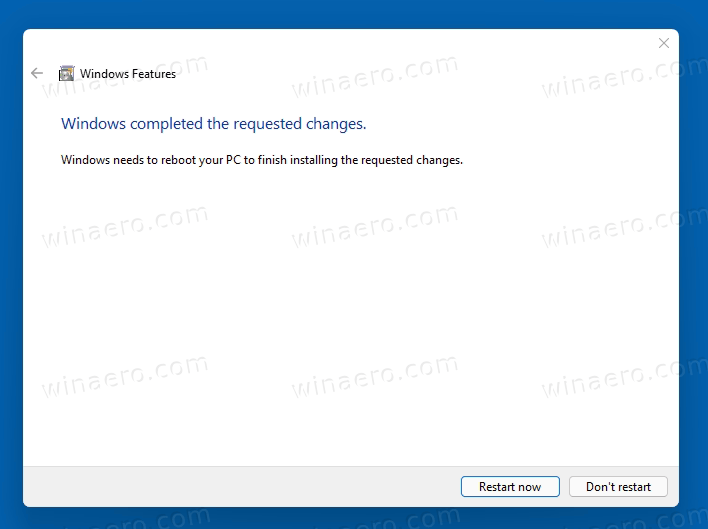
- Restart the OS to apply the changes.
Done! After restarting, you can start using Sandbox. See below how to use it. But before we start, here's a couple of alternative methods to enable the Sandbox feature.
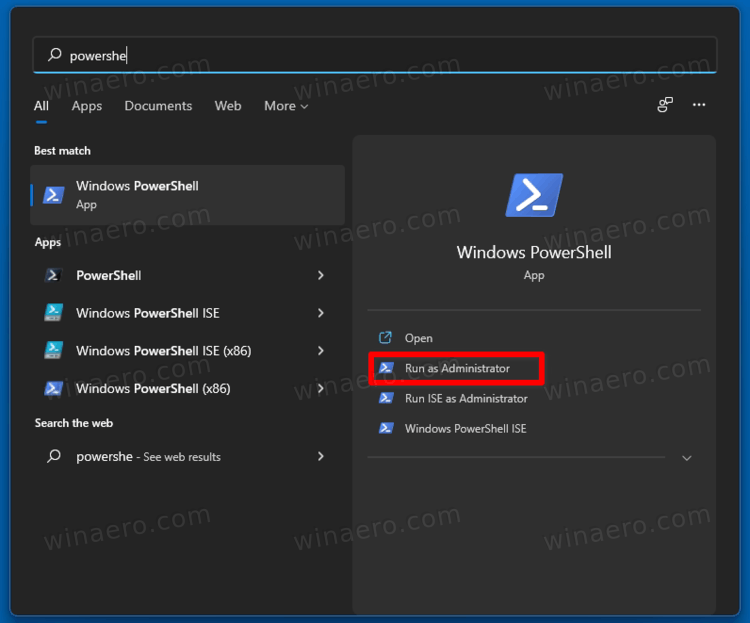
Enable Windows Sandbox with PowerShell
- Press Win + S to open Windows Search and type PowerShell.
- Click on Run as Administrator to start it elevated.
- Enter the following command and hit Enter:
Enable-WindowsOptionalFeature -Online -FeatureName "Containers-DisposableClientVM" -All.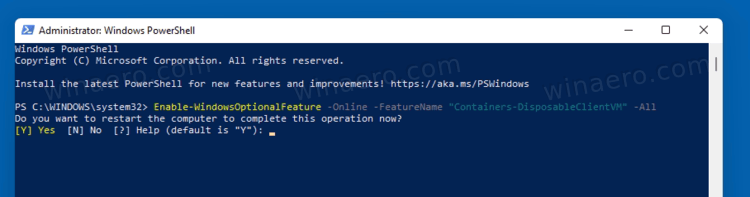
- The undo command that disables the Sandbox looks like this:
Disable-WindowsOptionalFeature -Online -FeatureName "Containers-DisposableClientVM" -Online. - If prompted to restart the OS, type Y.
If that's not enough, you can use the good old command prompt and the DISM tool to enable the feature. I'll show you how.
Turn on Windows Sandbox with DISM
- In Windows Search (Win+S), type
cmd. - Look for the Command Prompt item and then select Run as Administrator.
- Type the following command to enable the Sandbox:
dism /online /Enable-Feature /FeatureName:"Containers-DisposableClientVM" -All.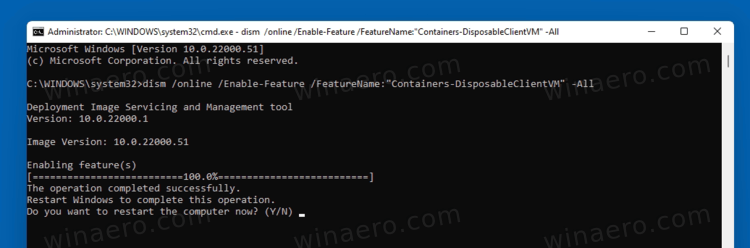
- Restart the OS if prompted to apply the change.
- Finally, the undo command to disable the feature is d
ism /online /Disable-Feature /FeatureName:"Containers-DisposableClientVM".
Done.
Enable Windows Sandbox in Windows 11 Home
- Download the ZIP archive named Sandbox Installer.zip. (H/t Deskmodder).
- Unpack the files to any folder of your choice.
- Unblock the files.
- Double click on the file Sandbox Installer.bat to activate the feature.
How does it work
The batch file registers all the Sandbox packages in Windows 11 Home, and tries to activate the "Containers-DisposableClientVM" optional feature using DISM. This should enable Windows Sandbox with ease!
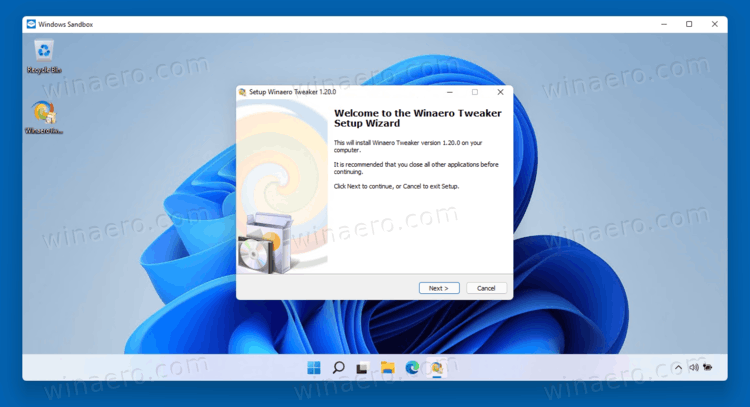
Now, let's see how to use Windows Sandbox to start an app using it.
How to use Windows Sandbox
- Open the Start menu and find Windows Sandbox.
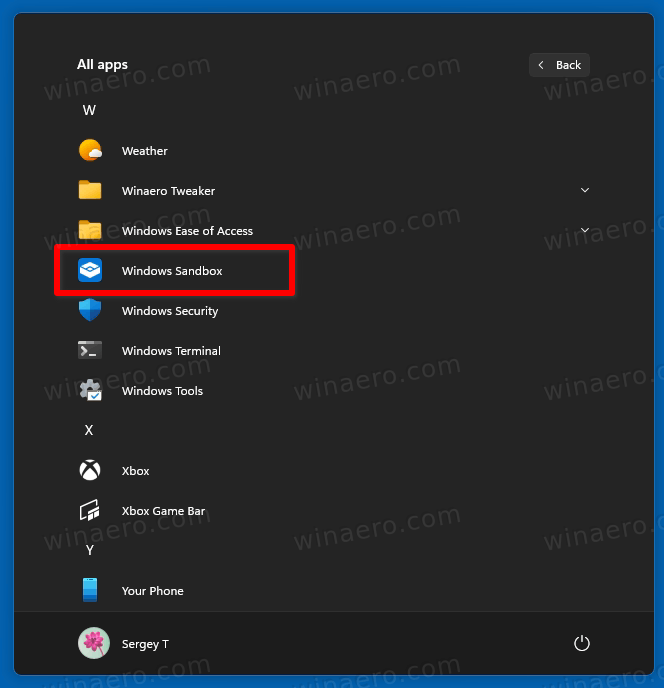
- Click its icon and confirm the UAC prompt to run it.
- Copy the app you want to run it, e.g. some installer or executable file, on the host machine.
- Switch to the Windows Sandbox window and paste the file. Also, you can directly download a file using the Edge browser in the Sandbox session.
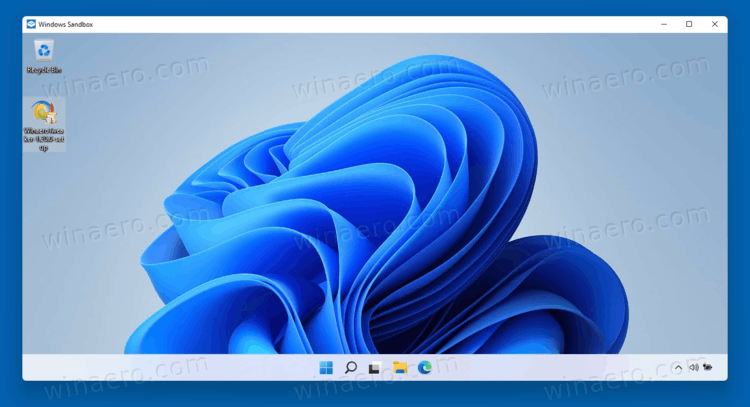
- Run the app in Sandbox by clicking on the file you just paste.
- After you checked and tested the app, you can just close the Sandbox window. Its session will be removed, and all the associated data will be destroyed.
Finally, I would like to mention that Sandbox is not available in home editions of Windows 11. It is included in Pro and Enterprise versions of the OS.
Support us
Winaero greatly relies on your support. You can help the site keep bringing you interesting and useful content and software by using these options:

Hello Sergey,
Another great guide man.
Thanks
Thanks for the guide. None of these options work though – Windows Optional Features does not have the Sandbox in it as of 22000.168; all shell options result in the error “Feature name Containers-DisposableClientVM is unknown”. Perhaps it has been removed or is only available in specific Windows SKUs? I am using “Windows 11 Home” on the insider fast ring.
Hello.
Windows Home doesn’t include the sandbox feature.
I have updated the post with instructions for Windows 11 Home.
I have installed succesfully, but when launched pop up says “Windows Sandbox failed to initialize”?
Make sure that you have all the VT-related features enabled in bios/uefi
Yes. Still does not initialize.
Great info. One tiny nit:
Running Win 11 Pro on digital license (free upgrade from Windows 10 Pro). Never had a license key for 11.
When the Sandbox comes up, if I run it for longer than 30 minutes, it complains that “Windows hasn’t been activated.” This happens right away if I try to change any system settings or personalization (e.g., changing the assignment of mouse buttons for left-handed use).
The troubleshooter won’t run. If I try to activate using my Windows 10 Pro key (from the box), it says the key is invalid.
What should I do?