If you don't like to see extra information the search shows in Windows 11 and Windows 10, you can disable Search Highlights. It is the latest addition Microsoft made to Windows Search to help you explore more.
Advertisеment
Search Highlights is a new feature Microsoft introduced for both Windows 11 and Windows 10. For the latter, it is available in version 21H2 starting with build 19044.1618.
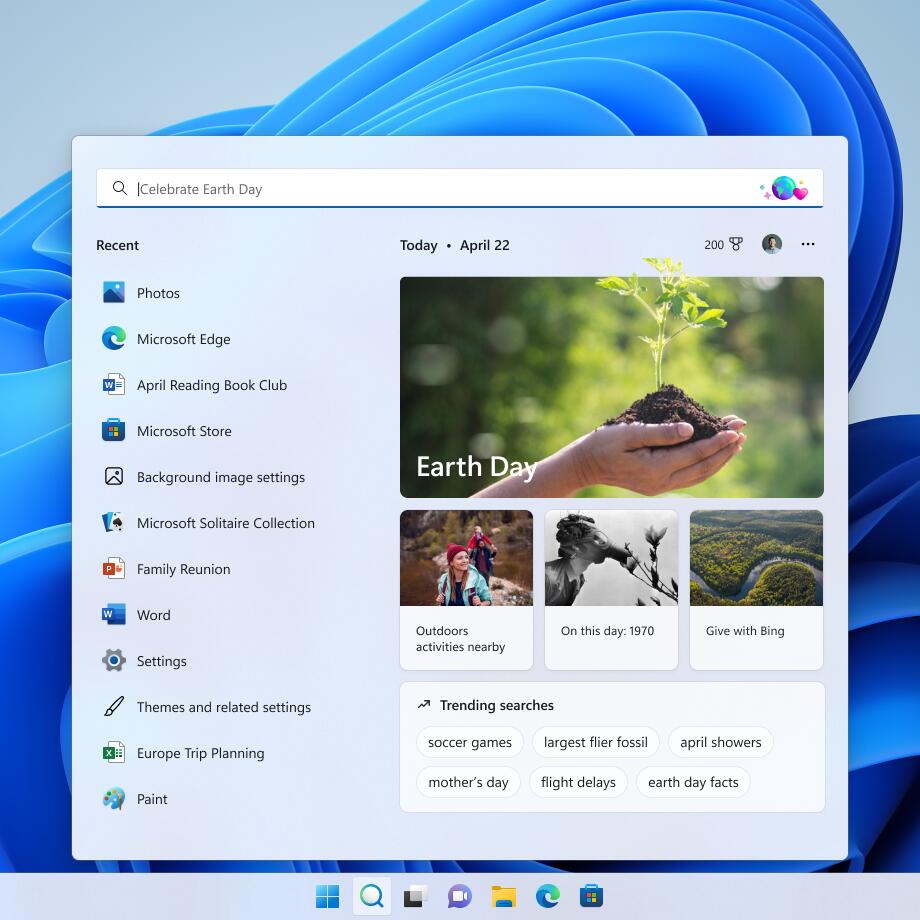
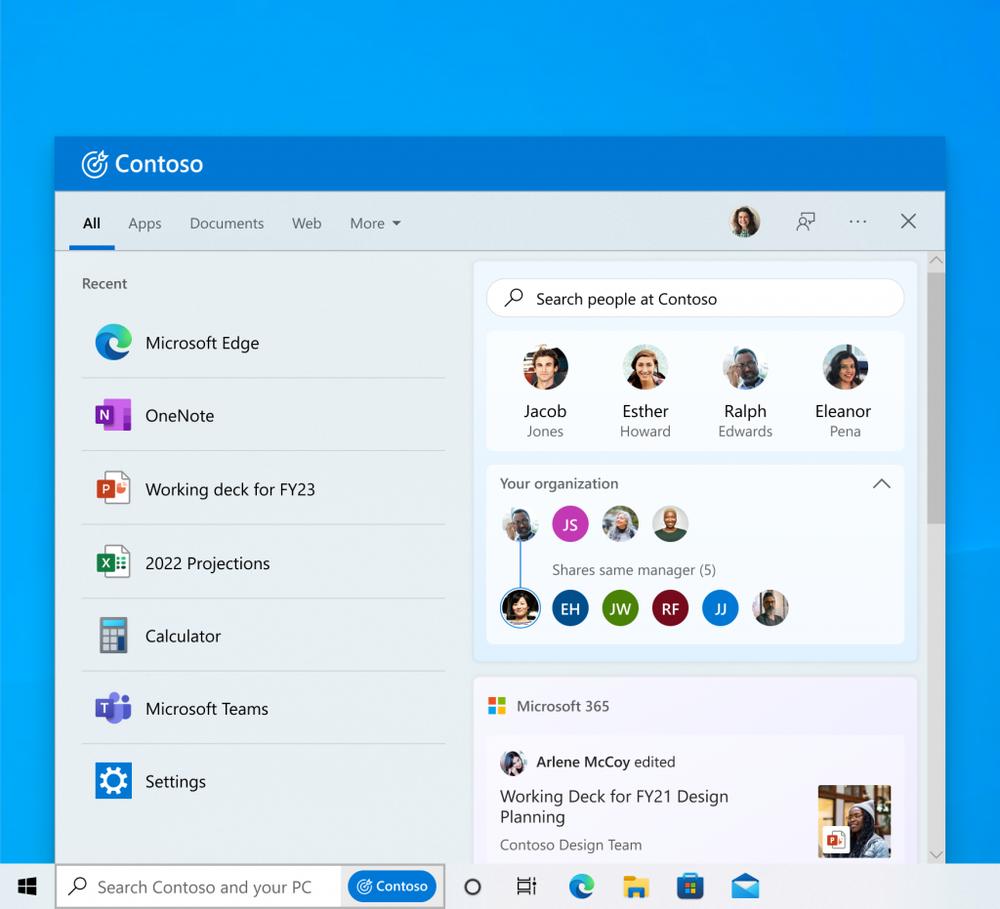
So, what it does? Search Highlights replaces the initial contents of the Search pane. Instead of the boring list of recent apps and documents, it includes some interactive data.
It may highlight some global and local events around you, holidays, anniversaries. It may also show you this day in history if there was something notable in the past. For enterprise devices and school computers, Search Highlights will include a people chart and shared files and projects.
Despite displaying all this data, Search luckily retains its primary feature. It is still able to search for files locally, and run online queries via Bing. It still shows the list of recently used apps.
The feature rotates various blocks of information right in the search pane. There are 'this day in history', local and global events, recent docs, and similar stuff.
Obviously, some users aren't happy with these changes and find the updated Windows Search bloated. Luckily, Microsoft offers a simple method to get rid of it. Let's review how to disable Search Highlights in both Windows 11 and Windows 10.
Disable Search Highlights in Windows 11
The easiest way to disable Search Highlights in Windows 11 is the option in the Settings app. Do the following.
- Press Win + I to open the Settings app.
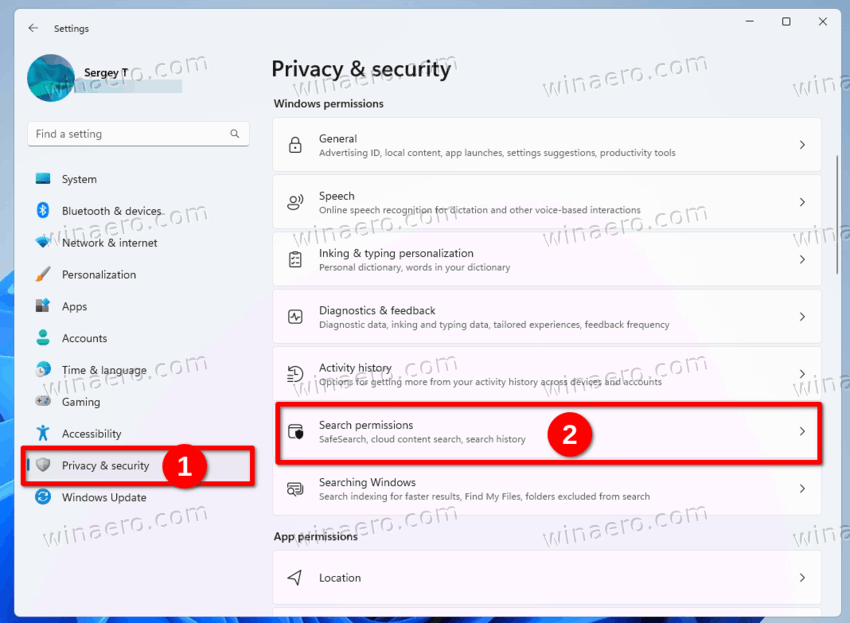
- Click Privacy & security in the left pane.
- On the right, select Search permissions.
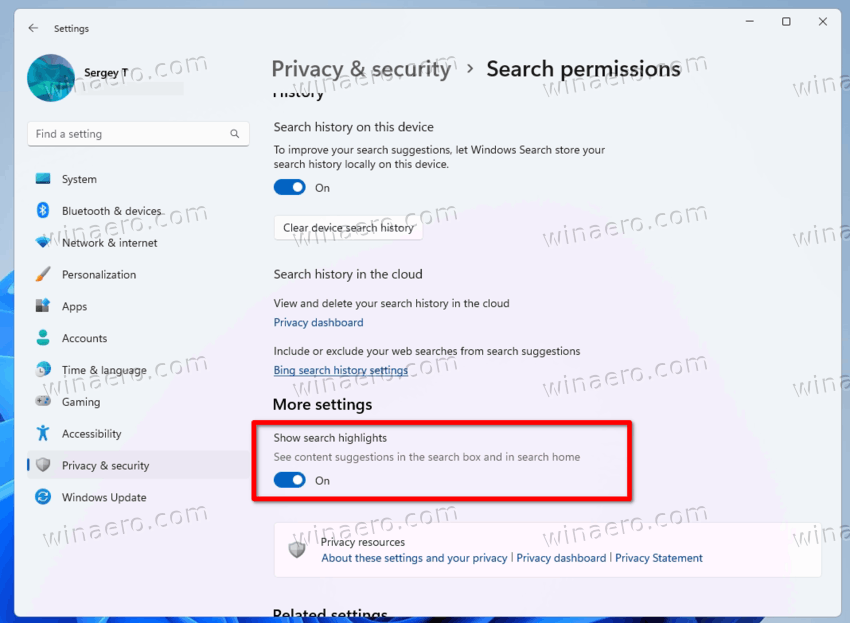
- On the next page, disable the Show search highlights option.
You are done. Now open the Search pane by clicking the taskbar button or pressing Win + S. It will look like what it used to be in Windows 10 prior to this change.
Alternatively, you can apply a registry tweak.
Using the Registry tweak
- Download these REG files in the ZIP archive.
- Extract the downloaded tiles to any folder.
- Now, double-click the
Disable_Search_Highlights.regfile to open it. - Confirm the User Account Control prompt.
You are done. The search highlight feature is now disabled. To undo the change, use the included Enable_Search_Highlights.reg file.
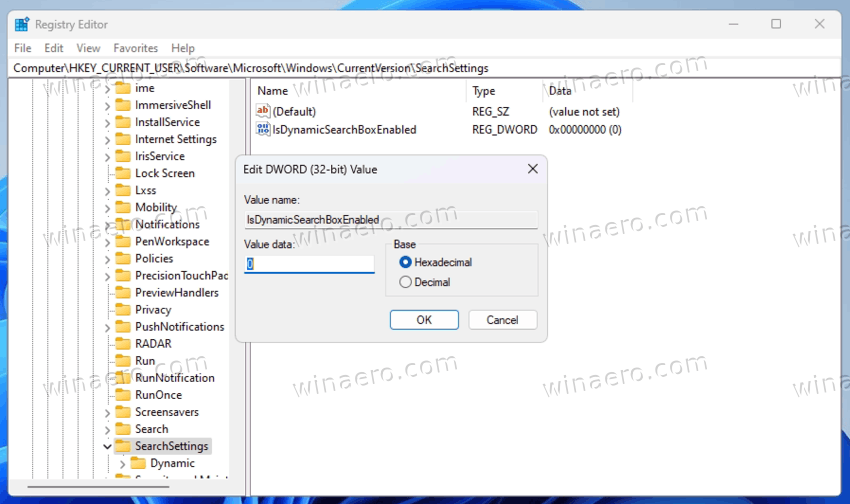
Both files modify the HKEY_CURRENT_USER\Software\Microsoft\Windows\CurrentVersion\SearchSettings key.
There, they change the IsDynamicSearchBoxEnabled 32-bit dword value.
- IsDynamicSearchBoxEnabled = 0 - turn off search highlights.
- IsDynamicSearchBoxEnabled = 1 - turn on search highlights (default).
Similarly, you can disable it in Windows 10. The option is the same, but it is in a different location.
Disable Search Highlights in Build 25252
Starting in Windows 11 Build 25252, Microsoft introduced a revamped look of search in the taskbar. It also includes a new search highlights experience.

In addition to the Settings option and the registry tweak reviewed above, you can completely get rid of this feature with help of ViveTool.
To completely disable Search Highlights in Windows 11 Build 25252, do the following.
- Download ViveTool from GitHub linked here.
- Extract its ZIP archive and put the files to the c:\vivetool folder.
- Now, press Win + X on the keyboard and select Terminal(Admin) from the menu.
- In either PowerShell (Ctrl + Shift + 1) or Command Prompt(Ctrl + Shift + 2) tab type the following command and hit Enter:
c:\vivetool\vivetool /disable /id:41415839. - Restart Windows 11.
You are done. The search highlight will disappear. You will find more details on this change in this post.
Finally, to re-enable search highlights at any moment later, run the opposite command in the step 4: c:\vivetool\vivetool /enable /id:41415839.
Turn off Search Highlights in Windows 10
To disable the Search Highlights feature in Windows 10, do the following.
- Open the Settings app using any of the available methods.
- Right-click the taskbar to open its context menu.
- Head over the Search section.
- Now, click the Show search highlights item to clear the checkmark from it.
- Windows Search in Windows 10 will not longer include "Highlights".
Done!
It is also worth nothing that you'll be able to reverse the change and re-enable the feature at any moment later by enabling the Show search highlights option in the taskbar menu or in Settings.
Additionally, Microsoft provides a Group Policy option to disable search highlights.
Disable Search Highlights with Group Policy
- Press Win + R and type
gpedit.mscin the Run dialog.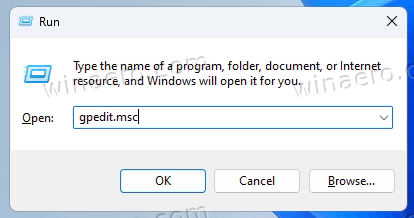
- In the Local Group Policy Editor, open Computer Configuration >Windows Components > Search > Allow search and highlights.
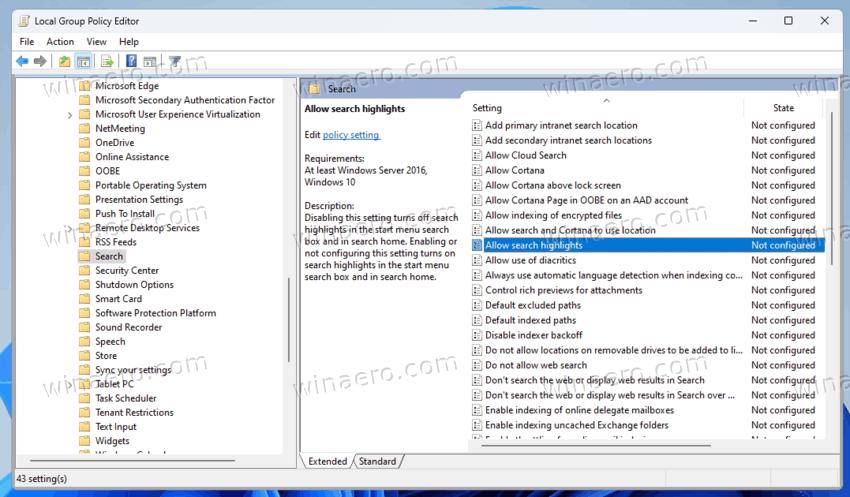
- Double-click the Allow search and highlights option to open it.
- Set it to Disabled to disable search highlights. This works in both Windows 11 and Windows 10.

Done! Setting this policy to Disabled turns off search highlights in the taskbar search box and in search pane (Win + S).
To undo the change, you can set the policy back to Not configured at any moment later.
As you know, not all editions of Windows 1o and 11 include the gpedit.msc app. If you run the Home edition, it won't be available to you.
💡You can quickly find what edition you have installed by typing winver in the Run dialog (Win + R).
But there is a Registry tweak for the reviewed Group Policy that works in any edition of Windows. Users of Windows 11/10 Home can apply it by using the Registry Editor app.
Disable Search Highlights with a Policy Tweak
- Press Win + S to open the Search panel and type
regedit, then click the Registry Editor app to run it.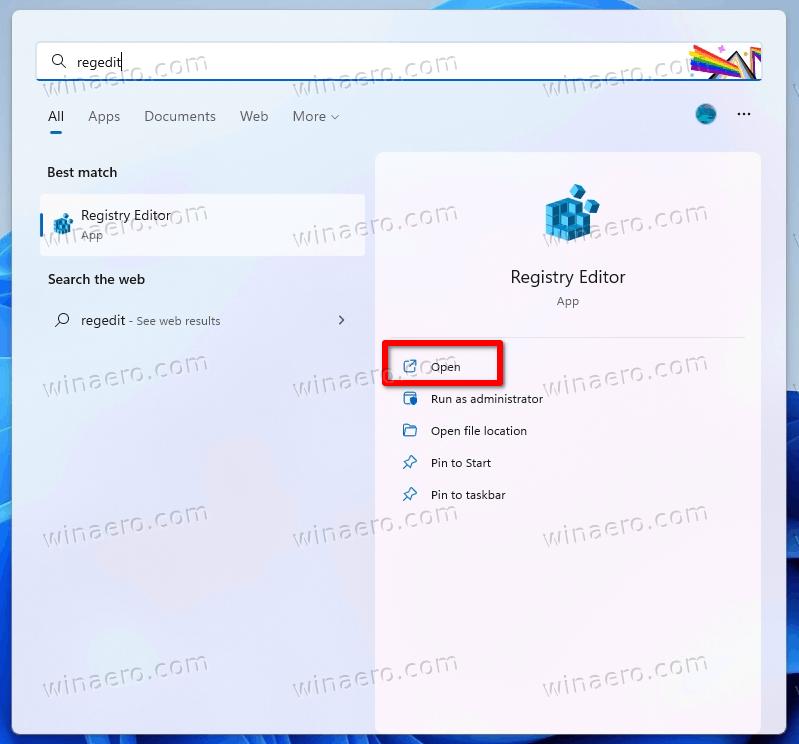
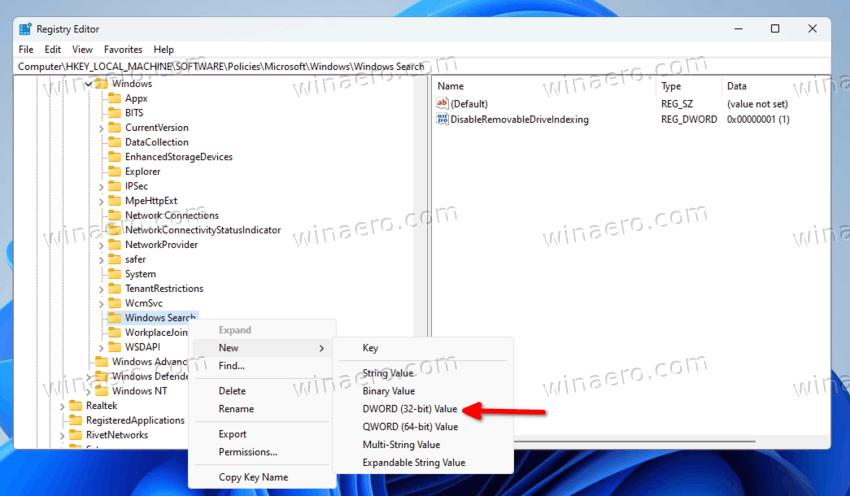
- In the Registry editor, navigate to the HKEY_LOCAL_MACHINE\SOFTWARE\Policies\Microsoft\Windows\Windows Search key on the left.
- Right-click the Windows Search key "folder" and select New > DWORD (32-bit) Value from the menu.
- Name the new value as EnableDynamicContentInWSB and double-click it to open.
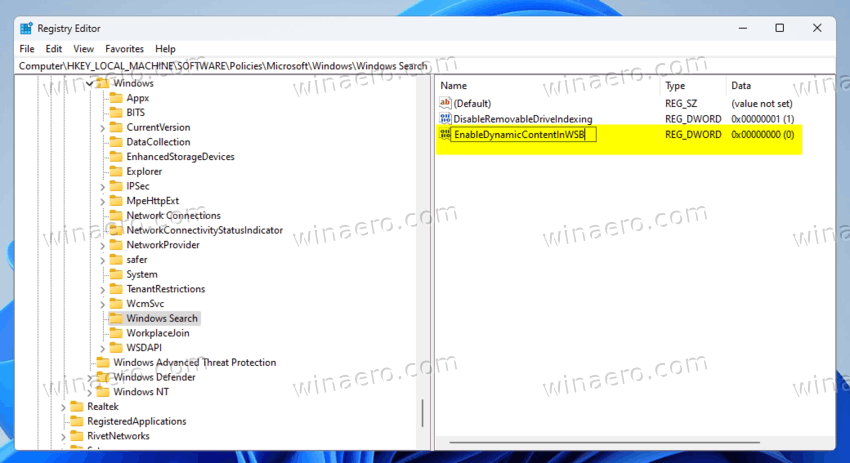
- Ensure that its value data is 0 (zero), and close the Registry editor.
- Restart your computer to apply the change.
Done! It is easy to undone the change and re-enable search highlights by removing the EnableDynamicContentInWSB entry and restarting the PC. You can do it at any moment of time.
Finally, you can save some time by downloading the REG files I've prepared.
Download REG files
Download the ZIP archive with two files by visiting this link. Open it and extract the REG files to any convenient location.
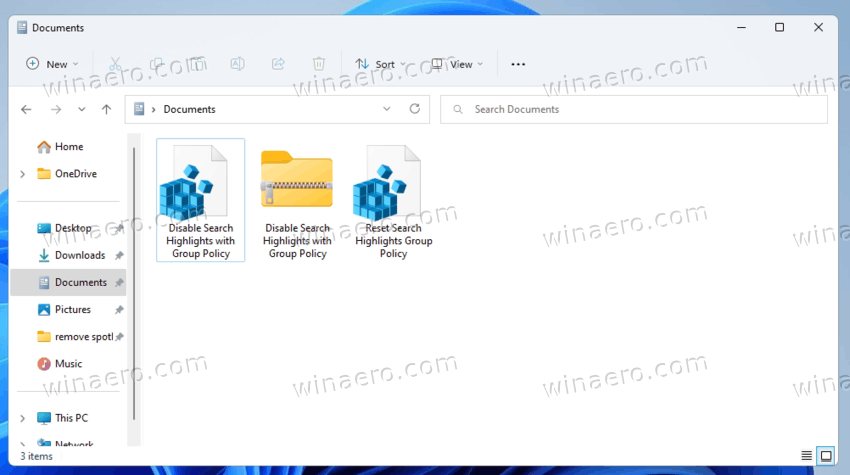
Now, double-click on the Disable Search Highlights with Group Policy.reg file to open it. Confirm the User Account Control request by clicking Yes, and confirm the addition of the changes to the Registry.
Finally, restart the computer. You will no longer see the extra content in search.
The other file, Reset Search Highlights Group Policy.reg, will undo the change. Similarly, open it, merge with the Registry, and restart Windows to undo the configuration for the search feature.
That's it.
Support us
Winaero greatly relies on your support. You can help the site keep bringing you interesting and useful content and software by using these options:

Hello Winaero, I think you made a typo in this article. The typo is:
Windows Search in Windows 1 will not longer include “Highlights”.
It should be Windows 10 not Windows 1.
Thank you very much! Fixed