In certain situations you may need to disable firewall in Windows 11, e.g. to troubleshoot a network connectivity for some local or remote service or app. For that task, the operating system offers a number of options,including the GUI and a few console commands. There's also the ability to disable firewall with Group Policy.
Advertisеment
Since Windows XP SP1 days, Microsoft Windows includes a built-in firewall. In Windows 11, it is part of the Windows Security app, and is called Microsoft Defender Firewall.
The Defender Firewall provides essential filtering options. It is based on three profiles, each of those match the network type. Using them, you can allow or deny specific network services to work in Private, Public and Domain networks.
For quick tasks, like enabling or disabling the firewall, or configuring basic rules, Windows Security includes a simple user interface. Also, for advanced user who need more advanced filtering rules, there is the "Windows Firewall with Advanced Security" snap-in. Finally, there are Group Policy options to change some of the firewall settings.
Disable Firewall in Windows 11
There are five methods to turn off Defender Firewall in Windows 11. You can use Windows Security, the classic Control Panel, the command prompt, PowerShell, Group Policy and its corresponding Registry tweak. In this post, we will review all these methods in detail.
Disable Firewall using Windows Security
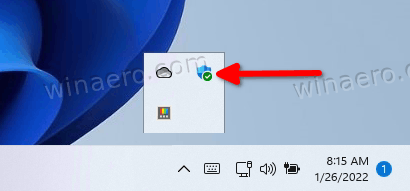
- Click the Windows Security icon in the right taskbar corner.
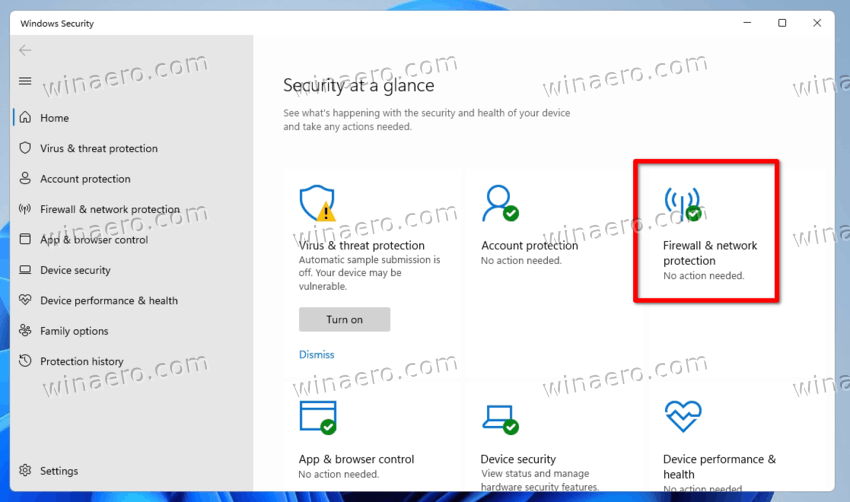
- In its user interface, click the Firewall & network protection section.
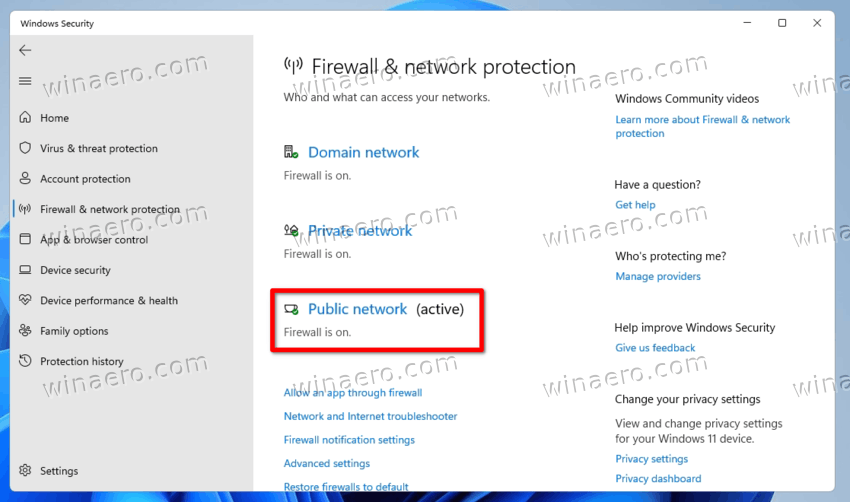
- On the next page, click on the Domain network, Private network, or Public network location type for which you want to disable firewall. Your current network location type has the (active) name addition.
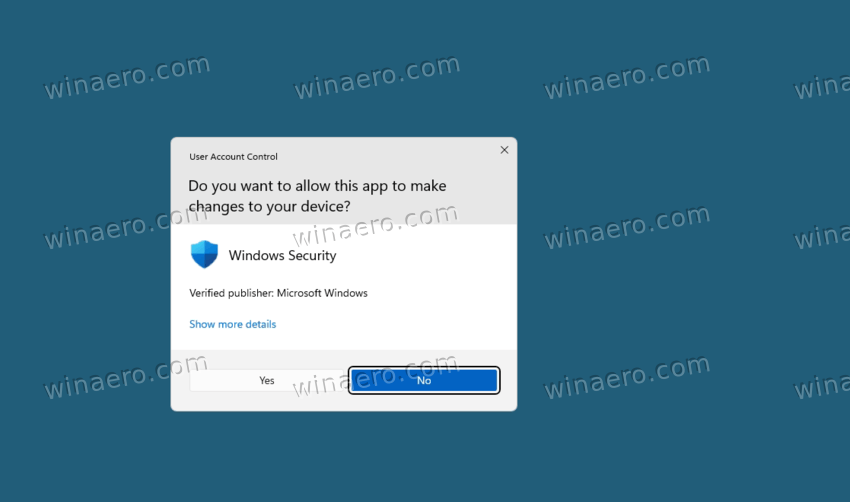
- Finally, click on the Microsoft Defender Firewall toggle option and confirm the UAC prompt.
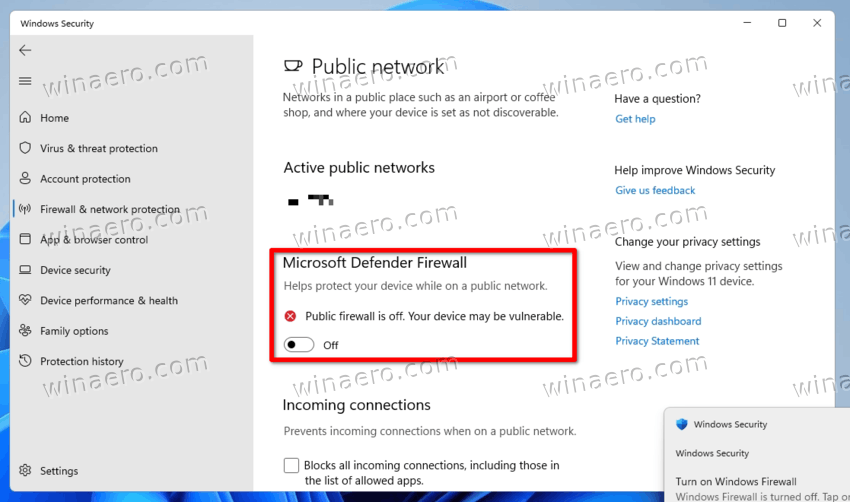
- Repeat the steps 3-4 for each of the network profiles you want to disable firewall for.
The firewall in Windows 11 is now disabled. You can re-enable it at any moment later by using the same option in Windows Security.
Alternatively, you can use the classic Control Panel. It still retains the options to turn off and on the Windows Firewall.
Turn off Defender Firewall in Control Panel
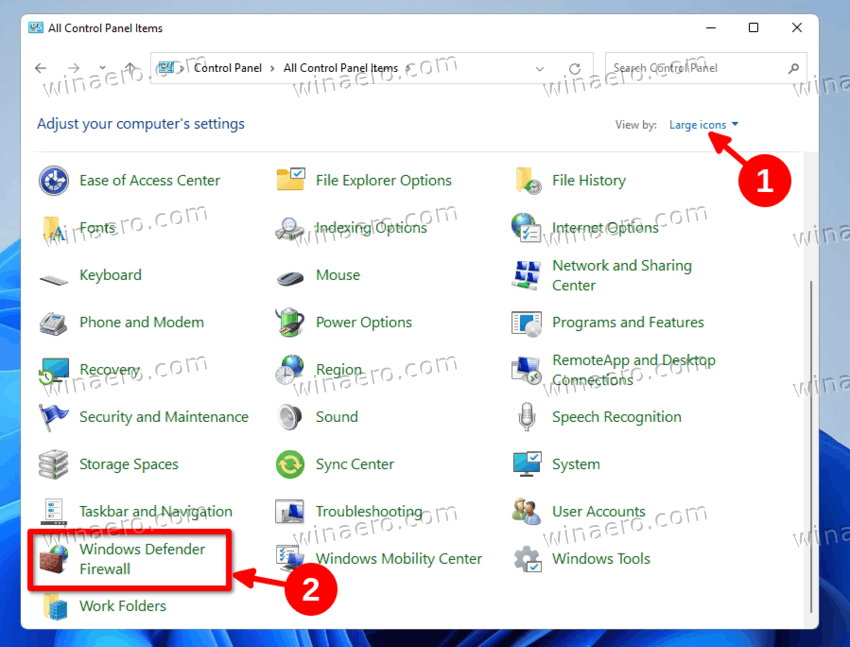
- Press Win + R on the keyboard and type
controlin the Run box; hit Enter to open the Control Panel. - Switch from the Category view to either Large icons or Small icons, and click the Windows Defender Firewall icon.
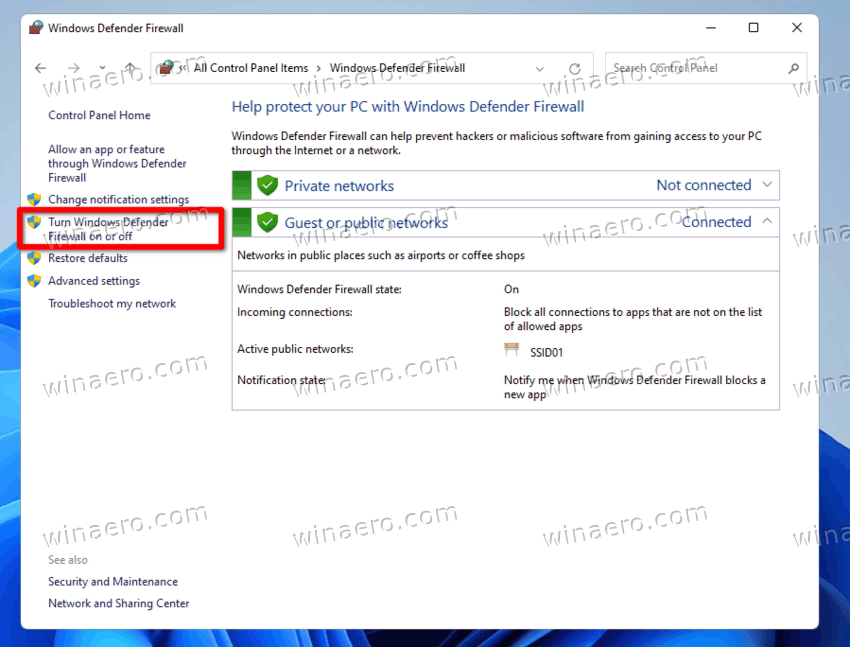
- Now, on the left, click the Turn Windows Defender Firewall on or off link.
- Finally, expand the needed profile, e.g. Private network, Public network, or the Domain network (where available), and select Turn off Windows Defender Firewall.
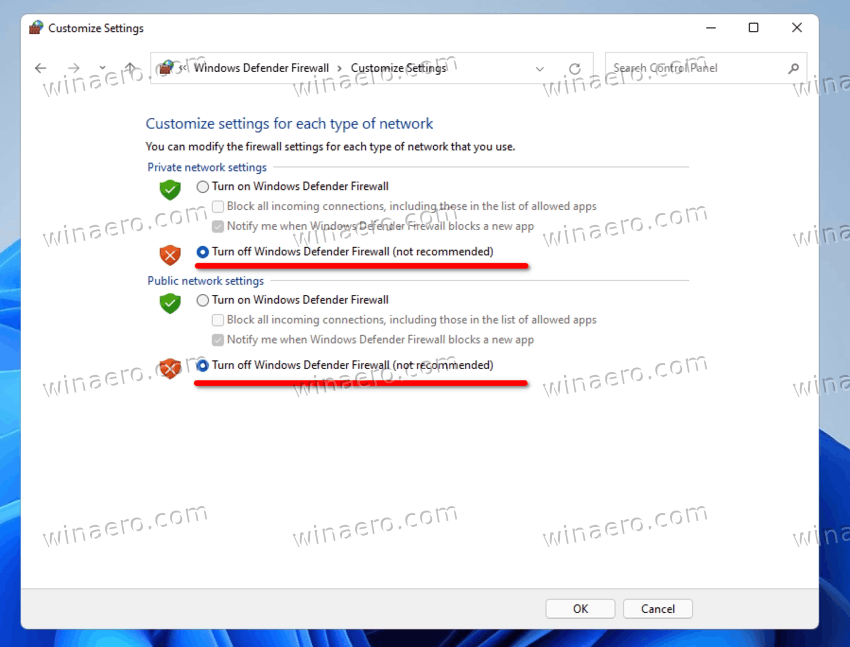
- Click the OK button to apply the change.
You are done! You can re-enable it at any moment later by selecting the Turn on Windows Defender Firewall option.
In addition to the two above options, there are console tools to manage the firewall feature on Windows 11. You can use netsh, and a couple of PowerShell commands.
Turn off Windows Firewall from the Command Prompt
To disable the firewall in Windows 11 from the command prompt, do the following.
- Press Win + X and select Windows Terminal (Admin).
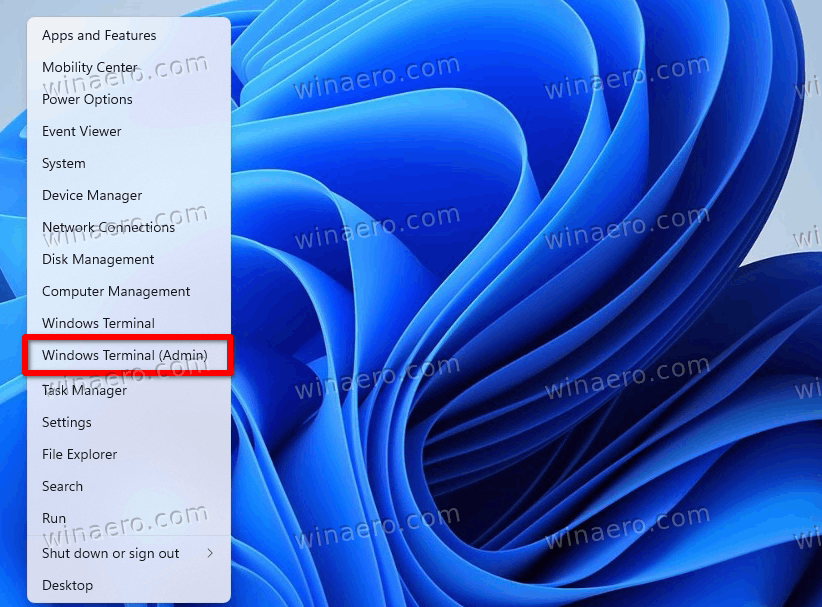
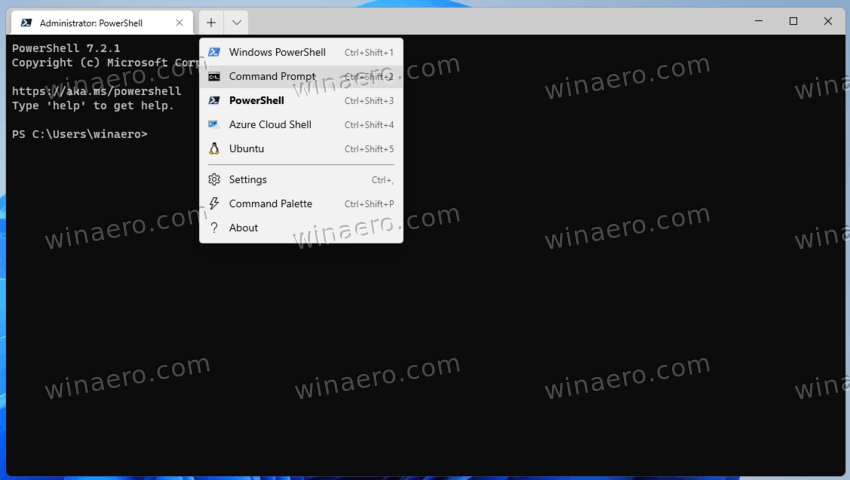
- If not already, switch it to the Command Prompt from the menu or with the Ctrl + Shift + 2 shortcut.
- Now, type one of the following commands, depending on your network connection type.
For all network profiles
- Type and run the
netsh advfirewall set allprofiles state offcommand to disable firewall for all network types at once.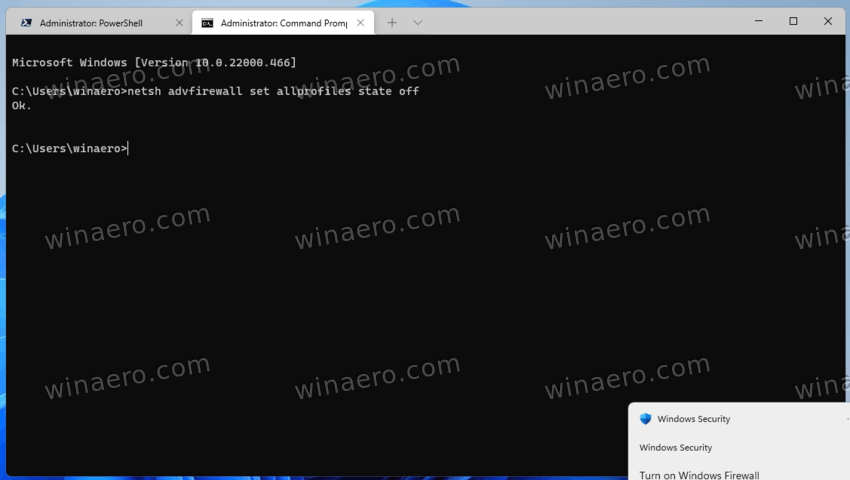
- The opposite command to re-enable it is
netsh advfirewall set allprofiles state on.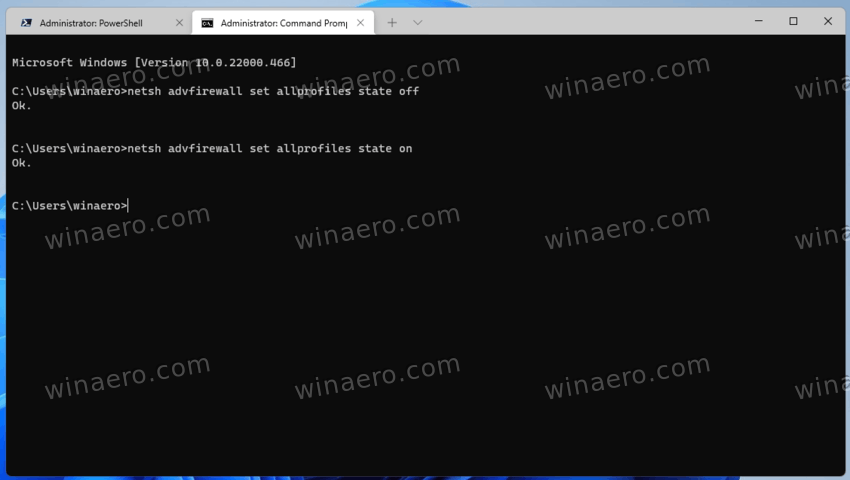
For the current network profile
- You can use this command to disable it for the active network profile:
netsh advfirewall set currentprofile state off.
- The undo command is
netsh advfirewall set currentprofile state on.
Disable firewall for Private Network
To disable firewall for the private network profile, run the netsh advfirewall set privateprofile state off command.
To enable firewall, run the command netsh advfirewall set privateprofile state on.
Turn off firewall for Public Network
To disable firewall for a public network, run the netsh advfirewall set publicprofile state off command.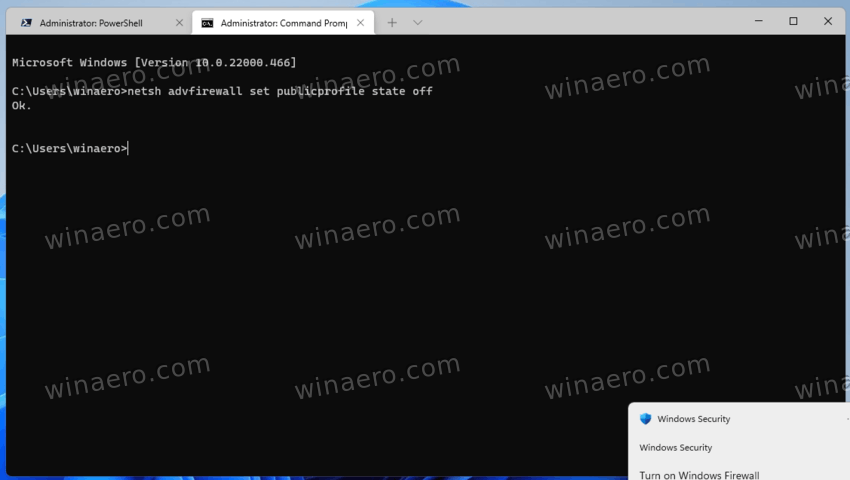
The undo command to enable firewall is netsh advfirewall set publicprofile state on.
Commands for Domain Network
Finally, if your PC is in a domain, you can use the following commands for the domain network profile.
- netsh advfirewall set domainprofile state off (turn off firewall)
- netsh advfirewall set domainprofile state on (turn on firewall)
Finally, PowerShell in Windows 11 including a few commands to disable the Defender Firewall. If you prefer PowerShell for system maintenance, here are the cmdlets you can use.
Turn off Defender Firewall in Windows 11 using PowerShell
- Right-click the Start button and select Windows Terminal (Admin).
- Make sure it opens in PowerShell; otherwise, switch to it (Ctrl + Shift + 1).
- To disable firewall in Windows 11 for all profiles, run the command
Set-NetFirewallProfile -Enabled False. The undo command isSet-NetFirewallProfile -Enabled True.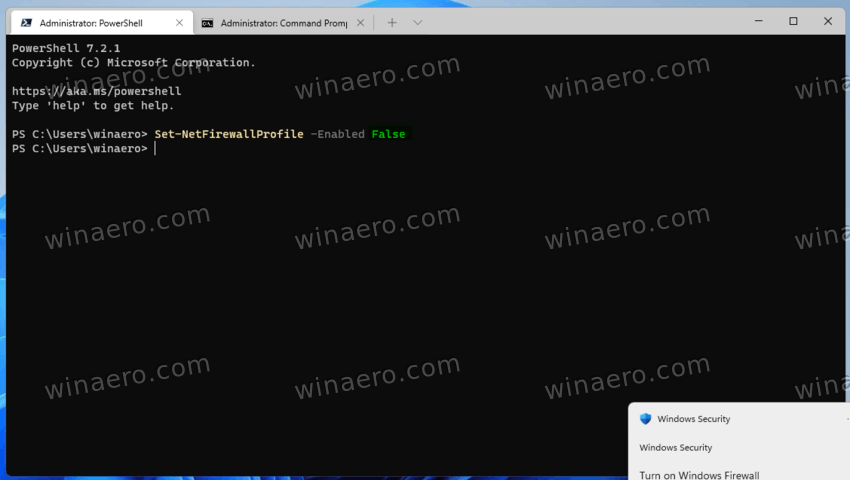
- To turn off firewall for a specific network profile type, run the command
Set-NetFirewallProfile -Profile <NetworkProfileType> -Enabled False. Substitute<NetworkProfileType>with one of the following values:- Private - to disable it for the private network profile.
- Public - disable firewall for the Public network.
- Domain - disable firewall for the domain network if your PC is in a domain.
- Similarly, the undo command is
Set-NetFirewallProfile -Profile <NetworkProfileType> -Enabled True.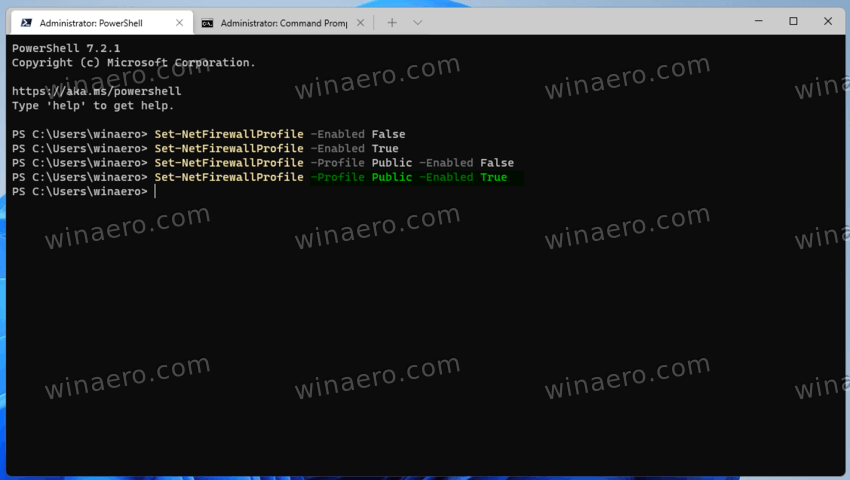
Now, let's review how to disable Microsoft Defender Firewall with Group Policy. The key difference of this method is that it works as a restriction. Once you configure the Group Policy, users will no longer able to manually disable or enable the firewall until you turn off the policy.
Users of Windows 11 Pro, Education and Enterprise editions can use the Local Group Policy Editor app. While the app is not available in Windows 11 Home, you can can apply a Registry tweak in any edition of the OS. The tweak does the same as Group Policy.
Disable Firewall in Windows 11 with Group Policy
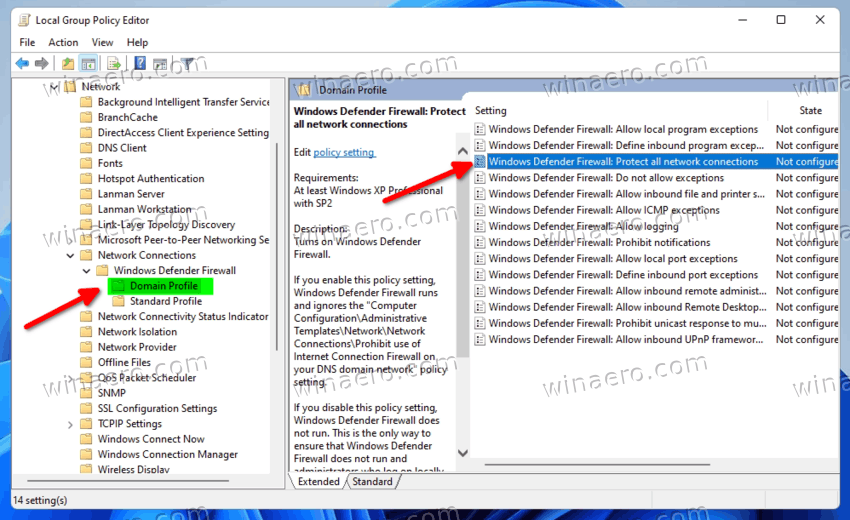
- Press Win + R and type
gpedit.mscin the Run box to open the Local Group Policy Editor. - On the left, go to Computer Configuration>Administrative Templates>Network>Network Connections>Windows Defender Firewall>Standard Profile.
- In the right pane, double-click the policy named Windows Defender Firewall: Protect all network connections.
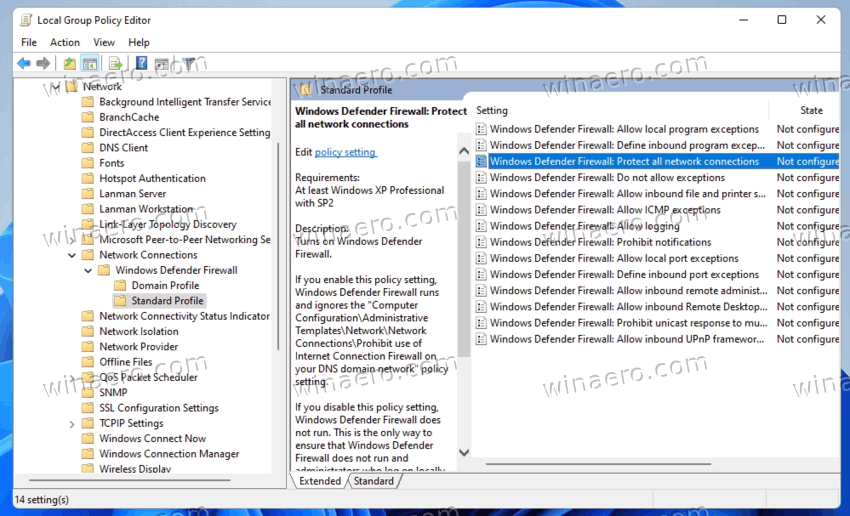
- Select Disabled to turn off the firewall for all private and public network profiles. Click on Apply and OK.

- To disable firewall for a domain network profile, open Computer Configuration>Administrative Templates>Network>Network Connections>Windows Defender Firewall>Domain Profile.
- Similarly, double -click the Windows Defender Firewall: Protect all network connections option and set it to Disabled.
You are done! You just disabled Windows 11 Firewall, so users of the computers won't be able to re-enable it. The appropriate options in Windows Security and Control Panel will be grayed out.
To undo the restriction, set the Windows Defender Firewall: Protect all network connections policy to Not configured under the Computer Configuration>Administrative Templates>Network>Network Connections>Windows Defender Firewall section under both Standard Profile and Domain Profile folders.
Finally, let's review the last option, which is the Registry tweak. It is a working alternative to the missing Group Policy Editor app in Windows 11 Home.
Registry Tweak to Disable Firewall in Windows 11
- Press Win + R and type
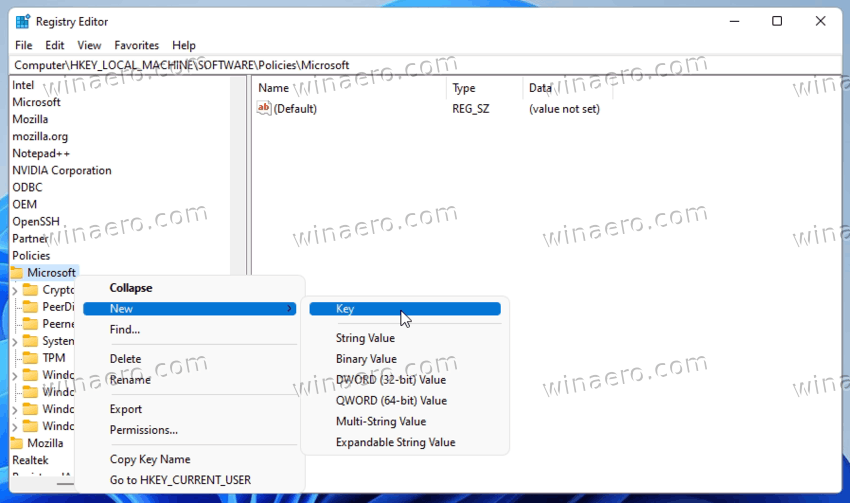
regedit, then press Enter to launch the Registry editor. - Navigate to the
HKEY_LOCAL_MACHINE\SOFTWARE\Policies\Microsoftkey. You can simply copy this path and paste it to the regedit's address bar. - Right-click the Microsoft key and select new > key from the menu. Name it as WindowsFirewall.
- Now, right-click WindowsFirewall and create a new key named StandardProfile.
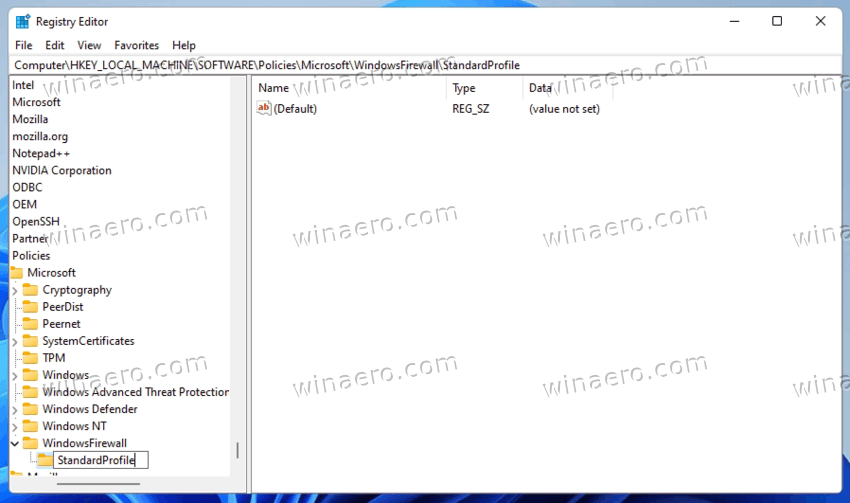
- Finally, right-click StandardProfile and select New > DWORD (32-bit) Value.
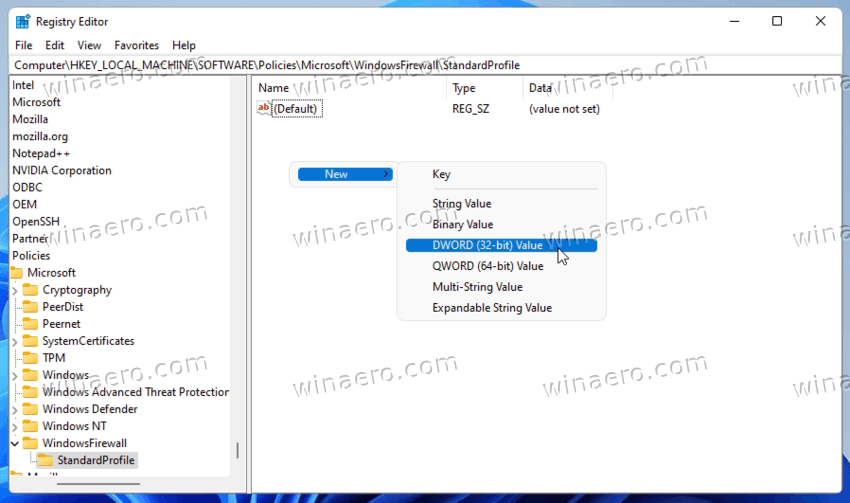
- Rename the new value to EnableFirewall and leave its value data as 0 (zero).
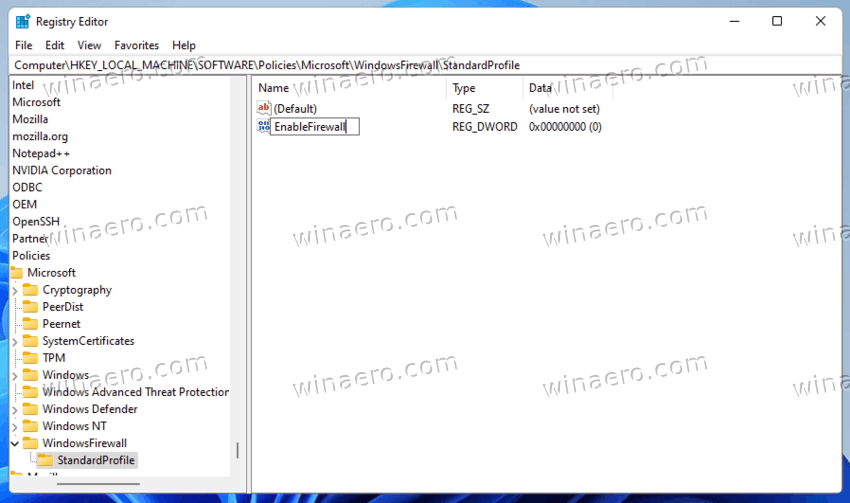
Done! This will disable Firewall for both public and private networks.
If you need to disable it for the domain profile, you need to create the same DWORD value but under a different location.
Turn off firewall for a domain connection in the Registry
- To disable firewall for a domain connection, right-click the
HKEY_LOCAL_MACHINE\SOFTWARE\Policies\Microsoft\WindowsFirewallsection and select New > Key. - Name the new key as DomainProfile.
- To the right of the DomainProfile key, right-click the empty space and select New > DWORD (32-bit) Value.
- Name the new value as EnableFirewall and leave its value data as 0 (zero).
Done! You may need to restart Windows 11 to fully disable firewall and apply the policies.
To save your time, I have prepared ready-to-use Registry files.
Download REG Files
Click here to download the REG files in a ZIP archive. Extract it to any folder of your choice.
Now, double-click on of the following files to disable Windows Firewall.
- Disable Firewall for Private and Public networks.reg - disables firewall for both public and private connections.
- Disable Firewall for Domain networks.reg - the same for computers connected to a domain.
- Enable Firewall - restore defaults.reg - this one is the undo tweak.
That's it.
Support us
Winaero greatly relies on your support. You can help the site keep bringing you interesting and useful content and software by using these options:

I always have Windows Firewall off. I’m running a firewall from simplewall instead. I like it when it’s two-way, out/in. I have more control over what goes in and out of the computer. My router also has a firewall. I have a cheap MikroTik hEX S. It does the job! I have 500/500 and it can do it without any problems. I had an ER-X SFP before.
ER-X SFP:
https://i.imgur.com/cJ50mMa.jpg
MikroTik hEX S:
https://i.imgur.com/PrhPNQm.jpg
I’m happy with that! I have an AP from MikroTik also for Wi-Fi. Also a 10GbE switch from MikroTik. They make cheap and good hardware!