In Windows 10 Microsoft has revived the Start menu, which has been welcomed by many users. Compared to the Start menu in previous versions of Windows, the new menu is updated with the ability to pin live tiles of Modern apps. You can customize the Start menu in Windows 10 by pinning various items to the left side or the right side of the menu and changing its height by resizing it from the top edge. Once you have customized it to your liking, it is a good idea to create a backup of your Start menu layout, so you will be able to restore its layout later after a Windows reinstall or if your Start Menu settings accidentally get reset. Here is how you can do it.
Advertisеment
To backup the Start Menu layout in Windows 10 build 10240 and above, you need to do the following.
- Enable the built-in Administrator account in Windows 10.
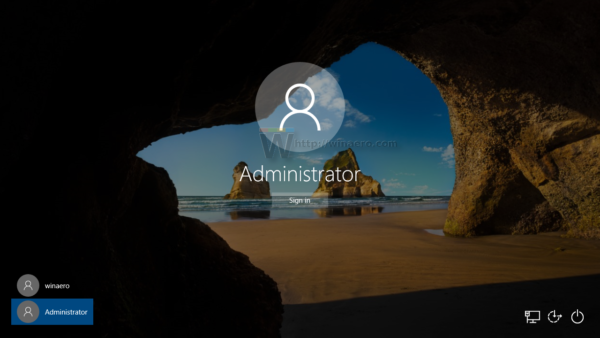
- Sign out from your Windows 10 user account and sign in with the Administrator account you just enabled.
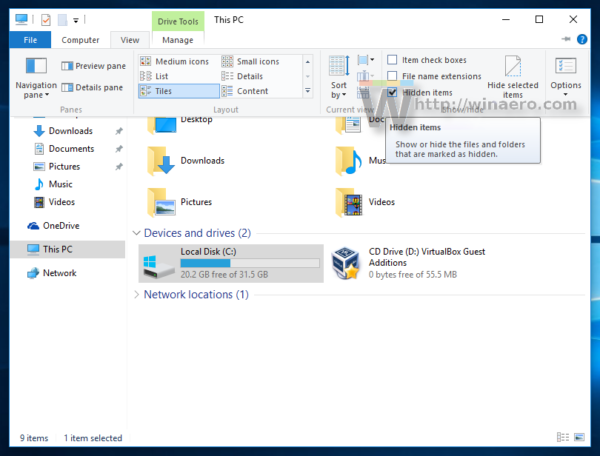
- When you are signed in as Administrator, make File Explorer show hidden files and folders as described in the article How to hide and unhide files quickly in Windows 10.
- Now, go to the following folder:
C:\Users\<user name>\AppData\Local\TileDataLayer
Replace the <user name> portion with the name of the user whose Start Menu layout you need to backup. In my case, the username is "winaero":
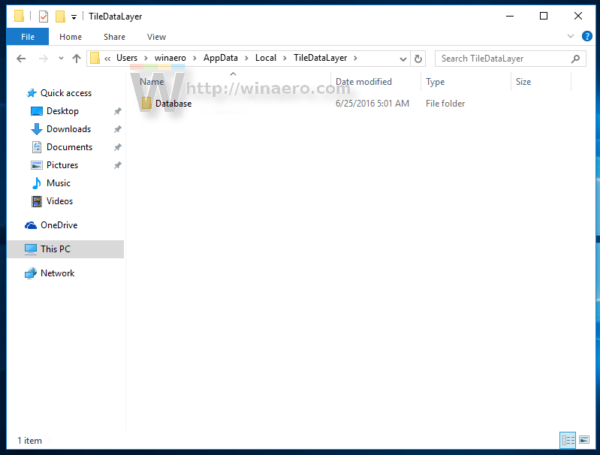
- There, you'll see the folder named Database. It contains the information about tiles and the Start menu layout related to the selected user account. To backup the Start menu layout in Windows 10, you need to make a copy of that folder.
- Sign out from the Administrator account and disable it.
Later you can restore your Start menu layout as follows.
- Enable the built-in Administrator account in Windows 10.
- Sign out from your Windows 10 user account and sign in with the Administrator account you just enabled.
- When you signed in as Administrator, make File Explorer show hidden files and folders.
- Delete the folder
C:\Users\<user name>\AppData\Local\TileDataLayer\Database
Replace the portion with the name of the user whose Start Menu layout you need to restore.
- Now, paste the copy of the Database folder you created in the TileDataLayer folder.
- Sign out and disable the Administrator account.
That's it.
The information below is related to pre-release builds of Windows 10. It is outdated and can be useful only for those who still use those builds for testing purposes. It is not applicable to Windows 10 build 10240 and above. See
How to find the Windows 10 build number you are running
Before you proceed, you might be interested in customizing your Start menu in Windows 10 as per your preferences. Check out these articles:
- Enable or disable submenus inside the Start menu in Windows 10.
- Add Hibernate to the Start Menu in Windows 10.
- Add Run to Start menu in Windows 10 on the left or right side.
- How to pin any app to the left side of the Start menu in Windows 10.
- How to customize the Start list in Windows 10.
The Start menu in Windows 10 keeps all data related to pinned apps and tiles in the following file:
%LocalAppData%\Microsoft\Windows\appsFolder.menu.itemdata-ms
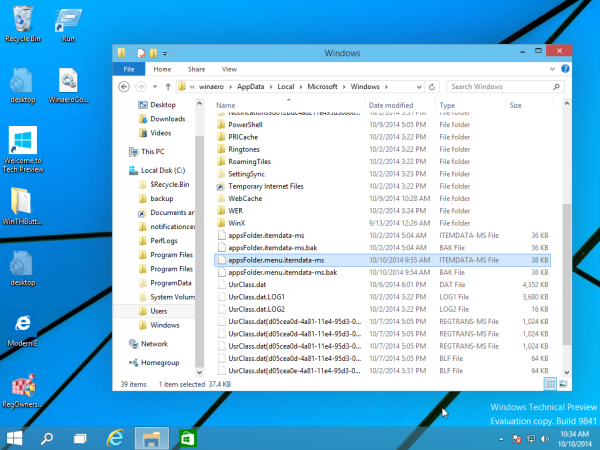
You need to backup this file, as described below:
- Open an elevated command prompt and type:
cd /d %LocalAppData%\Microsoft\Windows\
- Do not close this window, leave it open, you will need it later. Next, you need to exit the Explorer shell, as it uses this file and can write some data in there. To exit the Explorer shell, use the secret "Exit Explorer" context (right-click) menu item on the Taskbar or Start Menu, which is described in the following article: "How to properly restart the Explorer shell in Windows".
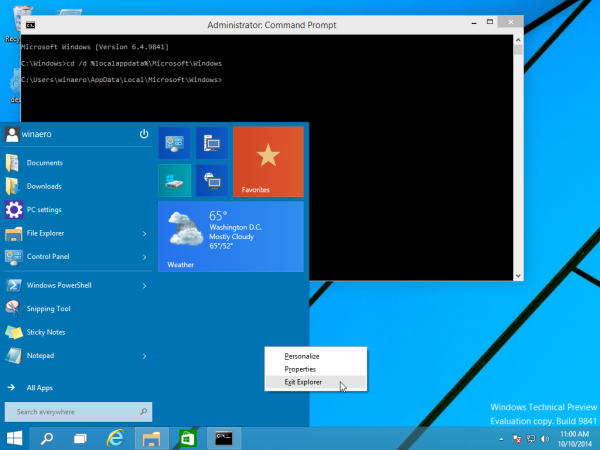
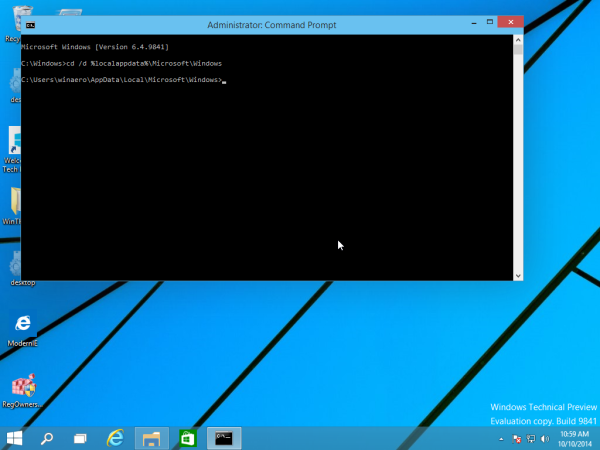
Your Desktop wallpaper and the taskbar will disappear when you exit Explorer: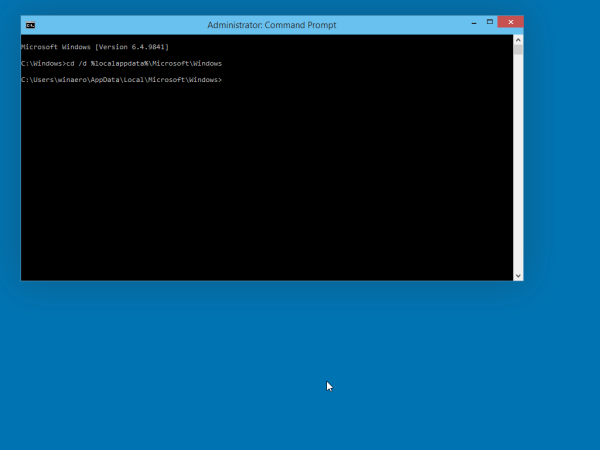
- Now switch back to the command prompt using Alt+Tab and enter the following command in the elevated command prompt window which you opened earlier:
copy appsFolder.menu.itemdata-ms c:\backup\*.*
Replace the path (c:\backup) with the actual path on your PC. If your path contains spaces, include it in quotes, e.g.:
copy appsFolder.itemdata-ms "c:\my backup\*.*"
That's it. Now you have a backup of your Start menu layout in Windows 10.
- Run Explorer again. Press Ctrl + Shift + Esc keys together on your keyboard. It will open the Task Manager. Choose File -> Run new task and type explorer in the 'Create new task' dialog:
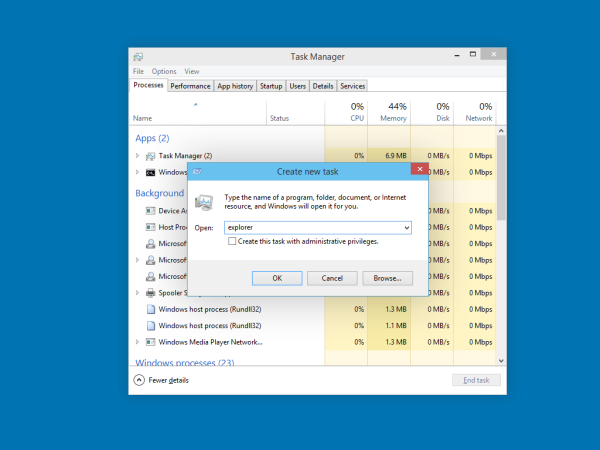
Press Enter or click OK and the Taskbar will reappear.After you reinstall your OS, you will be able to restore the Start menu layout quickly. You need to perform these simple steps:
- Open an elevated command prompt.
- Exit explorer.
- Enter the following command:
copy /y c:\backup\appsFolder.menu.itemdata-ms "%LocalAppData%\Microsoft\Windows\appsFolder.menu.itemdata-ms"
- Start Explorer again.
Now, when you open the Start menu, you will see your previous customized Start menu layout. It is also possible to transfer it between multiple PCs.
Support us
Winaero greatly relies on your support. You can help the site keep bringing you interesting and useful content and software by using these options:

Useless, in the final version of Win10, those files simply do not exist anymore.
The tutorial is updated to be applicable to the final version of Windows 10 and all released builds of Windows 10 Insider Preview (as of this writing).
Thanks Sergey! It works now with my 10586.
Any idea how to do this on Windows v1803?