As you may already know, Windows 10 tracks and stores information about which documents and which folders and files you have opened recently. This information is used by the OS to provide quick access to documents via jump lists when you need them again. It is possible to hide network locations from jump lists so they will display documents and folders that stored locally.
Advertisеment
Windows 10 shows jump lists in the Start menu and for taskbar pinned apps which support this feature. Here is how it looks: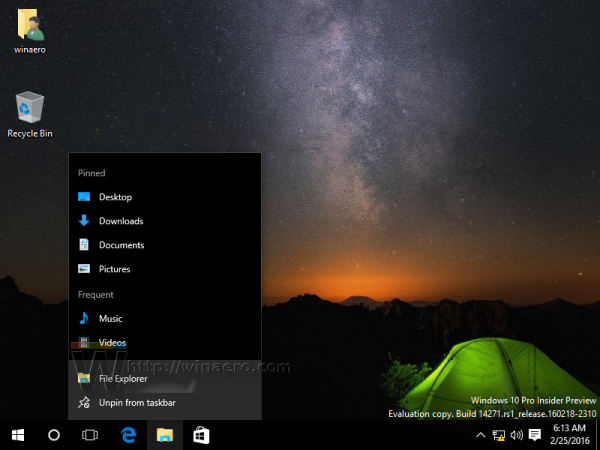
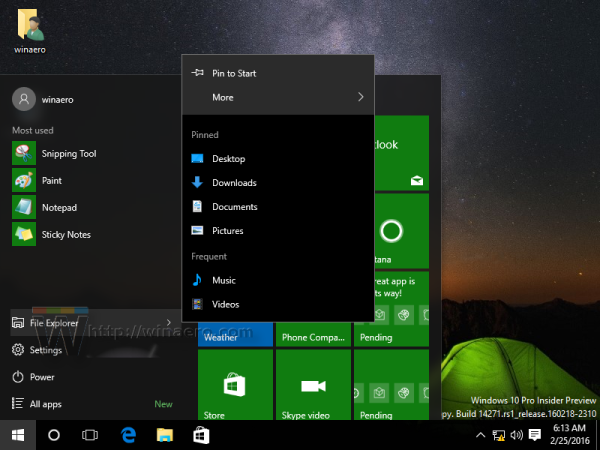
In Windows 10, the Taskbar and Start menu were reworked, so you need to enable a special Local Group Policy option in order to hide or show network locations in jump lists.
To hide network locations from Jump Lists in Windows 10, do the following.
- Open Registry Editor.
- Go to the following Registry key:
HKEY_CURRENT_USER\Software\Policies\Microsoft\Windows\Explorer
Tip: See how to jump to the desired Registry key with one click.
If you do not have such a key, then just create it.
- Here, create a new 32-bit DWORD value NoRemoteDestinations. Note: Even if you arerunning 64-bit Windows, you still need to use a 32-bit DWORD as the value type.
Set it to 1 to remove network locations from jump lists in Windows 10.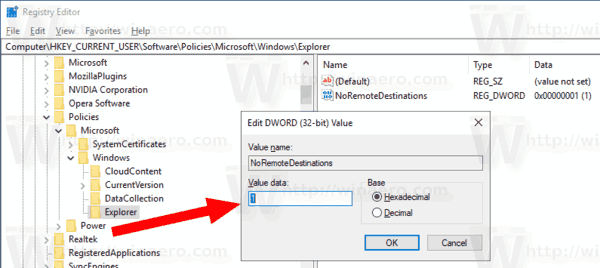
- To make the changes done by the Registry tweak take effect, you need to restart Windows 10.
Later, you can delete the NoRemoteDestinations value to re-add network locations to jump lists.
To save your time, I made ready-to-use Registry files. You can download them here:
Using Local Group Policy Editor
If you are running Windows 10 Pro, Enterprise, or Education edition, you can use the Local Group Policy Editor app to configure the options mentioned above with a GUI.
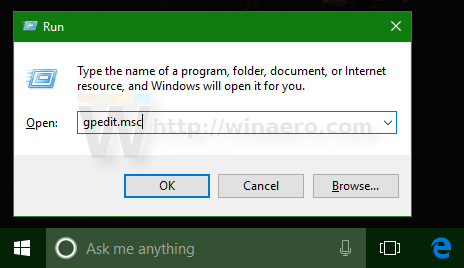
- Press Win + R keys together on your keyboard and type:
gpedit.msc
- Group Policy Editor will open. Go to User Configuration\Administrative Templates\Start Menu and Taskbar. Enable the policy option Do not display or track items in Jump Lists from remote locations as shown below.
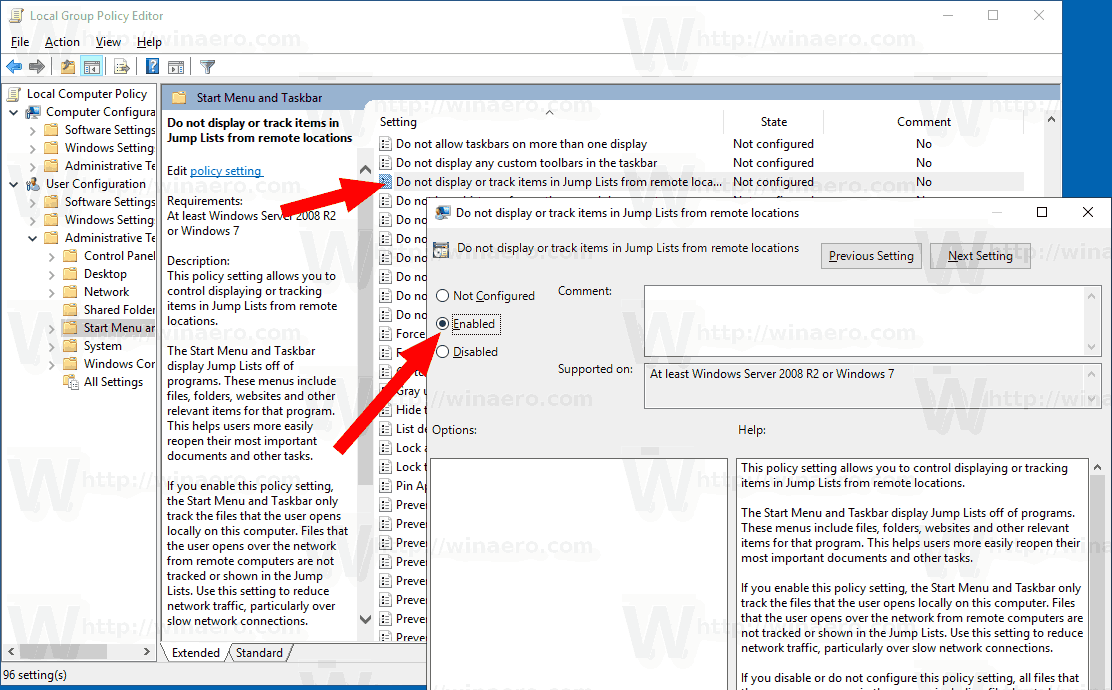
That's it.
Related articles:
- How to Disable Jump Lists in Windows 10
- Change the number of items in jump lists in Windows 10
- How to clear jump lists in Windows 10
Support us
Winaero greatly relies on your support. You can help the site keep bringing you interesting and useful content and software by using these options:
