How to Force Disable Screen Saver in Windows 10
Screen savers were created to save very old CRT displays from being damaged by issues like screen burn-in. These days, they are mostly used to personalize the PC or improve its security with additional password protection. When needed, you can prevent users of your device from using screen savers by disabling this feature in Windows 10.
Advertisеment
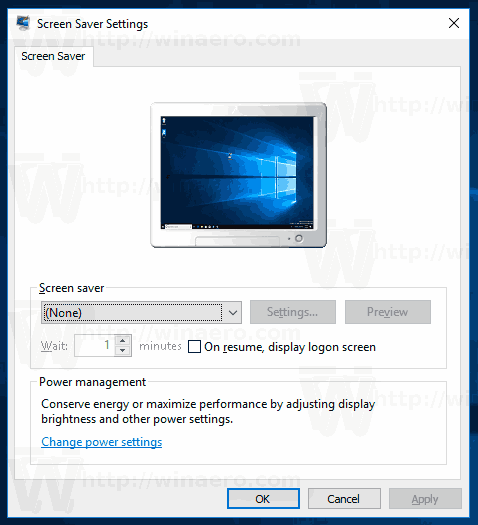 In Windows 10, many familiar things are changed once again. The classic Control Panel is going to be replaced with the Settings app and many settings are going to be reduced and eliminated. Many users who installed Windows 10 for the first time are getting confused by the new location of some settings in Windows 10. Windows 10 users are often asking me how to access screen saver options in Windows 10. For reference, see the following article:
How To Access Screen Saver Options in Windows 10
To prevent users from accessing the screen saver options, you can either apply a Registry tweak, or use Group Policy. Let's review these methods.
To Force Disable Screen Saver in Windows 10,
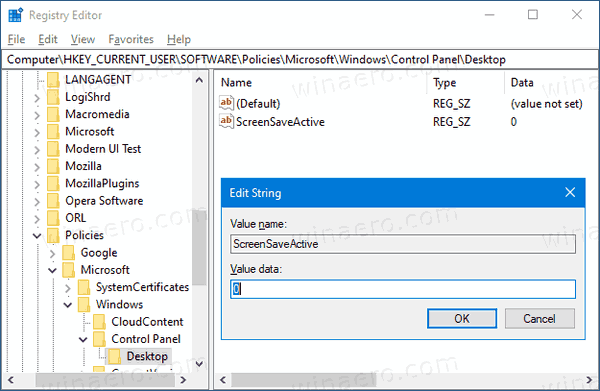
- Open Registry Editor.
- Go to the following Registry key:
HKEY_CURRENT_USER\SOFTWARE\Policies\Microsoft\Windows\Control Panel\Desktop.
Tip: See how to jump to the desired Registry key with one click. If you do not have such a key, then just create it. - Here, create a new string (REG_SZ) value ScreenSaveActive.
- Set its value data to 0 to disable the screen saver.
- To make the changes done by the Registry tweak take effect, you need to sign out sign in again to your user account.
You are done!
Note: To undo the change, remove the ScreenSaveActive value, then sign out and sign in again to your user account in Windows 10. Also, a value data of 1 will force enable the screen saver for all users.
To save your time, you can
Download Ready-to-use Registry Files Here
If you are running Windows 10 Pro, Enterprise, or Education edition, you can use the Local Group Policy Editor app to configure the options mentioned above with a GUI.
Disable Screen Saver using Group Policy
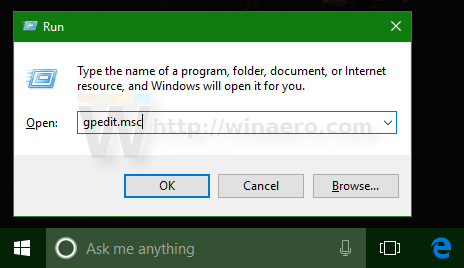
- Press Win + R keys together on your keyboard and type:
gpedit.msc
Press Enter.
- In Group Policy Editor, go to User Configuration > Administrative Templates > Control Panel > Personalization.
- Double-click on the policy option Enable screen saver.
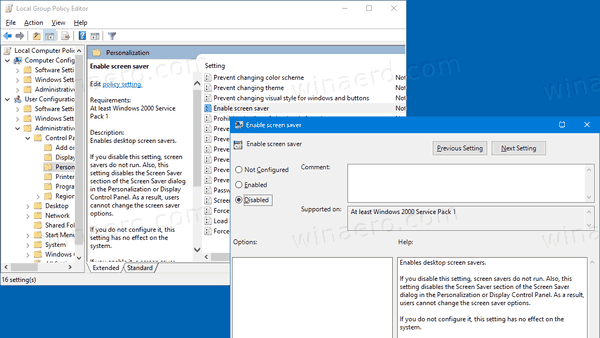
- In the next dialog, select Disabled.
- Click Apply and OK.
You are done!
To undo the changes you made, just set the mentioned policy to Not configured.
That's it!
Related articles:
- Set Photos As Screen Saver In Windows 10
- Create Screen Saver Options Shortcut in Windows 10
- Change Screen Saver Password Grace Period in Windows 10
- Customize screen savers in Windows 10 using secret hidden options
Support us
Winaero greatly relies on your support. You can help the site keep bringing you interesting and useful content and software by using these options:

This information is incorrect.
the key is hkcu\control panel\desktop.
You are incorrect.
You are talking about the regular setting.
The article explains the group policy option.
I just verified in regedit, James Shimota is correct.
will this work for windows 11 as well
I am sure this will work