Windows comes with a set of folders which are designed to share your documents with other users. Documents you put in these folders are accessible by other users of your PC, and by other computers on your network. Public folder sharing is a useful and easy-to-use way to share your files, but they are disabled by default. Here is how to enable it.
Advertisеment
Any file or folder you put in one of the public folders becomes available to other users who can access these folders. Out-of-the-box, Windows provides a special Public folder, which contains subfolders you can use to organize your documents, images, videos, music and so on. These folders doesn't come with any files. It is assumed that you or other users will add some data to them.
Windows 10 comes with the following set of folders:
- C:\Users\Public\Public Documents
- C:\Users\Public\Public Downloads
- C:\Users\Public\Public Music
- C:\Users\Public\Public Pictures
- C:\Users\Public\Public Videos
Public folder sharing is disabled by default. When you enable it, the Public folder becomes available for everyone on your computer or network. You can give permissions to modify your files, so other people will be able to change them, delete or upload their own files.
Note: When public folder sharing is disabled, the folders are not accessible over the network. However, local users who have a user account and password on your device can access them with File Explorer. Keep this in mind.
To enable Public Folder Sharing in Windows 10, do the following.
- Open the Control Panel app.
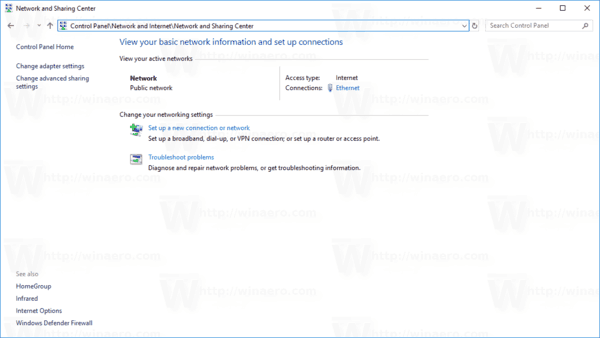
- Go to Control Panel\Network and Internet\Network and Sharing Center.
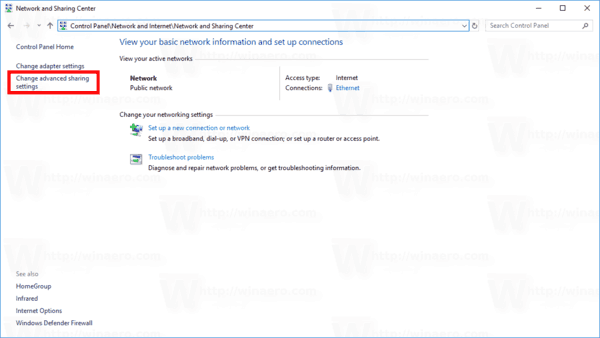
- On the left, click on the link Change advanced sharing settings.
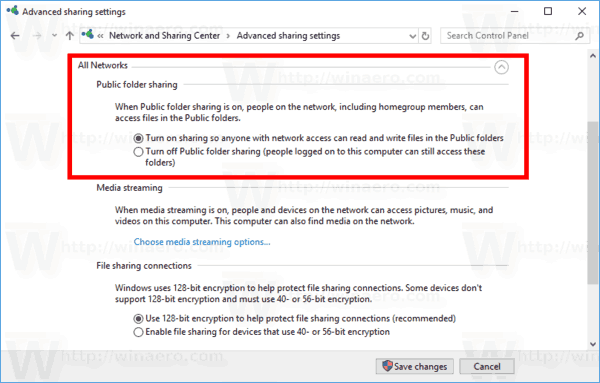
- On the next page, expand the All Networks section.
- Under Public folder sharing, enable the option Turn on sharing so anyone with network access can read and write files in the Public folders.
You are done!
You can disable public folder sharing at any moment. Under the All Networks section mentioned above, select Turn off Public folder sharing. This will restore the default feature state.
That's it.
Support us
Winaero greatly relies on your support. You can help the site keep bringing you interesting and useful content and software by using these options:

The section on “How To Enable Public Folder Sharing in Windows 10” does not work! I’m running Win Pro 10, and each time I click the option button (“Turn on sharing…”) and then click Save Changes, the next time I open the page again, it has been disabled. Is there somewhere a DoWhatTheStupidUserRequested option, and if so where?
Tony
PS Alterntaively, how do I get the suggested method to work?
But, how do we do this via any of these:
Powershell
Command prompt
Regedit