Enable Mouse ClickLock in Windows 10
ClickLock is a special feature of Windows that allows locking down the primary mouse button (usually left) after a single click. By enabling this option, you can select some text or drag an object without holding down the left mouse button.
Advertisеment
To disable ClickLock mode, you press the left (primary) mouse button again.
Note: In Mouse Properties, you can swap the mouse buttons, so the right button will become your primary button, and the left button would be used to open context menus.
You can customize the options for ClickLock to change how long you need to hold down the primary mouse button before your click is "locked". Let's see how it can be done.
To Enable Mouse ClickLock in Windows 10,
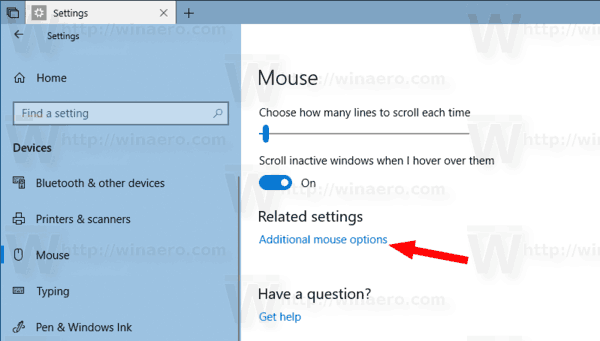
- Open the Settings app.
- Navigate to Devices \ Mouse.
- On the right, click on the Advanced Mouse Settings link.
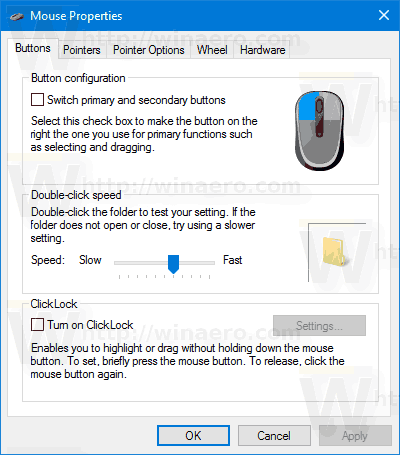
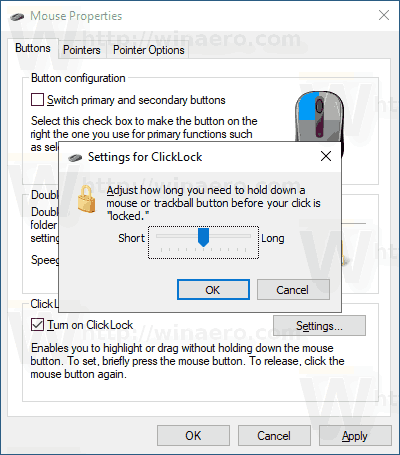
- In the Mouse Properties dialog, switch to the Buttons tab. It should open by default.
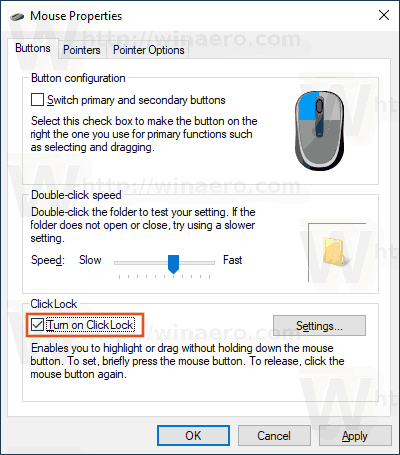
- Turn on (check) the option Turn on ClickLock under the appropriate section.
- To set how long you need to hold the primary mouse button before the click is locked, click on the Settings button.
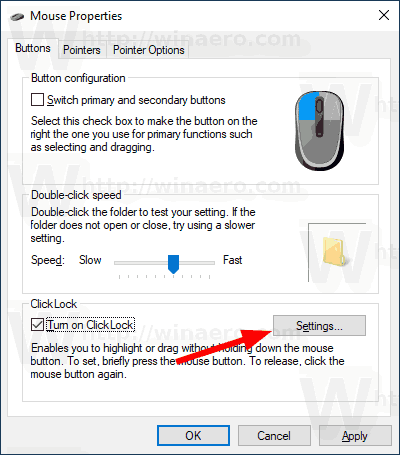
- In the next dialog, adjust the slider position to change the ClickLock button timeout. It can be set to a value from 200 to 2200 milliseconds. The default time is 1200 milliseconds.
- You can disable the ClickLock option later by turning off the option in the Mouse Properties dialog.
You are done. Alternatively, you can enable or disable the ClickLock option and adjust its button timeout with a Registry tweak.
Configure ClickLock option with a Registry Tweak
- Open the Registry Editor app.
- Navigate to the following branch:
HKEY_CURRENT_USER\Control Panel\Desktop. See how to go to a Registry key with one click. - In the right pane of the Desktop branch, modify or create a new 32-bit DWORD value ClickLockTime. Note: Even if you are running 64-bit Windows you must still create a 32-bit DWORD value.
- Select Decimal in the value editing dialog, and enter a value between 200-2200 milliseconds to set the ClickLock button timeout for the primary mouse button.
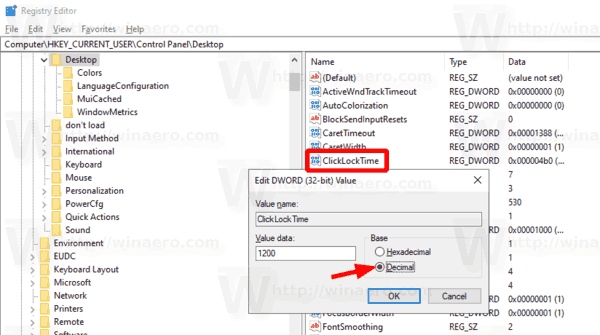
- The default value is 1200 milliseconds.
- To make the changes done by the Registry tweak take effect, you need to sign out and sign in to your user account.
That's it.
Related articles:
- Change Mouse Scroll Speed in Windows 10
- Change Mouse Pointer Color in Windows 10
- Disable Touchpad when Mouse is Connected in Windows 10
- How To Enable Mouse Pointer Trails in Windows 10
- Apply Night Light to Mouse Cursor in Windows 10
Support us
Winaero greatly relies on your support. You can help the site keep bringing you interesting and useful content and software by using these options:

finnally i disabled it. thanks :D