The Recycle Bin is a system folder which holds deleted files. If you have not deleted some file or folder permanently and have not disabled the Recycle Bin feature, then the deleted object will be stored in the Recycle bin folder until you empty it. It is possible to make File Explorer delete files permanently bypassing Recycle Bin. Let's see how.
Advertisеment
By default, when you delete a file, the File Explorer app moves it to the Recycle Bin folder. The Recycle Bin folder works for every user account, so files deleted in one user account are not visible in the other user's Recycle Bin, even if they were deleted from the same folder.
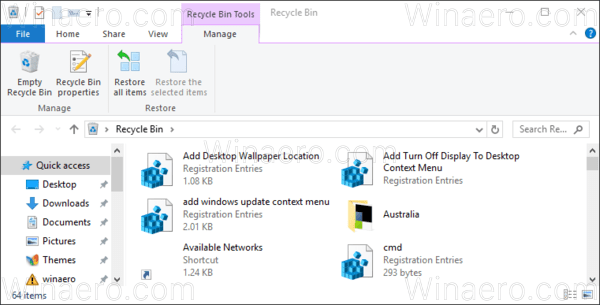
The Recycle Bin folder helps to restore accidentally deleted files and folders, especially for novice users. When files are in the Recycle Bin, they still take space on the drive. To reclaim the drive space, it is necessary to empty the Recycle Bin or delete individual files from there permanently.
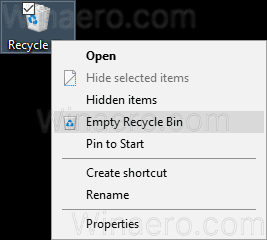
Some advanced users prefer to keep the Recycle Bin disabled and delete files instantly all the time. Let's see how it can be done.
To delete files permanently in Windows 10 and bypass Recycle Bin, you need to do the following.
- In File Explorer, select a file or a folder you want to delete.
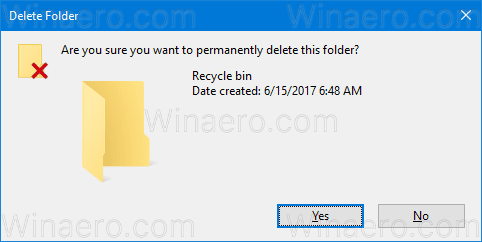
- Press Shift + Del to delete the file instead of only the Del key on the keyboard. This will remove the file permanently after the following confirmation:
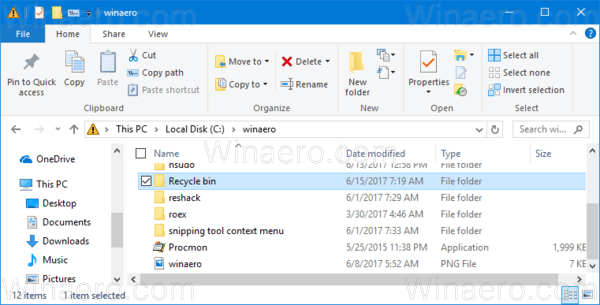
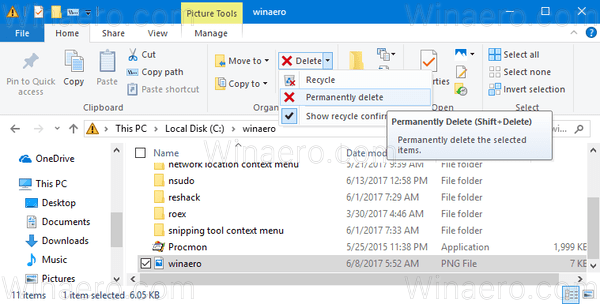
Instead of relying on the Shift hotkey, you can use a special Ribbon command. Select a file or a folder you want to delete and select the command Delete->Delete permanently in the Organize section of the Home tab of the Ribbon. See the screenshot below.
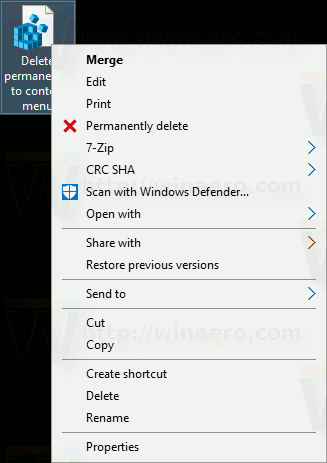
Finally, you can integrate the "Delete permanently" Ribbon command into the context menu of File Explorer as described in the following article:
Add any Ribbon Command to Context Menu in Windows 10
Here is how it looks.
If you want to disable the Recycle Bin completely and always delete files permanently, here is how it can be done.
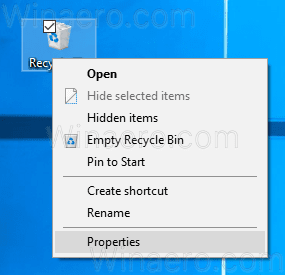
- Right-click on the Recycle Bin folder in File Explorer or on the Desktop and select Properties in the context menu.
- In Properties, enable the option "Don't move files to the Recycle Bin. Remove files immediately when deleted" as shown below.
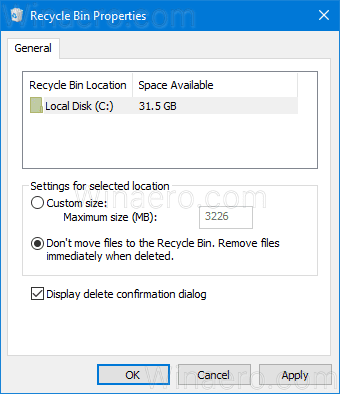
This will set File Explorer to remove all files immediately without moving them into the Recycle Bin folder. Please keep in mind that you won't be able to restore deleted files until you set the Recycle Bin's default option to store them by specifying a custom size.
Support us
Winaero greatly relies on your support. You can help the site keep bringing you interesting and useful content and software by using these options:

Nice