For faster access, you can create a Copilot desktop shortcut in Windows 11, or add it to the desktop context menu. It will be a nice addition to the existing icon in the taskbar and Win + C hotkey. After than, you can remove the Copilot from the taskbar to give more room to running apps.
Advertisеment
The creation of ChatGPT was of great importance for the development of artificial intelligence. Large IT companies, including Microsoft, could not stand aside. By investing early in OpenAI, Microsoft made the right choice. As a result of cooperation between the two companies, Bing Chat was created.
Next, the company started working on Copilot, an integrated software assistant based on Bing Chat. In Windows 11, it replaces unpopular Cortana.
Visually, Windows Copilot is a vertical panel that opens on the right edge of the screen. The user can launch it by clicking the corresponding button on the taskbar.
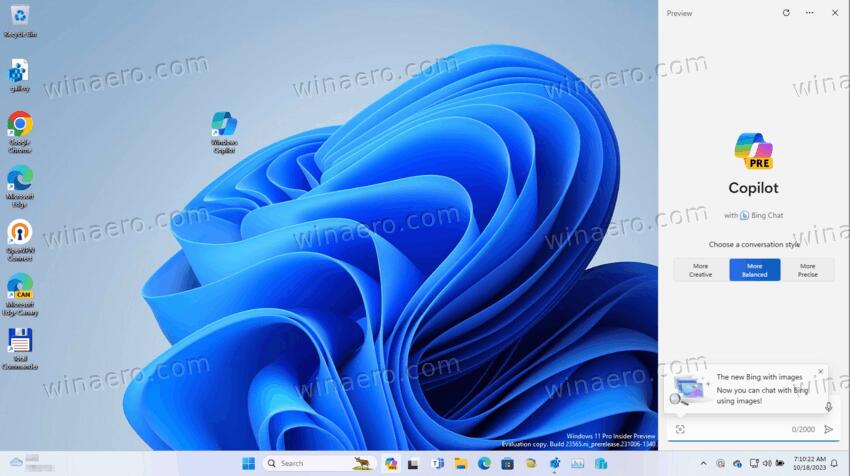
According to Microsoft, the new virtual assistant will have even more capabilities than Cortana. Besides providing answers to various questions, it can optimize and improve the performance of Windows, as well as to simplify the user interaction with the operating system. Windows Copilot is also getting support for native and third-party plugins, which in the future should significantly expand the capabilities of the tool.
If you have not enough space in the taskbar, you can remove Copilot from the taskbar, and create an icon for it. To create a desktop shortcut for Copilot in Windows 11, do the following.
How to Create Desktop Shortcut for Copilot
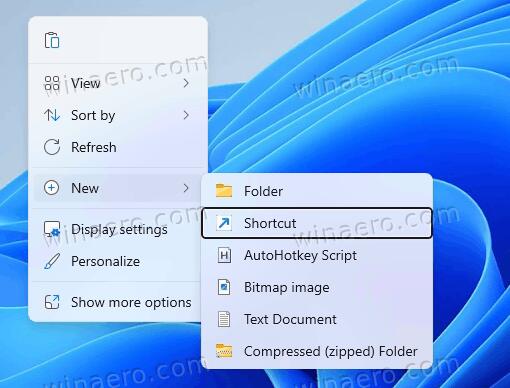
- Right-click anywhere on your desktop background and select New > Shortcut from the menu.
- In the Object box, type or paste the following line:
microsoft-edge://?ux=copilot&tcp=1&source=taskbar. Click Next.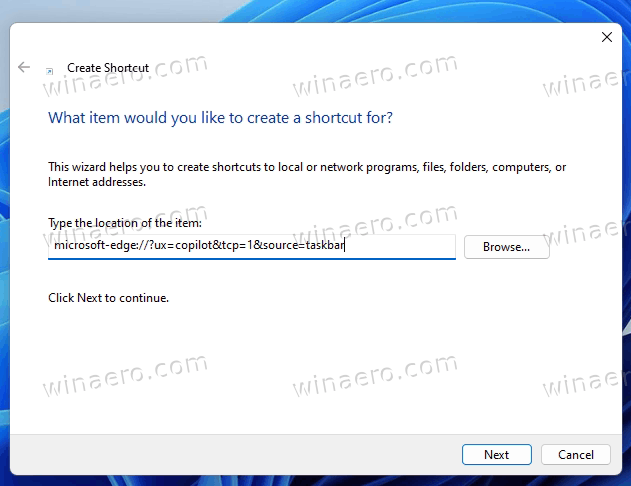
- Type Windows Copilot in the shortcut name on the next page.
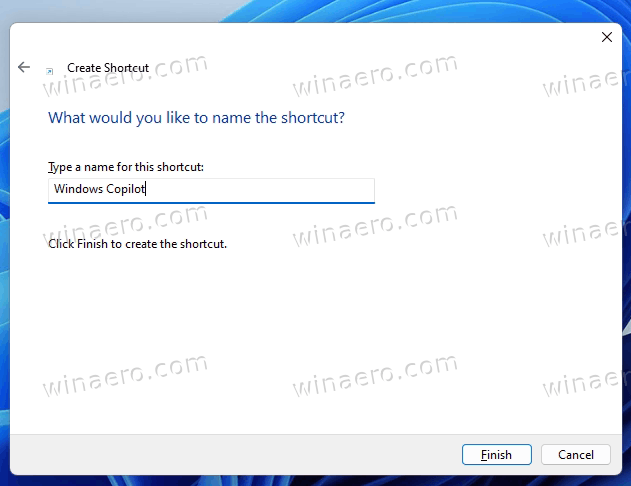
- Click Finish to close the shortcut wizard.
- Now, right-click the "Windows Copilot" shortcut you just created, and select Properties.
- On the Web Document tab, select the desired icon for the Copilot item. You can use one of these.
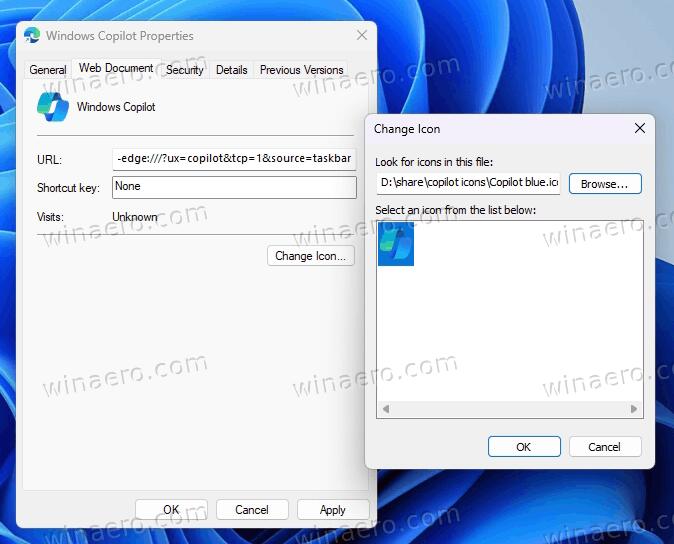
- Finally, click on Apply and OK.
You are done. Now, to launch the assistant, you can click the Copilot desktop shortcut you just created. Also, you can now safely unpin it from the taskbar.
Alternatively, you can add Copilot to the desktop context menu. It won't appear anywhere until you shift+right-click the wallpaper.
Add Copilot to the Context Menu
- Open the Registry Editor by typing regedit.exe in the Windows Search.
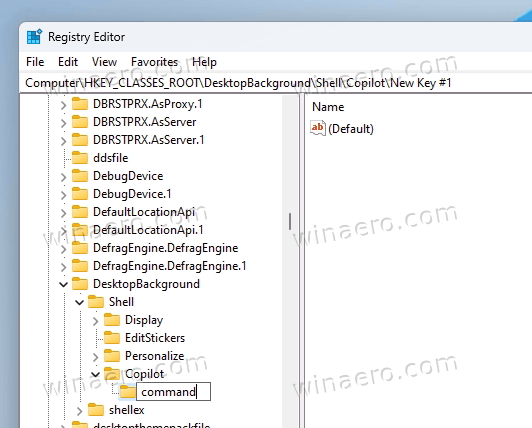
- Navigate to the HKEY_CURRENT_USER\Classes\DesktopBackground\shell key.
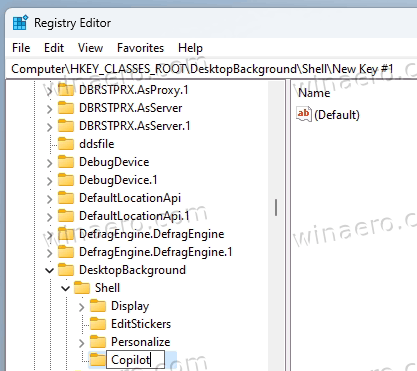
- Right-click the shell key on the left, and select New > Key from the menu.

- Type Copilot for the name of the new key, and press Enter.
- Now, right-click the Copilot key you just created, and select New > String value from the menu.
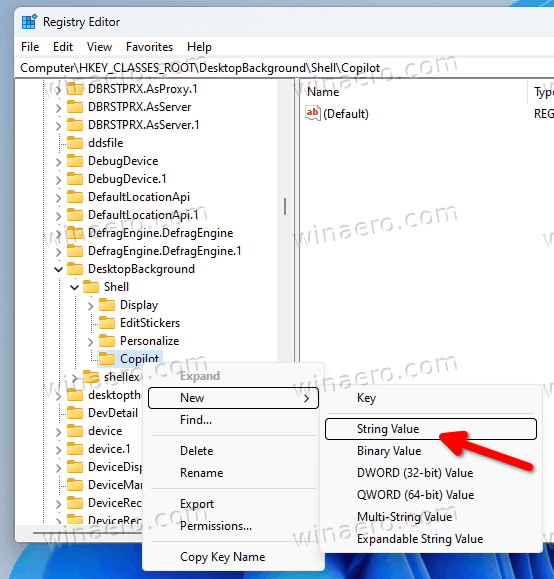
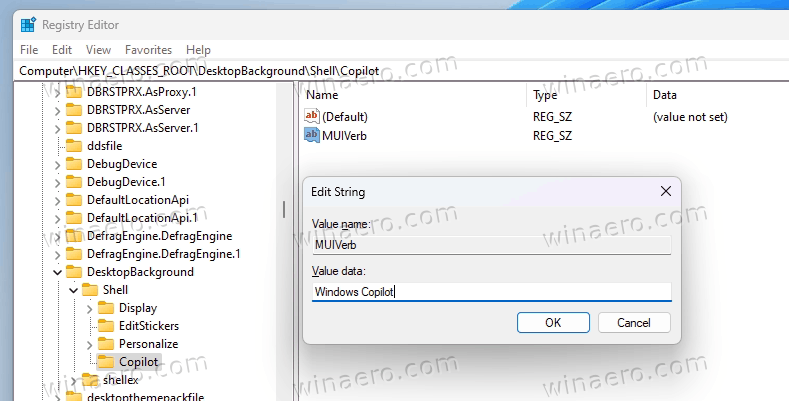
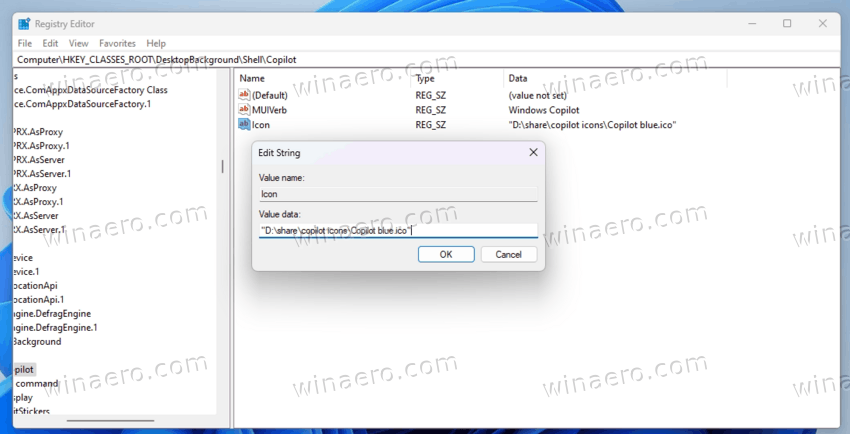
- Name the new value MUIVerb, and double-click it to open its data editor.
- Set the MUIVerb value to Windows Copilot.
- Optionally, you can create here a new string value Icon and set its data to the full path to your Copilot.ico file. You can use these icons.
- Again, right-click the Copilot key one more time, and select New > Key. Name it command.
- In the right pane, double-click the default (unnamed) value, and set it to the following line:
rundll32.exe url.dll,FileProtocolHandler "microsoft-edge://?ux=copilot&tcp=1&source=taskbar".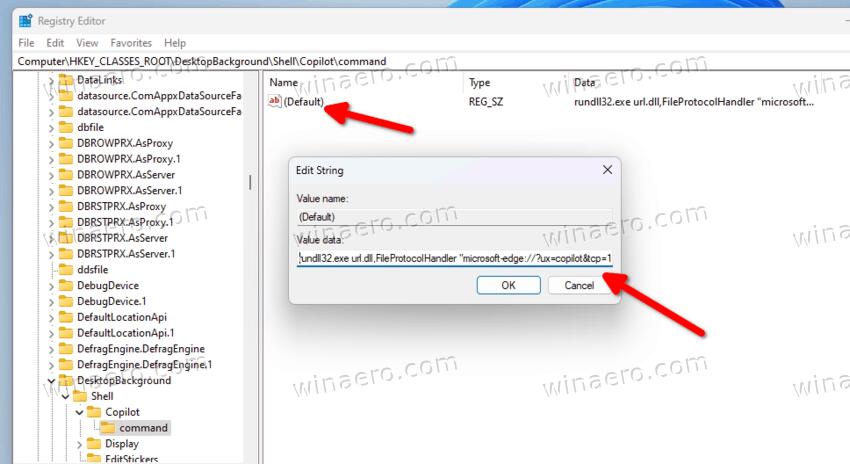
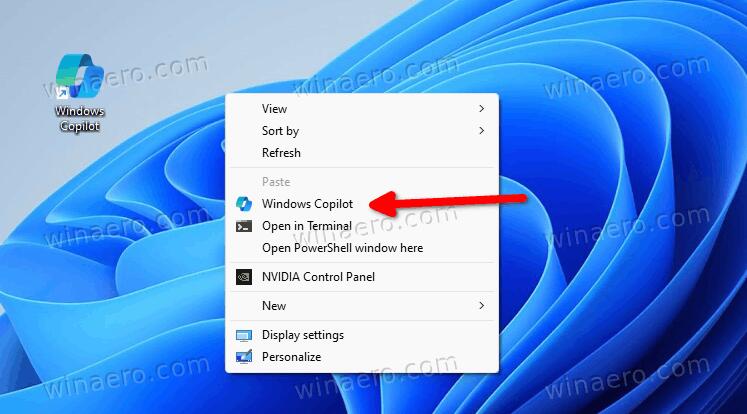
Done! Now, right-click the desktop and select Show more options > Windows Copilot. Enjoy!
To save your time, I have created two Registry files that you can use to add or remove the context menu on demand. You can grab the files here:
Extract the downloaded ZIP archive, and open one of the following files.
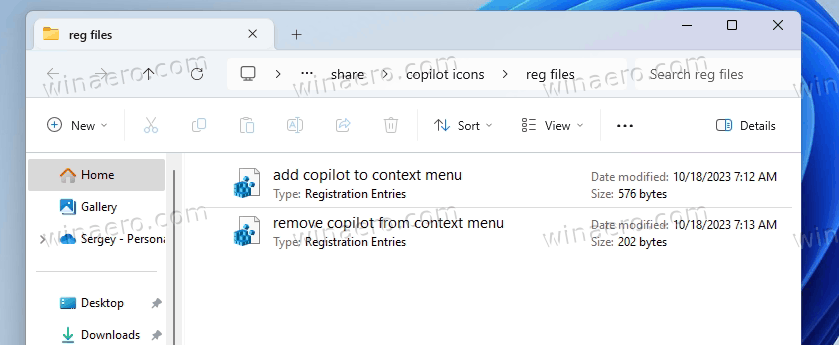
-
Add Copilot to context menu.reg- adds the new entry to the desktop menu. -
Remove Copilot from context menu.reg- removes the Copilot, i.e. restores defaults.
Finally, to get complete information, let's review other methods to open Copilot.
How to Open Windows Copilot
Method one. Open Copilot with a keyboard shortcut
Press the Win + C keys together on the keyboard. This will instantly open the assistant. You can close it with the same key sequence.
Method two. The Taskbar icon
Clicking on the Copilot button in the taskbar will open the assistant.
![]()
Method three. Open Windows Copilot from Microsoft Edge
- Start the Microsoft Edge browser.
- Click the Bing/Copilot button at the right of the toolbar.
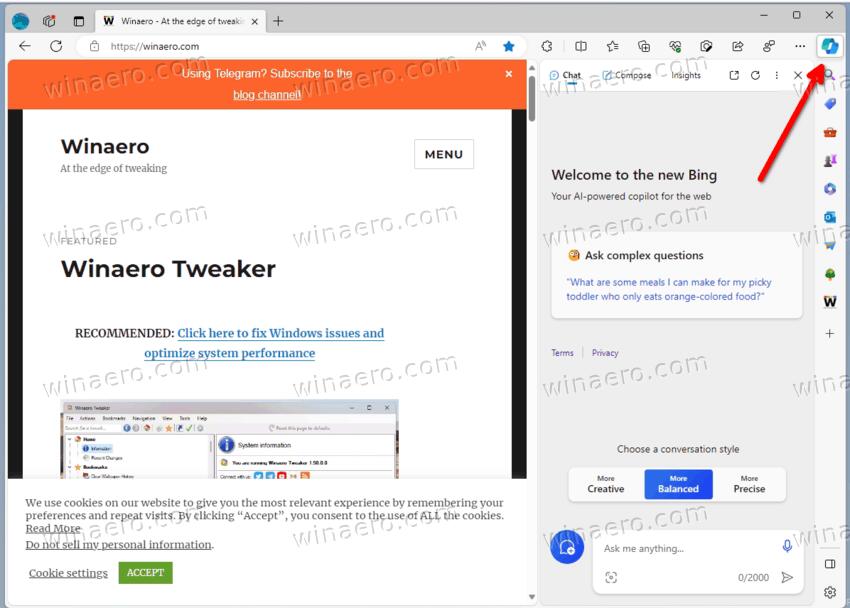
- The Copilot is now running in the Edge sidebar.
That's it!
Support us
Winaero greatly relies on your support. You can help the site keep bringing you interesting and useful content and software by using these options:

I need help, I can’t download the file in this link: https://t.me/winaero/7122, can somebody help me?
where to upload it?
Hmm, it seems Sergey linked to the post above the file, with a description & image for it. The actual file is in this post: https://t.me/winaero/7123 …but it looks like you need Telegram to download the file anyway lmao.