You may want to disable Windows Copilot if you find no use for the AI-powered assistant for your daily tasks and online activities. Copilot is now integral part of Windows 11, starting with version 23H2, and Windows 10 build 19045.3754 or newer.
Advertisеment
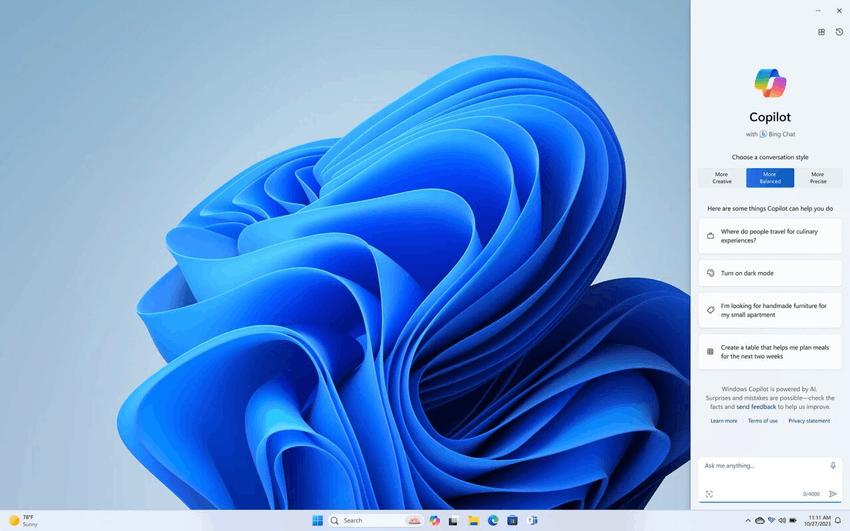
Windows Copilot is a new AI-powered assistant available in Windows 11. It is designed to help users finishing their daily routines faster. You can quickly open it in a sidebar with a taskbar shortcut or with the Win + C shortcut, and ask for a question.
The machine learning algorithms can collect information from the Internet, analyze it, and provide you with the most relevant answer. Microsoft aims to greatly extend Copilot capabilities with making it do more for you.
Copilot will make possible to analyze the screen content and give you productivity suggestions based on what is running and open. Also, it will allow you change Windows settings in chat-friendly form. It already recognizes commands like "Enable dark mode" to apply the dark theme instantly. Windows Copilot serves and an extended version and in-place replacement for the now-discontinued Cortana assistant.
In November 2023, Microsoft backported Copilot to Windows 10. It is available starting in Windows 10 build 19045.3754.
However, not everyone likes Copilot. People who have always avoided any kind of AI assistance in Windows are unlikely to use this new one. Some users do not like the presence of AI here and there. Regardless of the reason, you may want to disable Windows Copilot.
To disable Copilot, do the following.
How to Disable Copilot
Note: This works in both Windows 11 and Windows 10.
- Press Win + R and type regedit in the Run box.
- Navigate to the HKEY_CURRENT_USER\Software\Policies\Microsoft\Windows key.
- Right-click the Windows key in the left, and select New > Key from the menu.
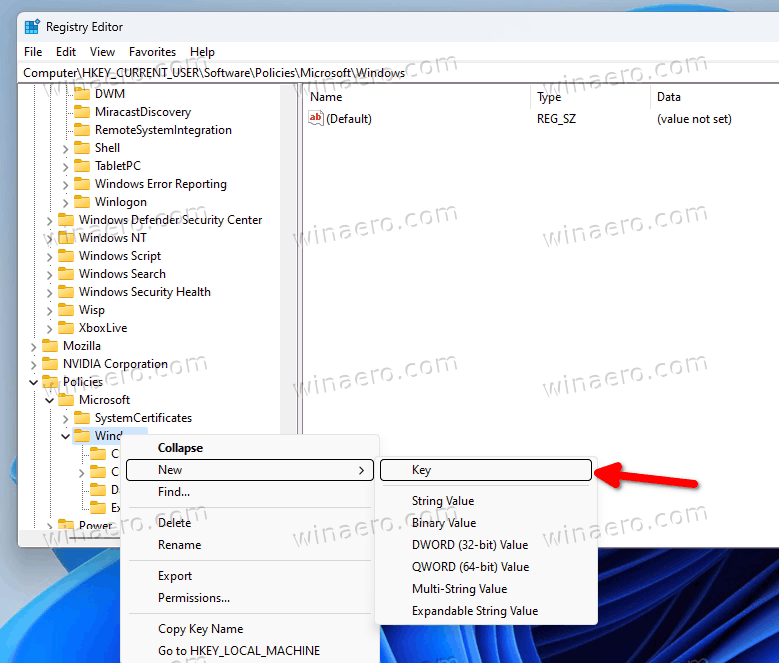
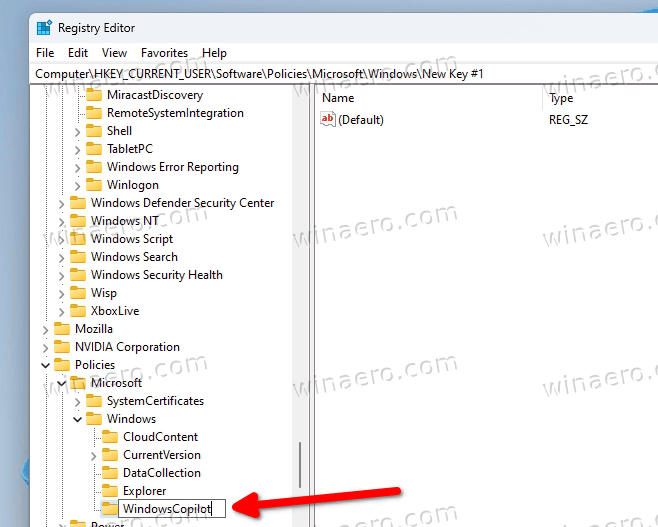
- Type WindowsCopilot for the new key name and hit Enter.
- Now, right-click the WindowsCopilot key you just created and select New > DWORD (32-bit) Value from its right-click menu.
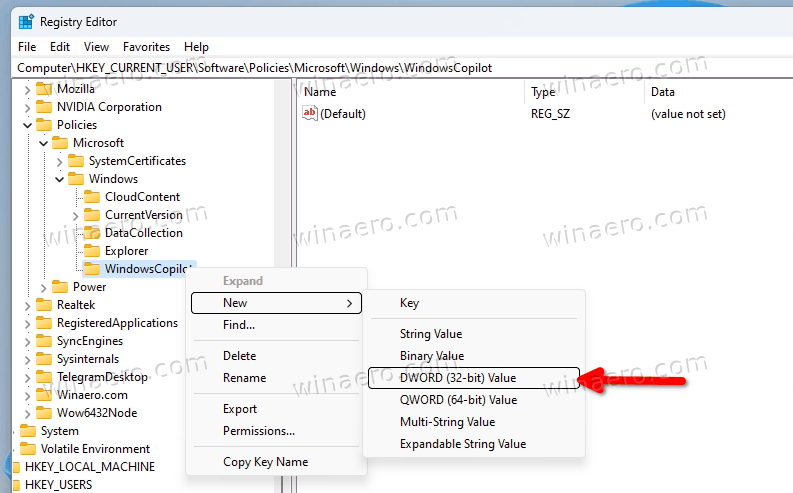
- Name the new value TurnOffWindowsCopilot and double-click it to change its value data.
- Finally, set the TurnOffWindowsCopilot to 1.

- Sign out from your account, and sign in back to apply the change.
You are done. From now on, your user account will no longer have Windows Copilot. It will be disabled for you.
To undo the change, you need to remove the TurnOffWindowsCopilot value and restart the operating system.
Download REG Files
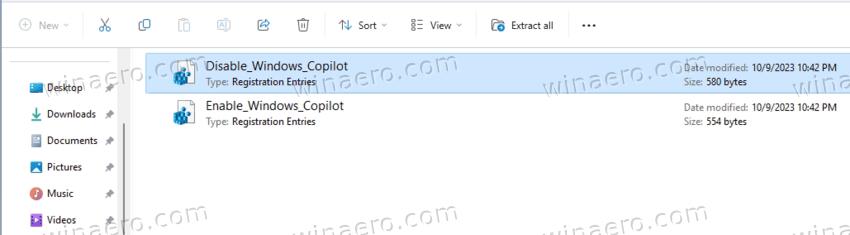
To save your time, you can download the two ready-to-use REG files from this link. Extract the ZIP archive to any folder of your choice, and extract them.
- Double-click the
Disable_Windows_Copilot.regfile to disable the feature. - The other one,
Enable_Windows_Copilot.reg, enables it back.
The good thing about this Registry method is that it works in all editions of Windows 11, including Home. However, it you are running Pro, Education, or Enterprise editions of the OS, you may use the GUI: the gpedit.msc tool.
Using Local Group Policy Editor
Note: This method also works in both Windows 11 and Windows 10.
- Open the Local Group Policy Editor by typing
gpedit.mscin the Run dialog (Win + R).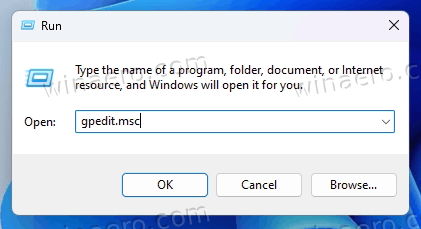
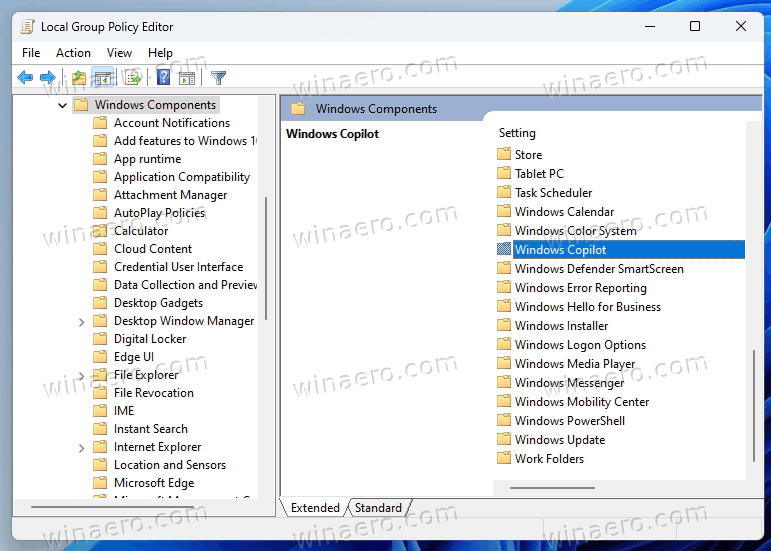
- Navigate to User Configuration > Administrative Templates > Windows Components > Windows Copilot.
- In the right pane, find the Turn off Windows Copilot policy and open it.
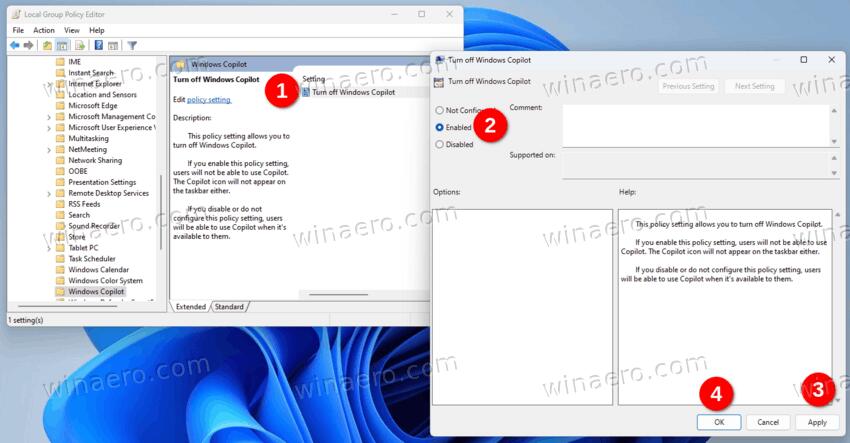
- Set the policy to Enabled, click Apply and OK.
- Now, to apply the change, sign out and sign in back. Alternatively, you can restart the OS.
Done! Regardless of the method you used, be it Registry or gpedit, Windows Copilot will now be disabled. Microsoft officially supports and recommends both of them, and they give an identical result.
There is one more method to try. It is not official and involves a third-party open source ViVeTool app. In contrast of the two methods reviewed in previous chapters, this one not only disables Copilot but hides it from the OS. It is like it doesn't exist in Windows 11.
However, it is worth mentioning that the ViVeTool method can stop working at any moment and in any build. Microsoft may change bits in the OS so the ViVeTool app will fail to do its work.
Here's how to use ViVeTool to disable Copilot on Windows 11.
Disable Windows Copilot with ViVeTool
Method for Windows 11
- Point you web browser to this page on GitHub, and download ViVeTool.
- Extract the ZIP archive with the app to the c:\vivetool folder for your convenience and faster access.
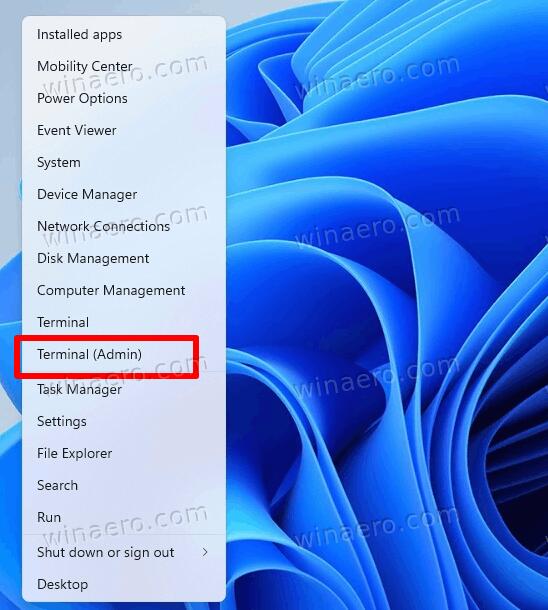
- Now you need to right-click the Start button in the taskbar and select Terminal(Admin) to open the Terminal app elevated.
- Finally, in Terminal, type this command:
c:\vivetool\vivetool /disable /id:44774629,44850061,44776738,42105254,41655236.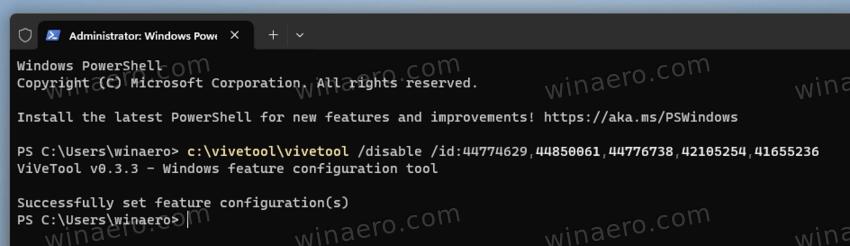
- As your last step, restart Windows 11, and you are done.
Viola, ViVeTool just removed Windows Copilot for you.
Note: To revert the changes, use the following opposite ViVeTool command.
c:\vivetool\vivetool /reset /id:44774629,44850061,44776738,42105254,41655236
Method for Windows 10
- Download ViVeTool from GitHub, and extract it to the c:\vivetool folder.
- Open Windows Search (Win + S), and type cmd in the search pane.
- For the Command Prompt entry, select Run as Administrator.
- Now in the elevated Command Prompt type and run the following command:
c:\vivetool\vivetool /enable /id:46686174,47530616,44755019. - Restart the computer. The Copilot feature is now disabled.
The undo command is c:\vivetool\vivetool /reset /id:46686174,47530616,44755019.
Finally, as a bonus tip, here's how to remove the Copilot button from the taskbar. It can be of help in two cases. You may want to the Windows Copilot button if you disabled it, but the button remains visible. Also, you may want *just* hide it from the taskbar to get more room for running apps. So the icon won't occupy the taskbar, but you will still be able to open the Copilot, say with the Win + C hotkey.
- Open the Settings app (Win + I).
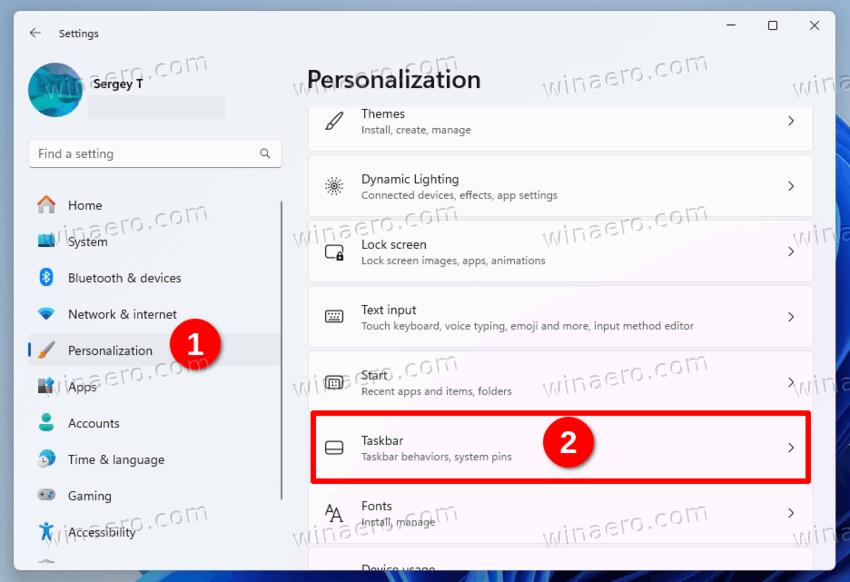
- Navigate to Personalization > Taskbar.
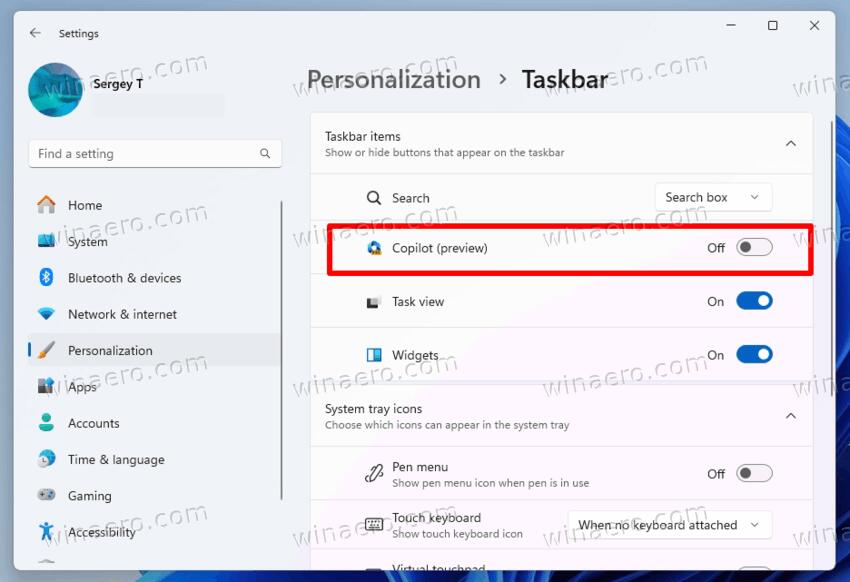
- On the next page, under Taskbar items, turn off the toggle button for the Copilot item.
- Close the Settings app.
You are done. You no longer have the Copilot shortcut in the taskbar.
Nearly the same can be in Windows 10 to hide the button from the taskbar. Here are the steps.
- Right-click the taskbar.
- From the menu, remove a check mark from the Show Copilot button item.
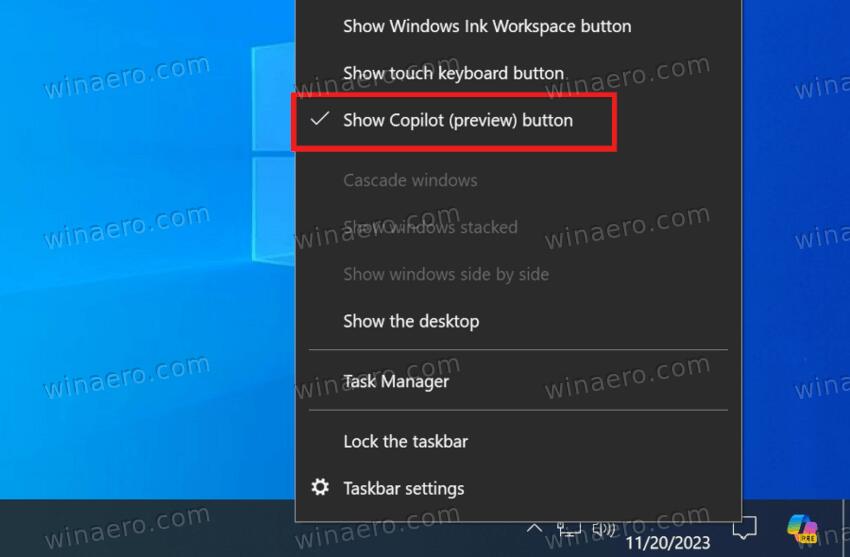
- The button will instantly disappear.
You are done.
As you can see, the initial implementation of Copilot in Windows 10 is quite different. Unlike Windows 11, where it resides as an app button in the taskbar, Windows 10 Copilot appears in the notification area. Microsoft is testing a similar design for Windows 11. But as of this writing, it is a work in progress.
Also, you can disable the Copilot taskbar button in the Registry. This can be useful if you are setting up your desktop environment with a script, or automate your setup. Here you go.
Note: This method works for both Windows 11 and Windows 10.
- Open the Registry editor by opening Windows Search (Win + S) and entering
regedit.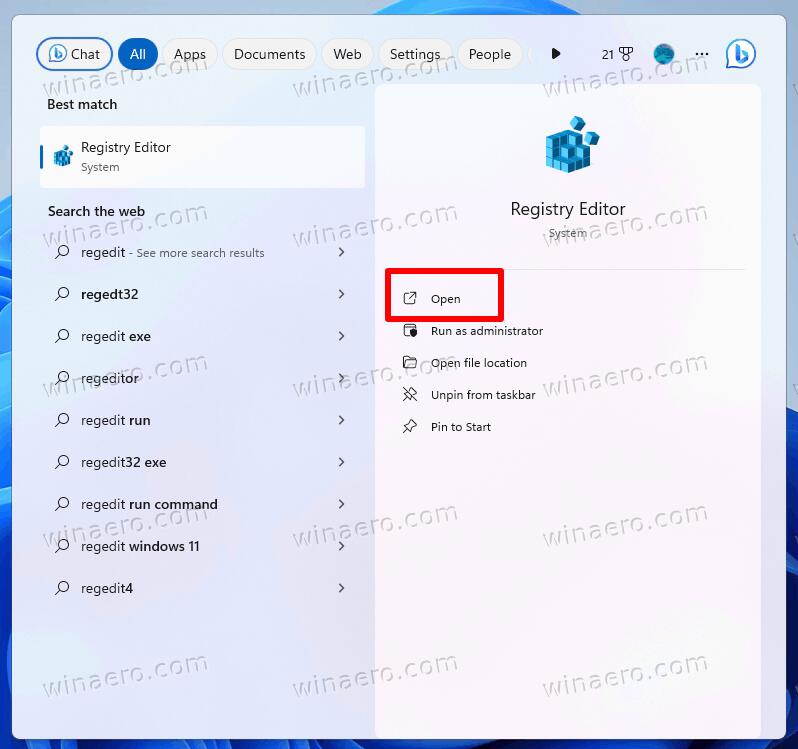
- Browse the left pane to HKEY_CURRENT_USER\Software\Microsoft\Windows\CurrentVersion\Explorer\Advanced. You can paste this path in the address bar to open this key directly.
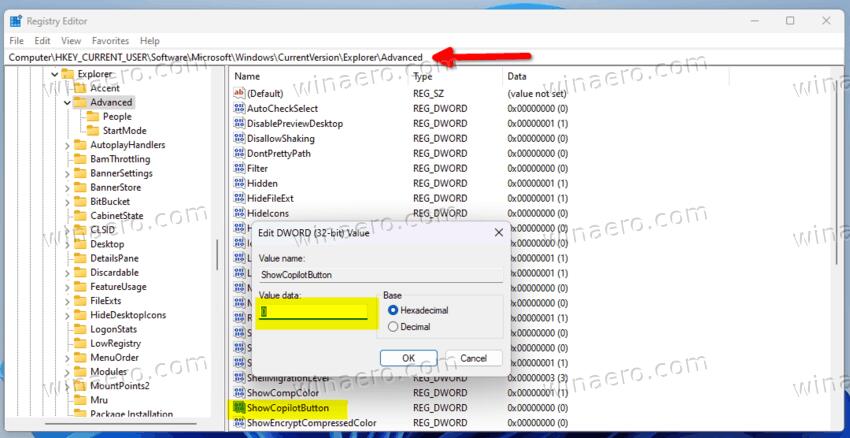
- On the right, change or create a new 32-bit DWORD value ShowCopilotButton and set it to one of the following values:
- 1 = the button is enabled.
- 0 = disable the Copilot taskbar button.
- Close the Registry editor.
You are done.
Again, to save your time, I have prepared the following two REG files. You can download them here:
Extract the REG files to any convenient folder, and open one of the files.
-
Remove_Copilot_button_from_taskbar.reg- hides the button. -
Add_Copilot_button_to_taskbar.reg- restores it back.

Double-click on the REG file to change the Registry. If you see a User Account Control prompt, click Run/Yes, Yes, and OK to allow the modification. Now you need to restart the explorer process, or sign out & sign in to finish the tweak.
Besides the operating system, Microsoft has added Copilot to the Edge browser. You may want to get rid of it as well. Since it is deeply integrated into the sidebar, the only option to turn off them both.
Disable Copilot in Microsoft Edge
- Launch the Registry Editor (Win + R > type regedit > press Enter).
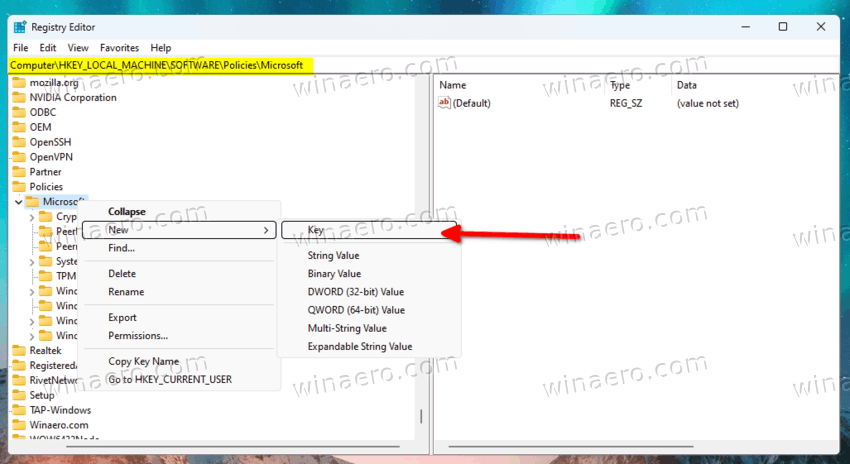
- Open the HKEY_LOCAL_MACHINE\SOFTWARE\Policies\Microsoft key in the left pane.
- If you don't have the Edge folder under Microsoft, right-click the latter and select New > Key. Name it Edge.
- Now, right-click the Edge folder and select New > DWORD (32-bit) Value from the menu.
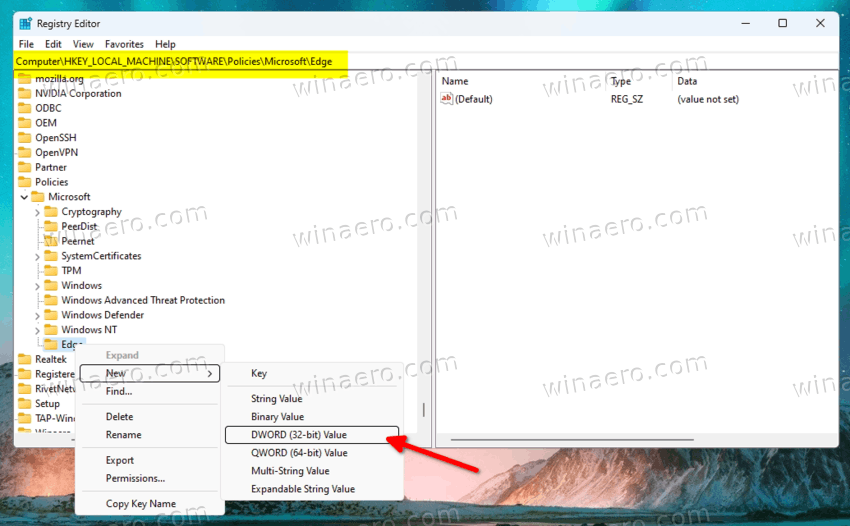
- Name the new value HubsSidebarEnabled, and leave its value data as 0.
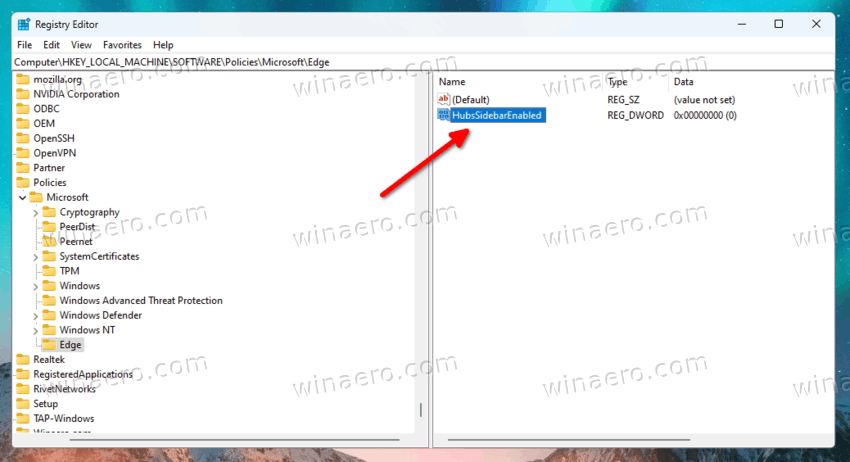
- Congrats, the Edge browser no longer has Copilot (and the sidebar).
Download REG files
To save your time, you can download and use the following REG files.
Download Ready-to-use REG files
Extract the ZIP file you have downloaded and open the Disable the sidebar and the Bing button.reg file. You may be prompted by the User Account Control, so click Yes in there. Allow the Registry editor to make the change by clicking on the Yes button in the next prompt, and you are good to go.
Last by not least, Microsoft has integrated Copilot with Bing. So when you search for anything from the Windows Search, you have face the AI answering to your queries. In this very case, you may want to disable web results and restrict Windows to run only local search through your offline documents.
The Registry tweak is for that is as follows:
Windows Registry Editor Version 5.00

[HKEY_LOCAL_MACHINE\SOFTWARE\Policies\Microsoft\Windows\Explorer]
"DisableSearchBoxSuggestions"=dword:00000001
I have reviewed it in detail here in the linked tutorial.
That's it!
Support us
Winaero greatly relies on your support. You can help the site keep bringing you interesting and useful content and software by using these options:

If you disable it in personalization is it completely gone
or does it just remove the taskbar button ? Will winaero
add this as an option on the next Winaero Tweaker update ?
Personalization = hides the button
Group Policy/tweak/vivetool = disables the feature
not working, it reenables itself.
How? It respects the group policy!
If not, then it is a bug in Windows 11, or you are in a domain network
As mentioned above, disabling CoPilot with GPedit (or register edit) dont work on Windows 11 Home.
Windows 10 Pro 22H2, build 19045.3930, fully updated except KB5034203 which fails.
Neither the downloadable registry files nor the group policy will disable Copilot.
:(
It worked until the recent update. Now, neither disables CoPilot.
Unable to disable windows 10 co-pilot.
You mess that up a bit as the correct path is
HKEY_CURRENT_USER\Software\Policies\Microsoft\Windows\WindowsCopilot “TurnOffWindowsCopilot” set to 1…
The information in the post is correct.
If you read carefully, it tells you to create the WindowsCopilot subkey under the Windows key, as WindowsCopilot doesn’t exist by default.
So the resulting path will be HKEY_CURRENT_USER\Software\Policies\Microsoft\Windows\WindowsCopilot.
The steps in the tutorial are correct.
The information was perfect, correct, exact and works fabulously. I have WinAero on one desktop, and am currently setting up a brand-new desktop. I came right here for reliable steps; granted, one should be somewhat experienced with using regedit and other important “deeper” tools in this OS (not for the casual user, IMO) and I knew I’d get my answer.
Again, thank you for your time and effort! Much appreciated.
Also, I’ll second what you said… “The steps in the tutorial are correct.”
If we would read it from the wrong mindset, it would SEEM incorrect, but with a good understanding of the registry and other OS basics, it will not seem incorrect… because it isn’t. Kudos!
I came here to disable Copilot on Asus laptop with Copilot key.
I used REG file.
Unfortunately on Windows 11 Home 24H2 [10.0 Build 26100] (x64) it didn’t prevent running Copilot upon pressing Copilot button.