PowerShell is an advanced form of command prompt. It is extended with a huge set of ready-to-use cmdlets and comes with the ability to use .NET framework/C# in various scenarios. Windows includes a GUI tool, PowerShell ISE, which allows editing and debugging scripts in a useful way. A lesser known feature of PowerShell is the ability to compress to ZIP and extract files from a ZIP archive. This feature can be used in your own automation scenarios.
Advertisеment
PowerShell was initially released in November 2006 for Windows XP SP2, Windows Server 2003 SP1 and Windows Vista. This days, it is a different, open source product. PowerShell 5.1 introduced editions to the app. Microsoft first announced PowerShell Core edition on 18 August 2016, along with their decision to make the product cross-platform, independent of Windows, free and open source. It was released on 10 January 2018 to Windows, macOS and Linux users. Now it has its own support lifecycle. Microsoft plans to release one minor version for PowerShell Core 6.0 every six months. PowerShell Core 6.1 was released on 13 September 2018.
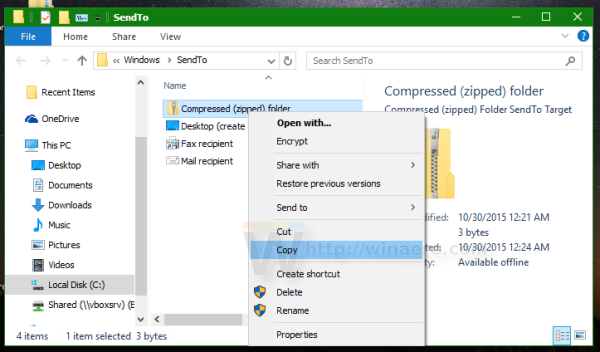
As you may already know, the ability to create a zip file without using third party tools appeared in Windows a long time ago. The first Windows version which had native ZIP archive support was Windows Me. All modern Windows versions support this archive format. To put a file or folder inside a zip archive in Windows 10, all you need to do is right click it and select Send to - Compressed (zipped) folder from the context menu. However, there are command line tools to compress your files to a zip archive. To get this functionality, you could use a third party solution.
If you are using PowerShell scripts to automate your tasks, you will be happy to know that PowerShell allows creating ZIP archives. Here is how it can be done.
To Compress Files To ZIP Using PowerShell,
- Open PowerShell. Tip: You can add "Open PowerShell As Administrator" context menu.
- Type or copy-paste the following command:
Compress-Archive -LiteralPath "path\to\your\files" -DestinationPath "path\to\your\archive.zip" - Substitute the path portion in the command above with the actual values.
To Extract Files From ZIP Using PowerShell,
- Open PowerShell. Tip: You can add "Open PowerShell As Administrator" context menu.
- Type or copy-paste the following command:
Expand-Archive -LiteralPath "path\to\your\archive.zip" -DestinationPath "Path\where\to\store\extracted files" -Force - Substitute the path portion in the command above with the actual values.
You are done.
Related articles.
- Create Symbolic Link in Windows 10 with PowerShell
- Find PowerShell Version in Windows
- Create a User Account in Windows 10 with PowerShell
- Show a Message Notification from PowerShell
- Create Shortcut to Run a PS1 PowerShell File in Windows 10
- Generate QR Code with PowerShell in Windows 10
- Find Your Windows Upgrade History with PowerShell
- Create Windows 10 Bootable USB Stick With PowerShell
- Get amount of words, chars and lines in a file using PowerShell
- Add PowerShell As Administrator Context Menu in Windows 10
- Add PowerShell file (*.ps1) to New Context Menu of File Explorer
- Get File Hash With PowerShell in Windows 10
- How To Restart Computer with PowerShell
- Start a Process Elevated from PowerShell
Support us
Winaero greatly relies on your support. You can help the site keep bringing you interesting and useful content and software by using these options:

i clicked on that link by accidentally! please remove bad ads!
https://i.postimg.cc/rsgv9хNM/bаd-ads.png