Windows provides both a device-based speech recognition feature (available through the Windows Speech Recognition Desktop app), and a cloud-based speech recognition service in those markets and regions where Cortana is available. You can create multiple profiles for Speech Recognition to store information about how to recognize your voice. Also, switching between profiles allows recognizing a different voice.
Windows Speech Recognition lets you control your PC with your voice alone, without needing a keyboard or mouse. There's a special wizard to help you get started. You need to plug in your microphone, and then configure Windows Speech Recognition. Speech Recognition is a nice addition to the dictation feature of Windows 10.
Advertisеment
Speech Recognition is only available for the following languages: English (United States, United Kingdom, Canada, India, and Australia), French, German, Japanese, Mandarin (Chinese Simplified and Chinese Traditional), and Spanish.
In Windows 10, you can create a new profile for Speech Recognition, delete an existing profile, and activate/deactivate any profile (change the active profile).
Add a Speech Recognition Profile
- Enable the Speech Recognition feature.
- Open the classic Control Panel app.
- Go to Control Panel\Ease of Access\Speech Recognition.
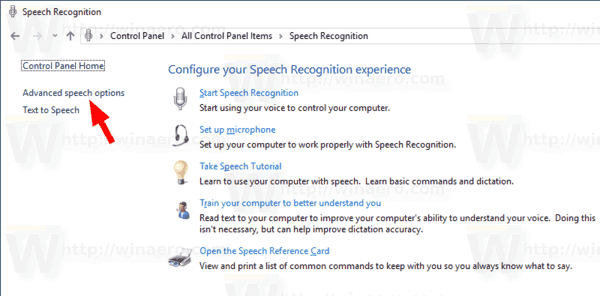
- On the left, click on the link Advanced speech options.
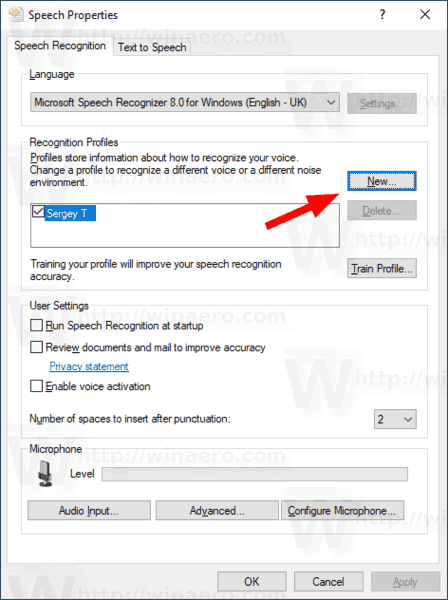
- In the Speech Properties dialog, click on the New button in the Recognition Profiles section.
- Provide a name for this new profile.

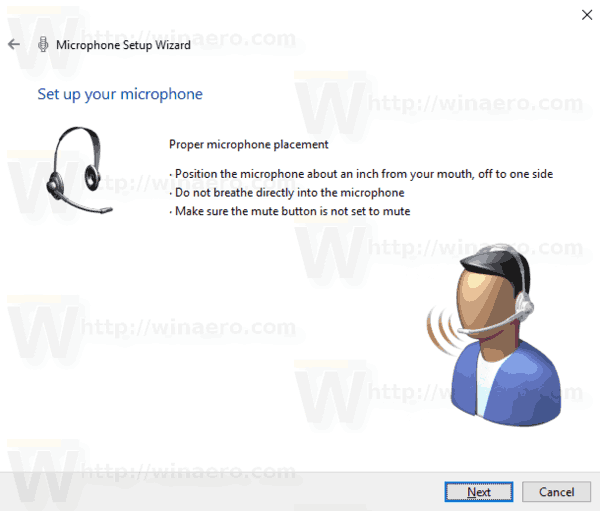
- Select the microphone type you are using.
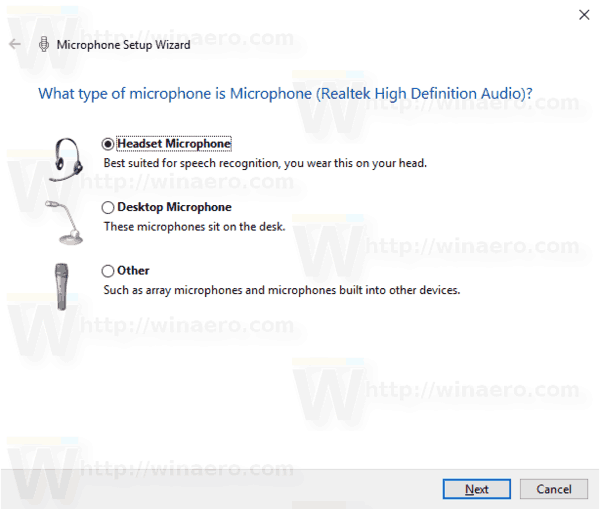
- Click Next to configure your microphone.
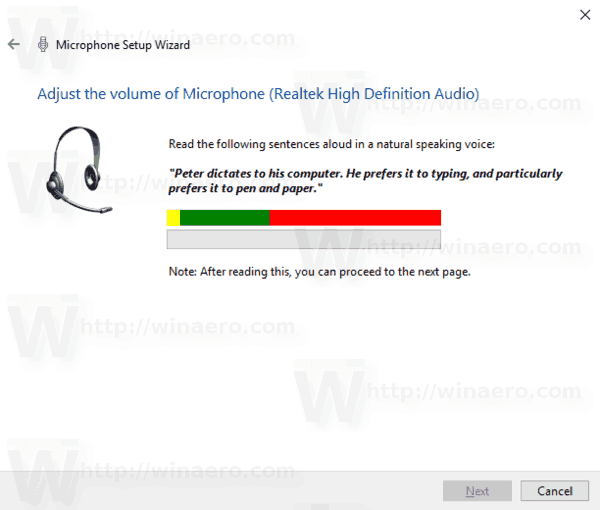
- Read aloud the statement displayed on the next page and click on the Next button.
- The profile is now created. Click on the Finish button.
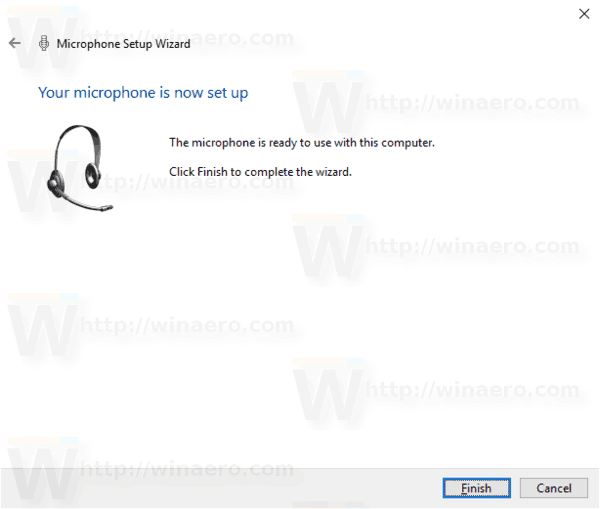
You are done.
Change a Speech Recognition Profile
- Open the classic Control Panel app.
- Go to Control Panel\Ease of Access\Speech Recognition.
- On the left, click on the link Advanced speech options.
- In the Speech Properties dialog, turn on (check) aprofile you want to use in the Recognition Profiles section.
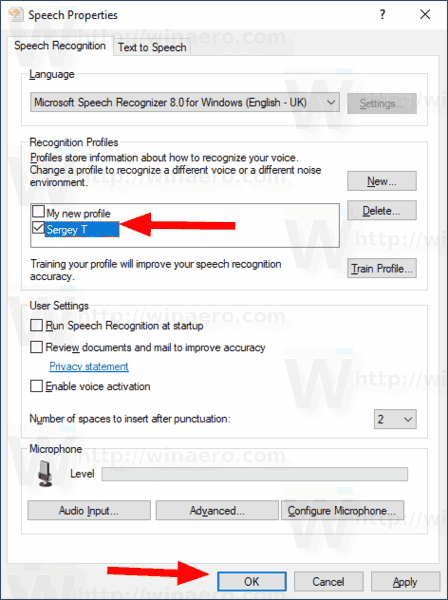
- Click on the OK button.
Delete a Speech Recognition profile
- Open the classic Control Panel app.
- Go to Control Panel\Ease of Access\Speech Recognition.
- On the left, click on the link Advanced speech options.
- In the Speech Properties dialog, select the profile you want to delete.
- Click on the Delete button next to the profile list.

- Confirm the operation.
The profile is now deleted.
If you get the Could not delete profile error message, activate a different profile, then close the Speech Properties dialog. Open it once again, and try to delete the profile.
That's it.
Related articles:
- Disable Document Review for Speech Recognition in Windows 10
- Enable Voice Activation for Speech Recognition in Windows 10
- Change Speech Recognition Language in Windows 10
- Speech Recognition Voice Commands in Windows 10
- Create Start Speech Recognition Shortcut in Windows 10
- Add Speech Recognition Context Menu in Windows 10
- Enable Speech Recognition in Windows 10
- Run Speech Recognition at Startup in Windows 10
- Disable Online Speech Recognition in Windows 10
- How to Use Dictation in Windows 10
Support us
Winaero greatly relies on your support. You can help the site keep bringing you interesting and useful content and software by using these options:
