Windows provides both a device-based speech recognition feature (available through the Windows Speech Recognition Desktop app), and a cloud-based speech recognition service in those markets and regions where Cortana is available. In addition to the context menu, and a shortcut, you may want to enable Voice Activation mode for Speech Recognition.
Windows Speech Recognition lets you control your PC with your voice alone, without needing a keyboard or mouse. There's a special wizard to help you get started. You need to plug in your microphone, and then configure Windows Speech Recognition. Speech Recognition is a nice addition to the dictation feature of Windows 10.
Advertisеment
Speech Recognition is only available for the following languages: English (United States, United Kingdom, Canada, India, and Australia), French, German, Japanese, Mandarin (Chinese Simplified and Chinese Traditional), and Spanish.
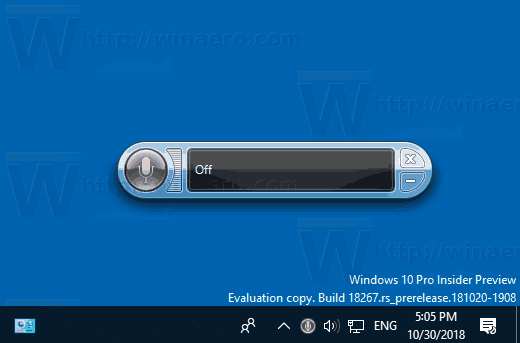
When Voice Activation mode is enabled, Speech Recognition can be controlled by special voice commands. It can be started just by saying "Start Listening", and can be stopped by the command "Stop Listening".
To enable Voice Activation for Speech Recognition in Windows 10, do the following.
- Enable the Speech Recognition feature.
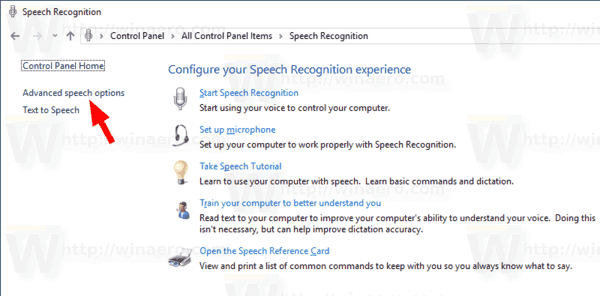
- Open the classic Control Panel app.
- Go to Control Panel\Ease of Access\Speech Recognition.
- On the left, click on the link Advanced speech options.
- In the Speech Properties dialog, turn on (check) the option Enable voice activation.
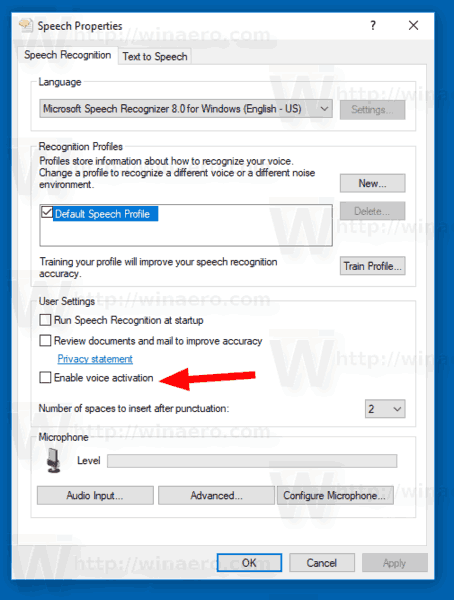
You are done. The option can be disable at any moment.
Alternatively, you can enable or disable Voice Activation mode with a Registry tweak. Let's see how it can be done.
Enable Voice Activation with a Registry Tweak
- Download the following ZIP archive: Download ZIP archive.
- Extract its contents to any folder. You can place the files directly to the Desktop.
- Unblock the files.
- Double click on the Enable_voice_activation.reg file to merge it.
- To remove the entry from the context menu, use the provided file Disable_voice_activation.reg.
You are done!
How it works
The Registry files above modify the Registry branch
HKEY_CURRENT_USER\Software\Microsoft\Speech\Preferences
Tip: See how to go to a Registry key with one click.
To enable the feature, modify or create a new 32-bit DWORD value ModeForOff under the mentioned path and set its value data to 2. Note: Even if you are running 64-bit Windows you must still create a 32-bit DWORD value.
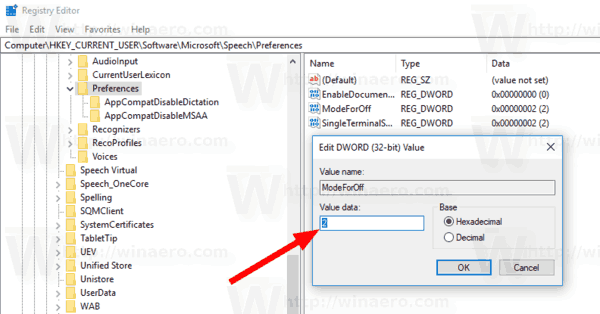
To disable the voice activation feature, set the ModeForOff value to 1 (this is used by default in Windows 10).
That's it.
Related articles:
- Change Speech Recognition Language in Windows 10
- Speech Recognition Voice Commands in Windows 10
- Create Start Speech Recognition Shortcut in Windows 10
- Add Speech Recognition Context Menu in Windows 10
- Enable Speech Recognition in Windows 10
- Run Speech Recognition at Startup in Windows 10
- Disable Online Speech Recognition in Windows 10
- How to Use Dictation in Windows 10
Support us
Winaero greatly relies on your support. You can help the site keep bringing you interesting and useful content and software by using these options:
If you like this article, please share it using the buttons below. It won't take a lot from you, but it will help us grow. Thanks for your support!
Advertisеment

i will try to learn with your help,or not .