RDP stands for Remote Desktop Connection. It is a special network protocol which allows a user to establish a connection between two computers and access the Desktop of a remote host. It is used by Remote Desktop Connection. The local computer is often referred to as the "client". In this article, we'll see how to change the port that Remote Desktop listens on.
Advertisеment
The default port is 3389.
Before we continue, here are some details about how RDP works. While any edition of Windows 10 can act as Remote Desktop Client, to host a remote session, you need to be running Windows 10 Pro or Enterprise. You can connect to a Windows 10 Remote Desktop host from another PC running Windows 10, or from an earlier Windows version like Windows 7 or Windows 8, or Linux. Windows 10 comes with both client and server software out-of-the-box, so you don't need any extra software installed. I will use Windows 10 "Fall Creators Update" version 1709 as a Remote Desktop Host.
First of all, ensure that you had properly configured RDP in Windows 10. Also, you must be signed in with an administrative account to continue.
To change the Remote Desktop (RDP) port in Windows 10, do the following.
- Open the Registry Editor app.
- Go to the following Registry key.
HKEY_LOCAL_MACHINE\System\CurrentControlSet\Control\Terminal Server\WinStations\RDP-Tcp
See how to go to a Registry key with one click.
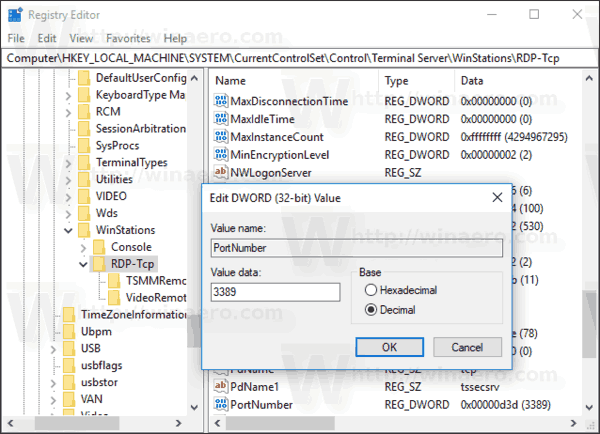
- On the right, modify the 32-Bit DWORD value "PortNumber". By default, it is set to 3389 in decimals. Note: Even if you are running 64-bit Windows you must use a 32-bit DWORD value.
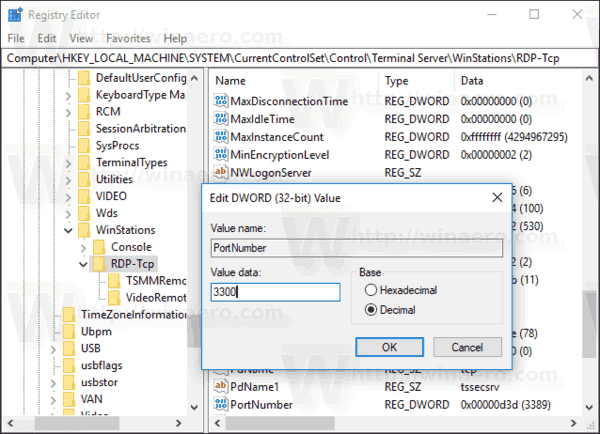
 Switch it to Decimal and enter a new value for the port. For example, I will set it to 3300.
- Open the new port in Windows Firewall. See how to open a port.
- Restart Windows 10.
Now, you can connect to the RDP server using the built-in "Remote Desktop Connection" tool (mstsc.exe). The procedure is described in detail in the following article:
https://winaero.com/blog/connect-windows-10-remote-desktop-rdp/
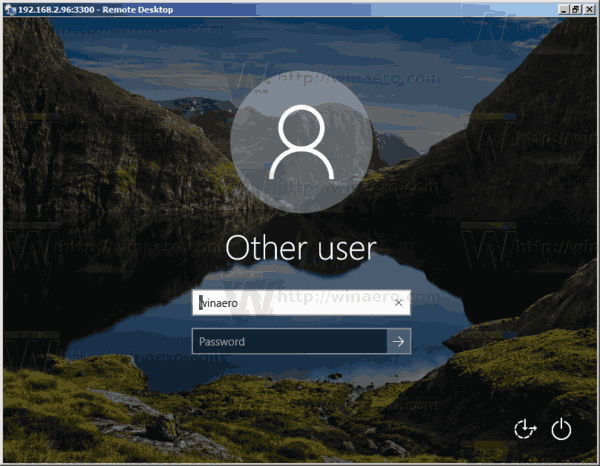
Once you change the port, you should specify the new port value in the connection string on the client machine. Add it separated by a double comma after the address of the remote computer (your RDP server's address). See the following screenshot.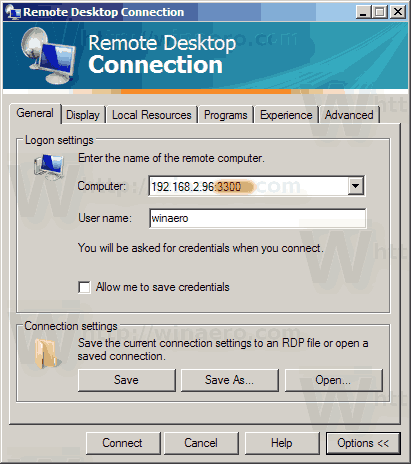 I have successfully connected with the new port value.
To save your time and avoid manual Registry editing, you can use Winaero Tweaker. The app has the appropriate option under Network\RDP port.
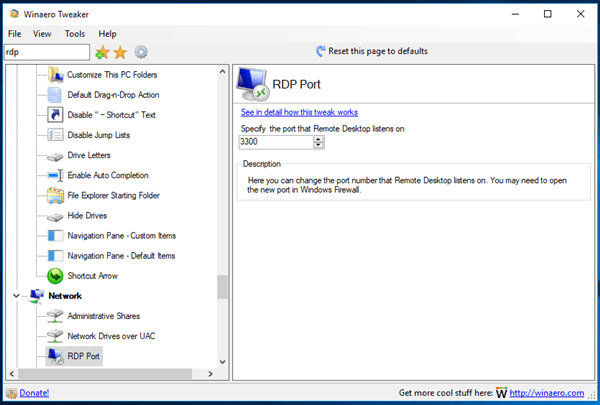
You can download Winaero Tweaker here:
That's it.
Support us
Winaero greatly relies on your support. You can help the site keep bringing you interesting and useful content and software by using these options:

This does not work because you must ALSO change the port settings for Windows Firewall, and it won’t let you change the Remote Desktop rules!
This does not appear to work for Win 10 version 1809. After changing registry settings and a reboot, RDP is still listening on port 3389.
Just a piece of advice for anyone who might read this, if you setup standard RDP on port 3389 and allow firewall pass through, you will be under a world wide assault within minutes.
Nutty IDEA!
change the Routers port forwarding to 65535 on the PUBLIC side and on the internal side point that forward to 3389…
As mentioned above, this no longer works for recent versions of windows 10. Cool.
This WORKS in ANY Windows 10 version when you use MSTSC.
Nah, it doesn’t lol.
Update your article to include that a NEW inbound firewall rule must be created. The existing rule has predefined fields that cannot be updated to reflect the new port. The computer WILL listen on the new port, but traffic will not be accepted through the firewall without a new rule.
Thanks. Updated!