Starting with Windows 10 build 15002, you can capture a screen region to the clipboard. Windows 10 Creators Update comes with a new feature which allows you to take a screenshot of a selected part of the screen. This can be done with just a hotkey.
Advertisеment
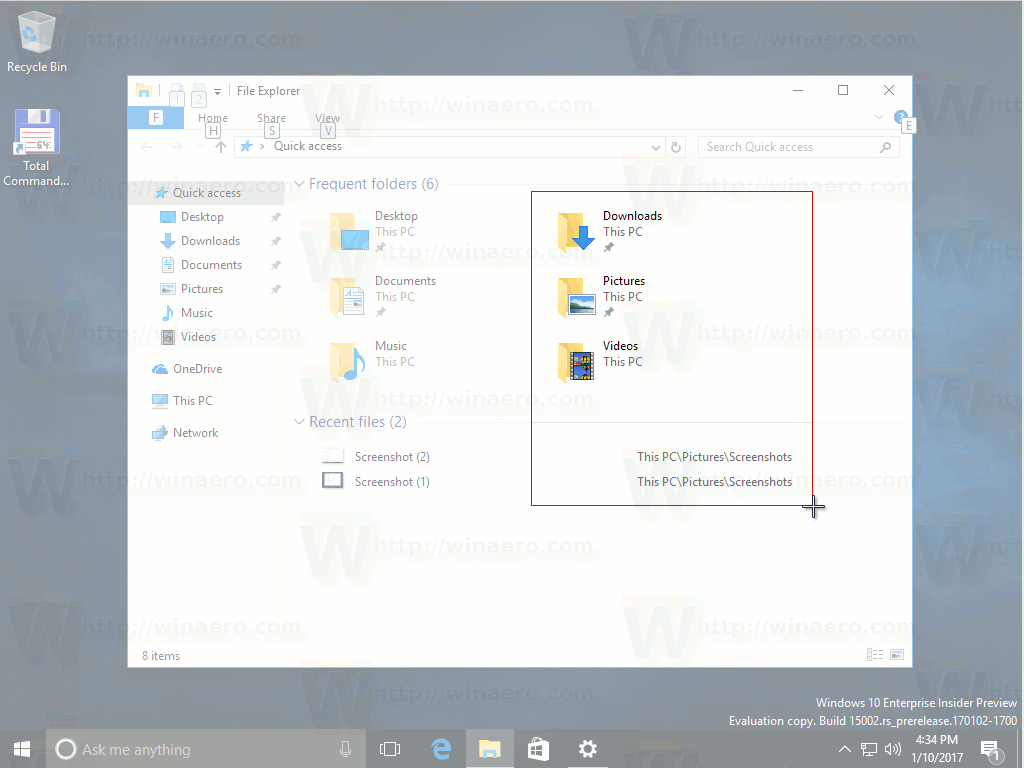
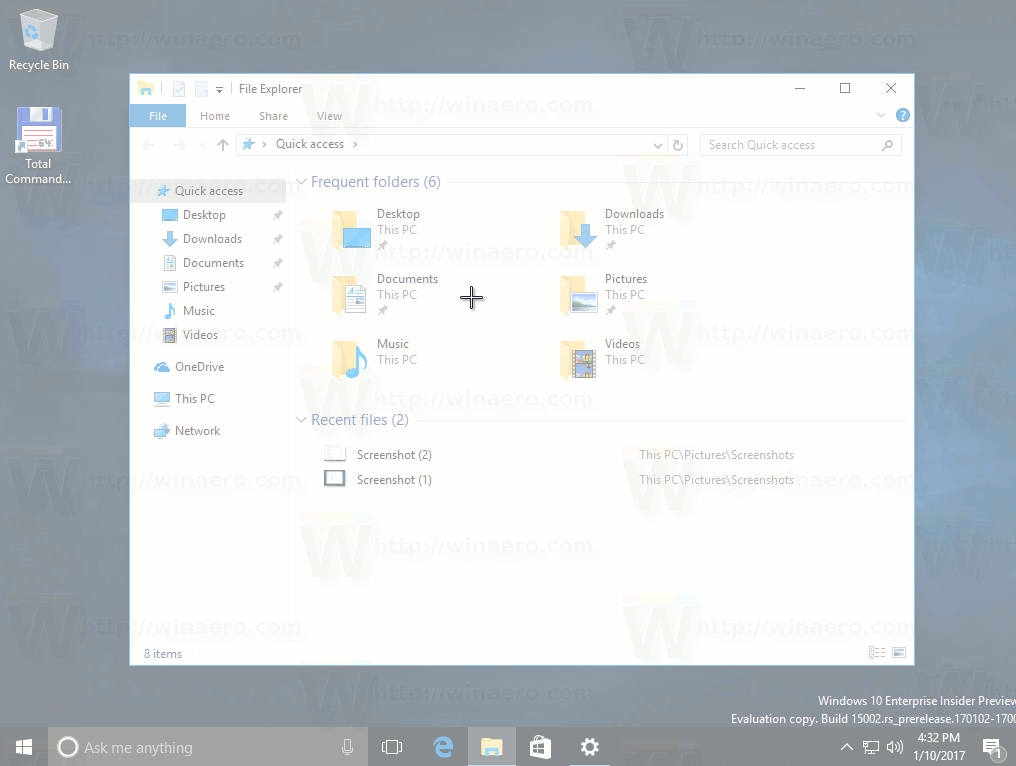
To take a screenshot of a screen region in Windows 10, press Win + Shift + S keys together on the keyboard. The mouse cursor will turn into a cross sign.
Select the area you want to capture and its screenshot will be taken and stored in the clipboard.
After you capture the screen region using the built-in feature of Windows 10, its contents will be stored in the clipboard. The operating system will not prompt you to save it to a file or open it in a program. Instead, you can open any app which supports image editing and paste your screenshot there.
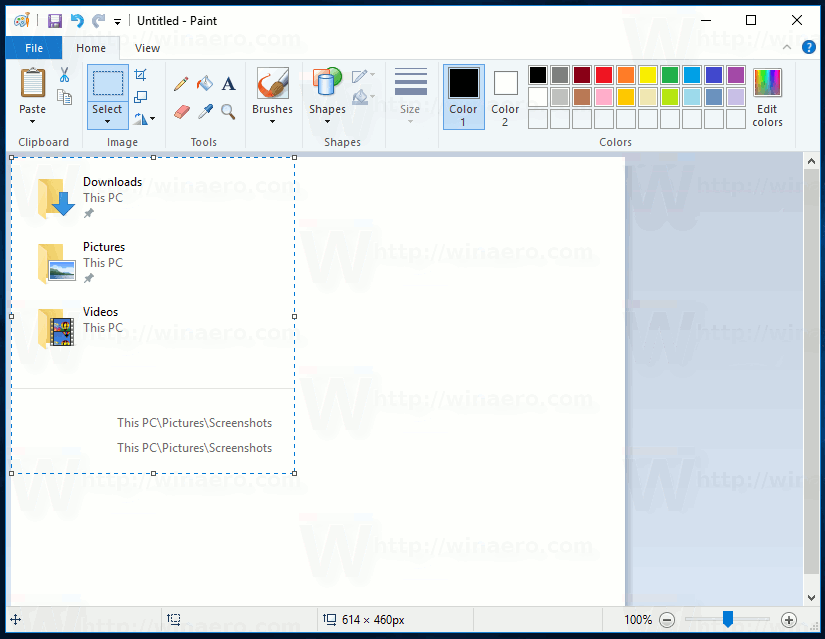
For example, I can paste my screenshot of the selected region in Paint:
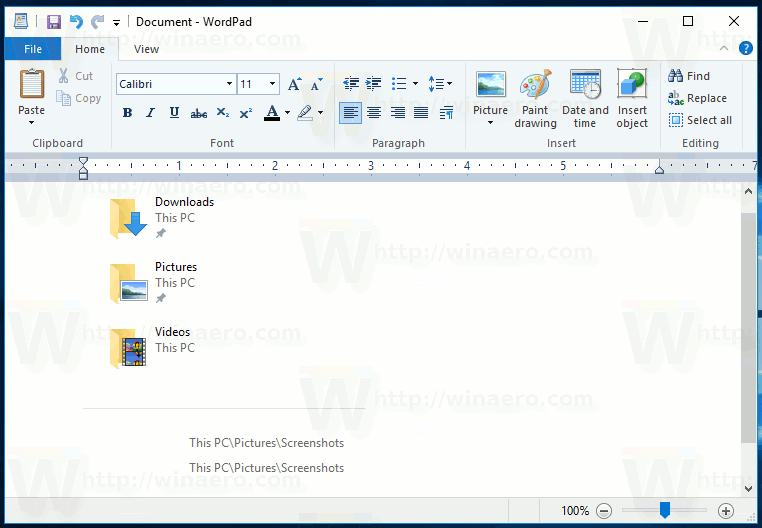
Or you can paste it into a WordPad document, Microsoft Word or any other modern word processor.
The original screenshot feature was implemented in Windows 95. In Windows 8, an enhanced screenshot feature was implemented which automatically saved it to a file by pressing Win + Print Screen. The entire screen's contents will be captured in a file stored at %userprofile%\Pictures\Screenshots. During this operation, the screen will be dimmed for half a second to give visual feedback of the screenshot being taken. Every screenshot will saved as a *.PNG file and named 'Screenshot (#).png' where # indicates the screenshot index.
Tip: See How to reset screenshot index number in Windows 10.
So, Windows 10 offers you several ways to take a screenshot without using third party tools.
- The classic PrintScreen feature since Windows 95. If you press PrintScreen on your keyboard, the entire screen's contents will be copied to the clipboard, but not saved to a file.
- Alt + PrintScreen shortcut key will capture a screenshot of only the active window to the clipboard.
- Pressing Win + Print Screen will capture the entire screen and save it to a file in the %userprofile%\Pictures\Screenshots folder.
- Pressing Win + Shift + S will allow you to capture a selected region of the screen to the clipboard.
- Using the Snipping Tool which was also updated in Windows 10.
I wish Windows 10 would get the ability to save the captured screen region directly to a file, like Win + Print Screen does. Considering that Windows 10 build 15002 is a preview build, future releases might allow users to do that. The behavior of this feature can be improved in the final version of Windows 10 Creators Update. Now we just have to wait till April 2017 when it will be finalized.
Support us
Winaero greatly relies on your support. You can help the site keep bringing you interesting and useful content and software by using these options:


Setting custom keyboard shortcuts to specific custom actions in the Snipping Tool would be ideal.
If you are not against 3rd party apps, I can suggest you Greenshot (http://www.getgreenshot.org).
Great tool, thank you!
you’re welcome
I made a python tool to do just that! All you have to do is run it and hit tab to save as a png. If anyone wants it, let me know and I’ll send it to use and/or provide the source code : ) – r3901 @ hotmail.com
Before I knew about the windows+prt scr+s I was using windows+prt scr to capture the image, open that in paint, highlight the section I wanted and would use my tool to copy/save as a file store where my tool is as a png.
After learning this all I had to do was comment the one copy line of code.
This is going to save me SOOO much time! Thank you for this article!