Sometimes you need to rename your Linux Mint computer and change its host name. This can be done without a restart. Let's see how you can modify the PC name.
Advertisеment
Linux Mint stores the PC name in a couple of files. To rename it, you need to edit those files. Once you edit them, you need to restart your PC for the changes take the effect. However, you can avoid the reboot if you follow the trick below.
To Rename Computer in Linux Mint and Change PC Host Name, do the following.
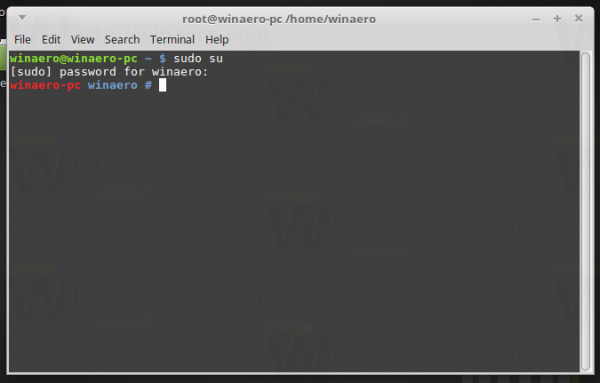
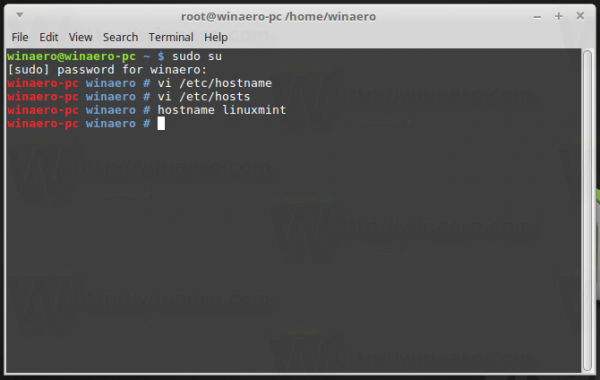
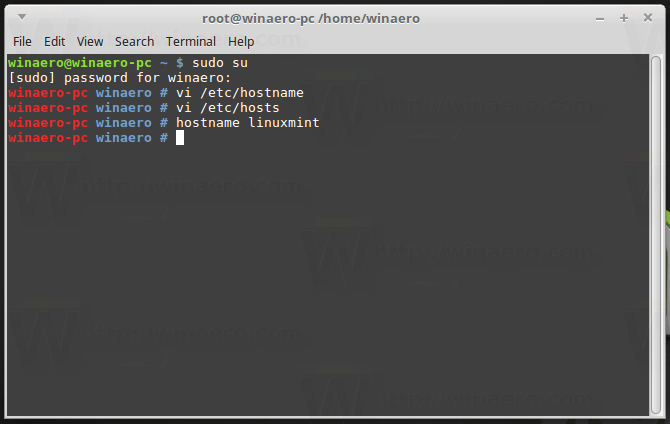
- Open the Root Terminal.
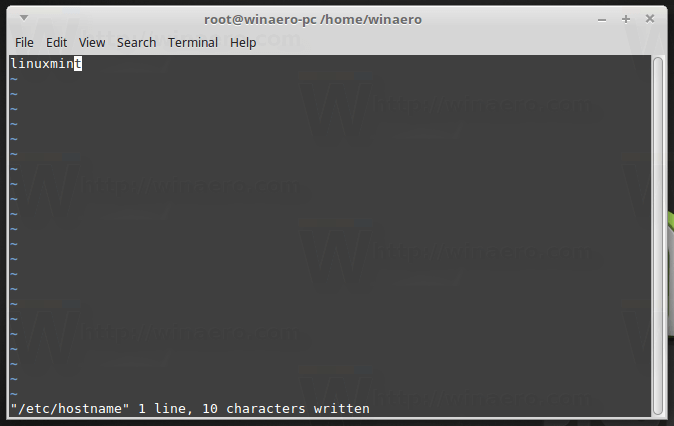
- Edit the file /etc/hostname with your favorite text editor. It can be Gedit, Xeditor, vi, nano - any graphical or console app you like.It contains your current PC name.
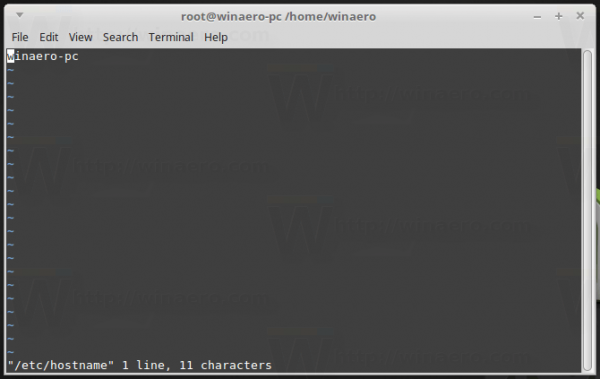
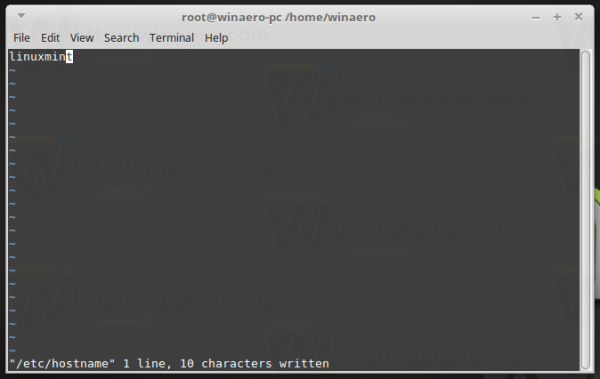
- Change the PC name in the file and save it.
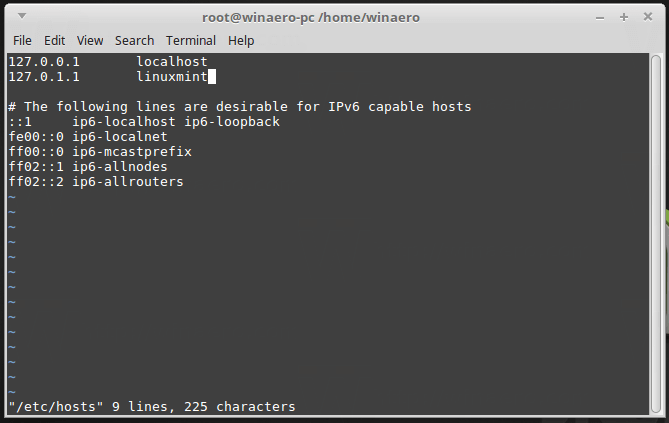
- Now, edit the file /etc/hosts. You need to change the lines which point to the old host name.
Here is how my file looks before making any changes: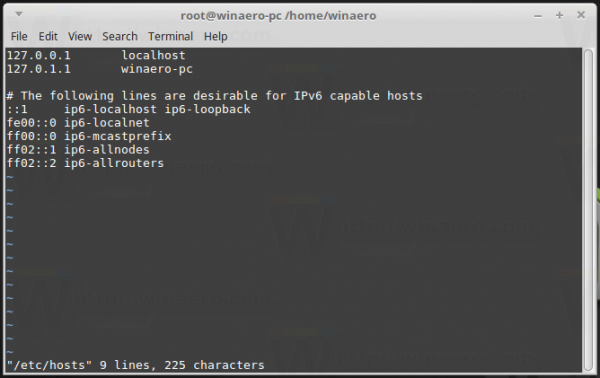 I need to change the PC name on the second line.
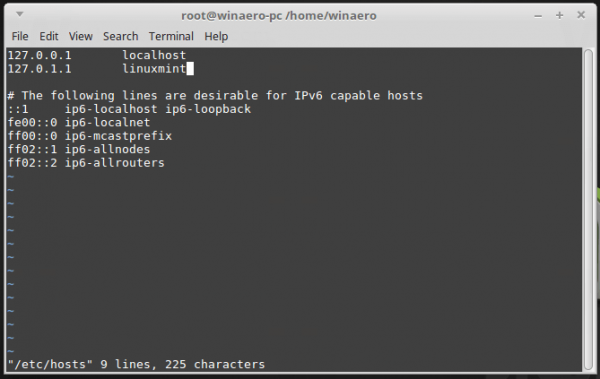
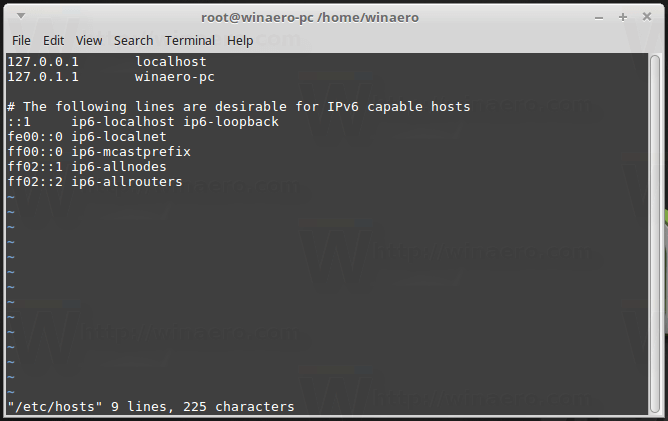
- Save the file and exit your editor. Now, you need to tell the operating system that the host name has changed and the PC has been renamed. Execute the following command:
hostname the-name-you-set
In my case, I run the following command:
hostname linuxmint
The command produces no output.


That's it! You just renamed your Linux Mint PC. A new terminal instance indicates that the change has happened.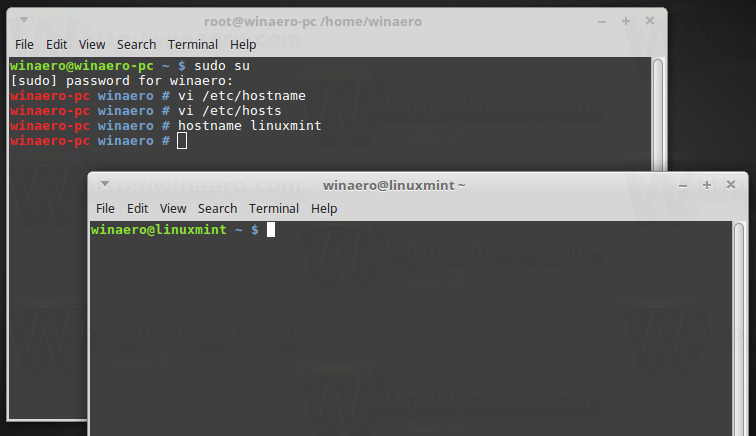
Linux Mint is one of the most popular distros these days. The operating system has different editions with various desktop environments. The team behind the distro ships ISO images with XFCE, MATE, Cinnamon and KDE. The method described above is suitable for any desktop environment.
The popularity of Linux Mint can be explained by two major factors. The first is that it's Ubuntu based, so it has a lot of software available for it and good hardware support as well. It is compatible with almost all Ubuntu apps and drivers. The second reason is that it has user environments with the traditional desktop look. Desktop environments in Linux Mint provide a classic taskbar, an Apps menu and the system tray along with the menu bar for all apps. This makes them attractive for users who cannot stand the user interface changes made in Gnome 3 and Unity.
Support us
Winaero greatly relies on your support. You can help the site keep bringing you interesting and useful content and software by using these options:

Hi Sergey,
Thanks a lot for the post. its so straight forward and cares for Linux newbies. I like that part where you even go ahead to list the different text editors. Thanks a lot for the effort and being elaborate. It has helped me where I was stuck.
2 questions though, so in linux i dont need to restart for computer name to take effect? also, if I use lamp, and SSMTP, do i have to change anything? thanks please.
David. Uganda
Hi David.
No OS restart required.
You may need to change /etc/hosts and apache’s config file in case if you resolve the local host in your web server.
That’s it.
My hostname file in the /etc/ folder is Read Only and it states that the permissions cannot be changed. Therefore I can’t save any changes and can’t proceed.
Any advice?
You should edit this file as superuser/root. Type
sudo suand edit it then.My Synopsis for Renaming a Linux Mint 19.2 PC
Open Terminal and use:
sudo su
using the root password to get to root. Then use:
nano /etc/hostname
to change the current name to the new PC name.
Press Ctrl + X and press Y to save the changes, then click Enter to return to Terminal.
Then use:
nano /etc/hosts
to change the old name to the new PC name via moving the cursor to the past name on the second line of text and rename.
Press Ctrl + X and press Y to save the changes, then click Enter to return to Terminal.
You may check these two files share the same new PC name via My Computer, File System, etc, and open hostname and hosts respectively.
Then you may either close the Terminal and reboot or use the hostname command shown in this post within Terminal to verify in a new Terminal window the new PC name has been applied.
Thank you for a great post!
Very nice and straight forward. Thank you :)
Perfect. it also helped me to finally use VIM and SUDO.
perfect. thank you . it works
Awesome instructions, thanks. Was exactly what I was looking to do.
Now, if I could just find out how to get Grub Customizer to install in mint mate 19.1
It has always worked on ubuntu, Frustrating
First of all thank you for sharing this tutorial. I spent two days trying to use it as described with no success. Apparently it is missing how to do between steps two and three and how to save the edited file in the terminal. Doubts of a novice with a month of experience in Linux Mint. Suddenly it occurred to me: if it were in Windows what would I do? In difficult cases use the right mouse button. So I solved the problem:
1- in Desktop or My computer open System files ( / );
2 – right mouse click on etc file and choose Open as Root;
3 – locate the hostname file and open it with the native editor (in my case Xed);
4 – make the name change and save the file;
5 – locate the hosts file and do the same of 3 and 4;
6 – restart the system and you are ready.
To confirm the change open the terminal and check the change.
I’m using Cinnamom’s flavor of Linux Mint for a month and I’m loving it!
Cheers!
Hello, the second point is really confusing. What do you mean edit the file /etc/hostname? Where? How? You put more emphasis on a redundant thing like ”favourite text editor”. Do expand a little bit, if this tutorial is really for noobs
ok.
Open terminal (Apps > System > Terminal)
Type
sudo suand enter your password.Type
nano /etc/hostnameMake changes.
Press Ctrl + X and press Y to same the changes.
I saved the changes made with xed in /etc/hostname and /etc/hosts.
However, when I put my new name after hostname, all I get is “the specified hostname is invalid”.
Can’t I use – and/or _ ?
Hostnames are composed of series of labels concatenated with dots, as are all domain names. For example, “en.wikipedia.org” is a hostname. Each label must be between 1 and 63 characters long, and the entire hostname (including the delimiting dots but not a trailing dot) has a maximum of 253 ASCII characters.
The Internet standards (Requests for Comments) for protocols mandate that component hostname labels may contain only the ASCII letters ‘a’ through ‘z’ (in a case-insensitive manner), the digits ‘0’ through ‘9’, and the hyphen (‘-‘). The original specification of hostnames in RFC 952, mandated that labels could not start with a digit or with a hyphen, and must not end with a hyphen. However, a subsequent specification (RFC 1123) permitted hostname labels to start with digits. No other symbols, punctuation characters, or white space are permitted.
Awesome guide!
Perfection in its simplicity
My synopsis for “Renaming a Linux Mint 19.2 PC”
Open Terminal and use:
sudo su
(click Enter)
using the root password to get to root. Then use:
nano /etc/hostname
(click Enter)
to change the current name to the new desired PC name.
Press Ctrl + X and press Y to save the changes, then click Enter to return to Terminal.
Then use:
nano /etc/hosts
(click Enter)
to change the old name to the new PC name via moving the cursor to the past name on the second line of text and rename.
Press Ctrl + X and press Y to save the changes, then click Enter to return to Terminal.
You may check these two files share the same new PC name via My Computer, File System, etc, and open hostname and hosts respectively.
Then you may close the Terminal and reboot or use the hostname command shown in this post within Terminal to verify in a new Terminal window the new PC name is applied.
I appreciate the post! Thank you!
An even quicker way – The two files in Mint 19.2 that need to have the PC name edited are hostname and hosts in the “etc” folder as shown in this post. A snappy way to do this is go to:
My Computer –> File System –> then Right-click on the etc folder and choose Open as Root in the drop down menu using the root password to Authenticate –> then you may open the two files “hostname” and “hosts” directly within the etc folder as Root giving you editing and most importantly “Save” privileges.
With the “Elevated Privileges” of Root on etc open file “hostname” and change the PC name and save it, and replicate the name change in the second line of the file “hosts” being sure to save that change too. Close and open the two files to double-check they were saved with the new name of the PC.
The PC name change made and saved in those two files really completes the job. This may be verified after a reboot via opening Terminal to see the applied name change, or you may use the cool trick shown in this post using Terminal to avoid the reboot. Thank you for making this post available to us!
Dear Sergey,
I am new to Linux Mint. Wanted to change my computer name and I came across your article.
I want to say thank you. Follow to the letter and everything seems fine.
Kind regards,
Bertrand
I am happy to be of help!
Sergey, I don’t know if your native language/land is English in origin, but this guide was so much better than what most native English people can manage to produce. It was awesome! Thanks for the great work! JP
Thank you very much :-)
Big thanks, works without rebooting…