In Windows 10, most of the network options were moved to Settings. The Setting app and the new Network flyout are completely different from Windows 7 and Windows 8.1. Unfortunately, the modern user interface of the OS doesn't include an option to disable a network adapter quickly. Instead, we can use a number of classic tools utilities.
Advertisеment
In Windows 10, there is a special network flyout which shows a list of available wi-fi networks to which your PC can connect. It also shows the network that you are currently connected to. Using the Network flyout, you can open Network & internet settings or enable or disable Wi-Fi, Mobile Hotspot and Airplane mode.
To disable a network adapter, you can use either the classic Network Connections folder, Device Manager, Netsh, or PowerShell. Let's see how it can be done.
To disable a network adapter in Windows 10, do the following.
- Open the classic Network Connections folder.
- Right-click the desired connection.
- Select Disable in the context menu.
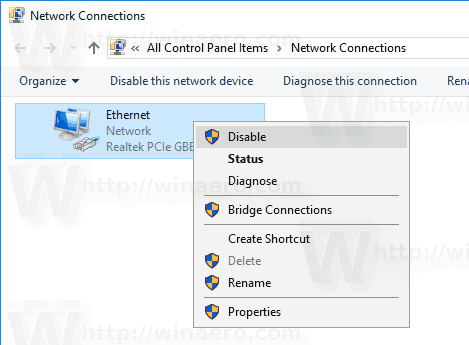
- The network adapter will be disabled along with the selected network connection.
Later, you can enable the disabled connection by right-clicking on it and selection "Enable" in the context menu.
Disable a network adapter with Device Manager
- Press Win + X keys together on the keyboard and click Device Manager.
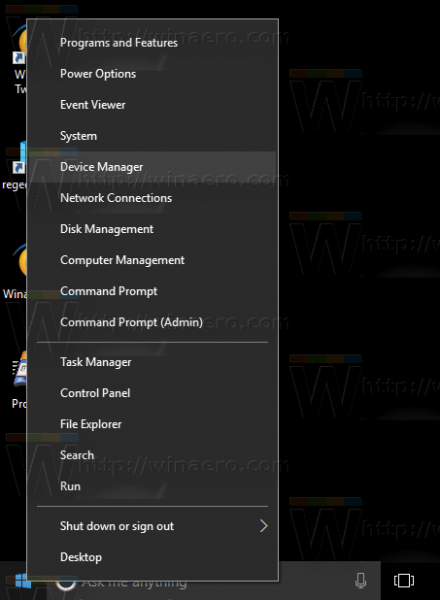
Tip: you can customize the Win + X menu of Windows 10.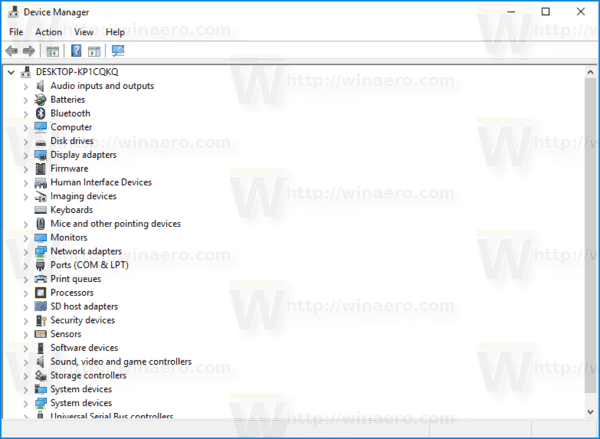
- In the device tree, find your device.
- Right-click on it and select "Disable device" in the context menu.
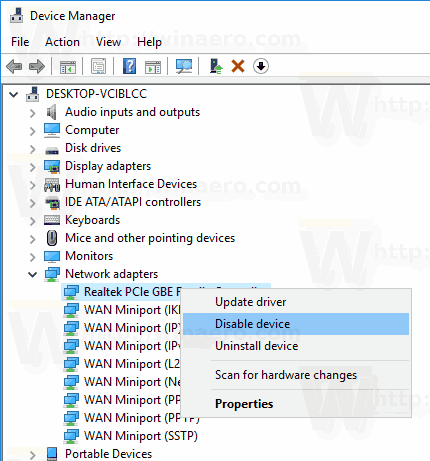
- The selected network adapter will be instantly disabled.

To re-enable the disabled network adapter, right-click on it in Device Manager, select "Enable device" in the context menu.
Disable a network adapter with Netsh
Netsh is a console utility which allows changing a lot of network related parameters. Here are just a few examples of what you can do with netsh:
- Check supported WiFi speed of your Wireless adapter in Windows 10
- Backup and restore Wireless network profiles in Windows 10
- Filter wireless networks in Windows 10 to create a black list or white list
- Set up Windows 10 ad hoc wireless hotspot
Here is how to disable a network adapter using netsh.
- Open an elevated command prompt.
- Type the following command:
netsh interface show interface. Make note of the Interface Name value for the network adapter you want to disable.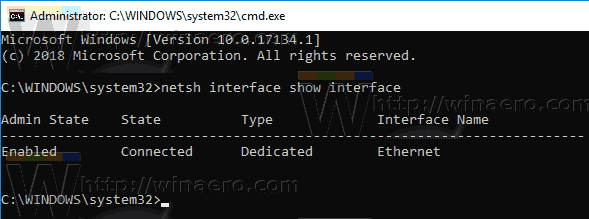
- To disable a network adapter, issue the following command:
netsh interface set interface "Ethernet" disable. Substitute the Ethernet potion with the appropriate name of the network interface from the step 2.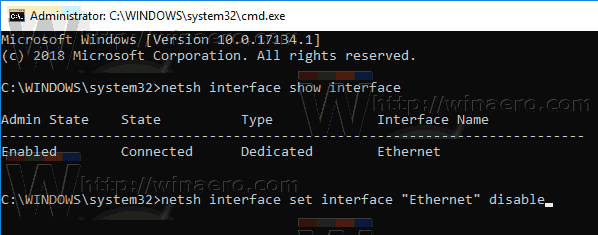
- The network adapter related to the network interface will be disabled. The undo command is as follows:
netsh interface set interface "Interface Name" enable.
Disable a network adapter with PowerShell
PowerShell is an advanced form of command prompt. It is extended with a huge set of ready-to-use cmdlets and comes with the ability to use .NET framework/C# in various scenarios.
To disable a network adapter in Windows 10 using PowerShell, do the following.
- Open an elevated PowerShell instance.
- To see available network adapters, run the command
Get-NetAdapter | format-list. Make note of the network adapter name.
 - To disable the adapter, run the command
Disable-NetAdapter -Name "your network adapter name" -Confirm:$false. This will disable your network adapter instantly without a confirmation. Don't forget to replace the "your network adapter name" portion with the actual network adapter name from the step 2. - The undo command is
Enable-NetAdapter -Name "your network adapter name" -Confirm:$false.
That's it!
Support us
Winaero greatly relies on your support. You can help the site keep bringing you interesting and useful content and software by using these options:

Please REMOVE BAD ADS!!
https://i.imgur.com/SJ7t2rt.png
I am not in control of them. That box renders content provided by Google.
Oh ok, Google is only only control the ads, correct?
Oh ok, Google is only one* control the ads, correct?
Yep
Use adblocker.
Use adblocker, leave your beloved winaero without revenue :-)
Do NOT use adblocker!
I AM USING ADBLOCKER AND LOVING IT!!
Click on your network indicator in the taskbar, click Network and Internet Settings, then click Network and Sharing Center. Now you can click Change Adapter Settings.
You can open ‘Control Panel\Network and Internet\Network Connections’ and drag your adapter out on to the desktop and ‘create a shortcut’.
You can then R-Click on the shortcut and ‘disable adapter’.
In windows 7 you can also R-Click on it again and ‘enable adapter’ but windows 10 doesn’t let you do this :(
Figure out how to bring back this ‘enable adapter’ in the context menu of windows 10 and I’ll be impressed ;)
I am sorry, but the method you’ve described is already mentioned/linked in this article.
Part #2
You can also R-Click on the adapter shortcut and “open file location”. It works as a shortcut to the ‘Control Panel\Network and Internet\Network Connections’ this way.