If you use File Explorer, you may already know that it has a nice feature to remember each folder's view setting. You can customize its sorting and grouping views. Let see how it can be done.
Advertisеment
File Explorer in Windows 10 has five folder templates - General Items, Documents, Pictures, Music and Videos. When you see the Customize tab of a Library or of a folder, you will see these templates. This adds more flexibility in viewing your personal data.
For instance, even if you prefer, say, List view for Documents, you may want your Music Library to be shown in Details view and you would want your Pictures and Video Libraries to be in icon-based views such as Medium, Large or Extra Large icons. So for each folder template, Explorer stores its settings individually.
In addition to view templates, you can change sorting and grouping options. They will help you to reorder your files by various details like name, size, modification date and so on. By default, files and folders are sorted in ascending order by name. Here is how to change it.
To change Sort By Folder View in Windows 10, do the following.
- Open File Explorer and go to the desired folder.
- On the Ribbon, go to the View tab.
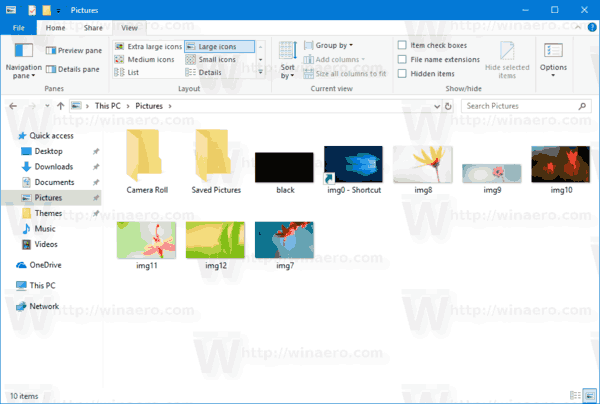
- Click on the Sort by button. See the following screenshot:
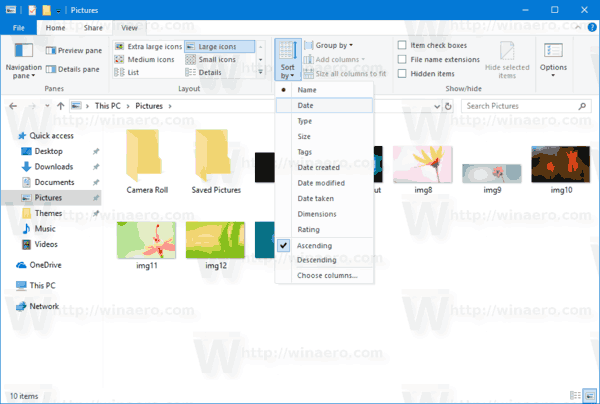
- Select the desired criteria you want to sort the folder contents by.
Tip: You can click on Choose columns to add or remove extra details. This will open the same dialog you can see when adding or removing columns in details view.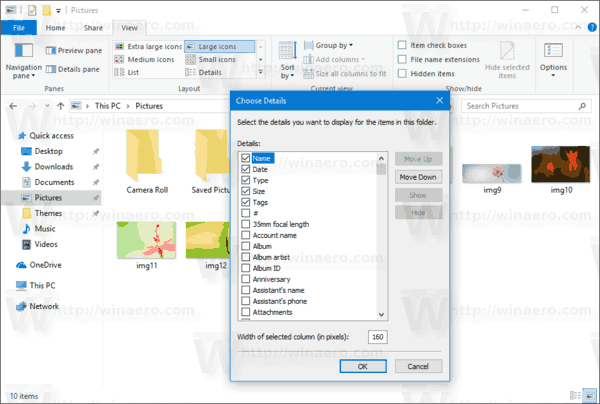
The same options are accessible in the context menu of the folder. Here is how you can use it.
- Right click the empty space in a folder.
- In the context menu, select the item Sort by. Select the desired criteria and ascending or descending sort order.
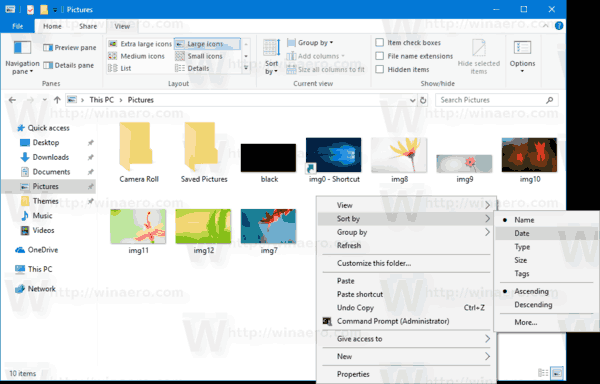
- To add or remove extra details, click on the "More" item and select one or more criteria available in the Choose Details dialog.

You are done.
In addition to sorting, you can also group files by some criteria. The files and folders will be arranged into sections. For example, you can group photos by date they were taken.
To change Group By Folder View in Windows 10, do the following.
- Open File Explorer and go to the desired folder.
- In the Ribbon, go to the View tab.

- Click on the Group by button. See the following screenshot:
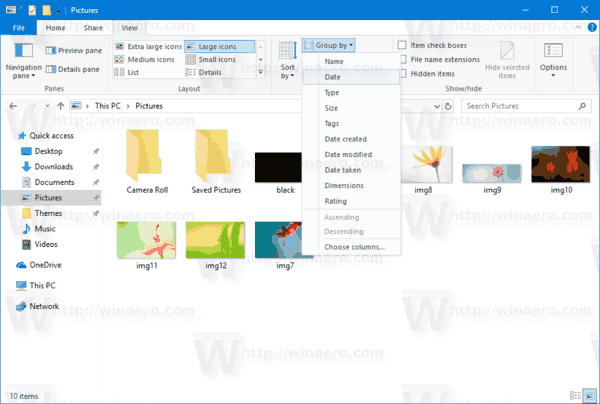
- Select the desired criteria you want to group the folder contents by.
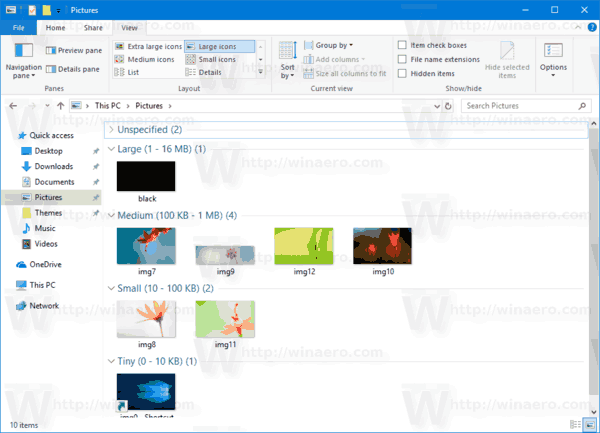
Tip: You can click on Choose columns to add or remove extra details. This will open the same dialog you can see when adding or removing columns in details view.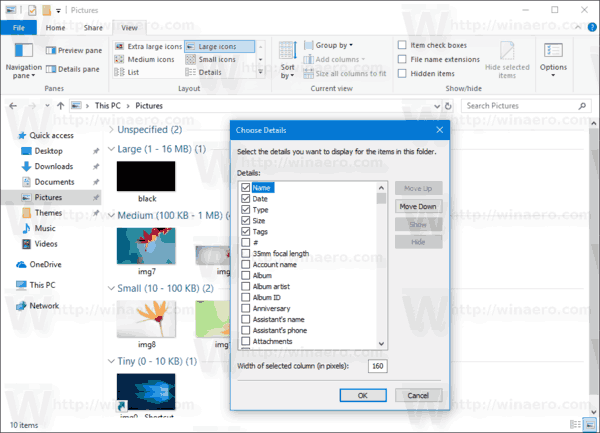
The same options are accessible in the context menu of the folder. Here is how you can use it.
- Right click the empty space in a folder.
- In the context menu, select the item Group by. Select the desired criteria like name, size or date.
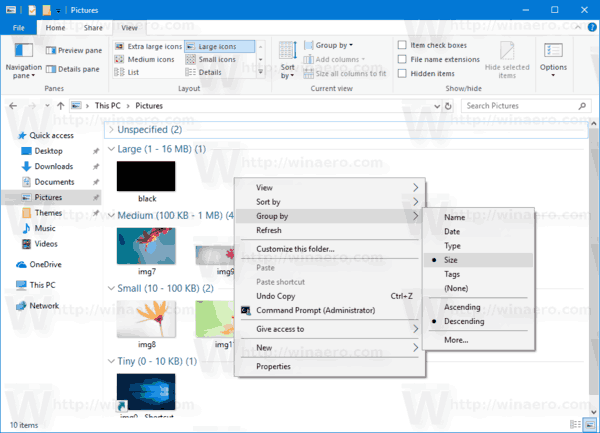
- To add or remove extra details, click on the "More" item and select one or more criteria available in the Choose columns dialog.

Tip: Here is everything you need to change the folder view template for all folders in Windows 10
Change folder view template for all folders in Windows 10
That's it.
Support us
Winaero greatly relies on your support. You can help the site keep bringing you interesting and useful content and software by using these options:

Unfortunately, this does not work. I change Group By to (None), go to Options, set to apply it to all folders, and the list immediately goes back to grouping by date.