Here's how to open God Mode in Windows 11, create a shortcut for it, or add it to the context menu. Also in this post, we will review what is the God mode folder and which else such folders exist in Windows 11.
Advertisеment
Similar to previous OS versions, in Windows 11 you can open a special God Mode folder. It is a virtual directory that displays all possible settings and options in one place.
The folder is very useful, as Microsoft has removed a lot of options from the legacy Control Panel. Some of them are just hidden, while others have been replaced with modern alternatives in Settings. You can still access many of the classic applets using special commands. But the folder view makes it easier to open them.
The folder is named "All tasks", but it is better known as "God Mode". But by default, the folder is hidden and isn't exposed anywhere in the user interface. In this post, we will review various methods that you can use to open God Mode in Windows 11.
Open God Mode in Windows 11
There are several ways to access the God Mode folder. Specially, you can do it with a shell command. Additionally, you can create a special folder that will open it. Also, for your convenience, you can add All Tasks to the context menu, or directly to the legacy Control Panel. Finally, you can simply create a desktop shortcut to it. Let's start with opening it.
How to open God Mode in Windows 11 with a command
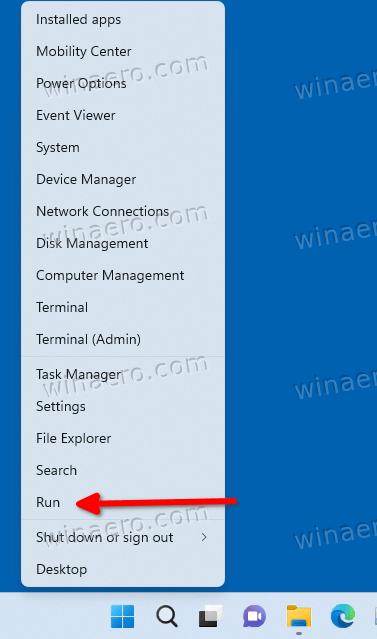
- Right-click the Start button, and select Run from the menu.
- Type the
shell:::{ED7BA470-8E54-465E-825C-99712043E01C}command.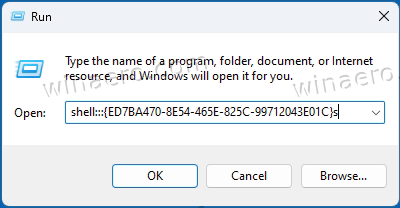
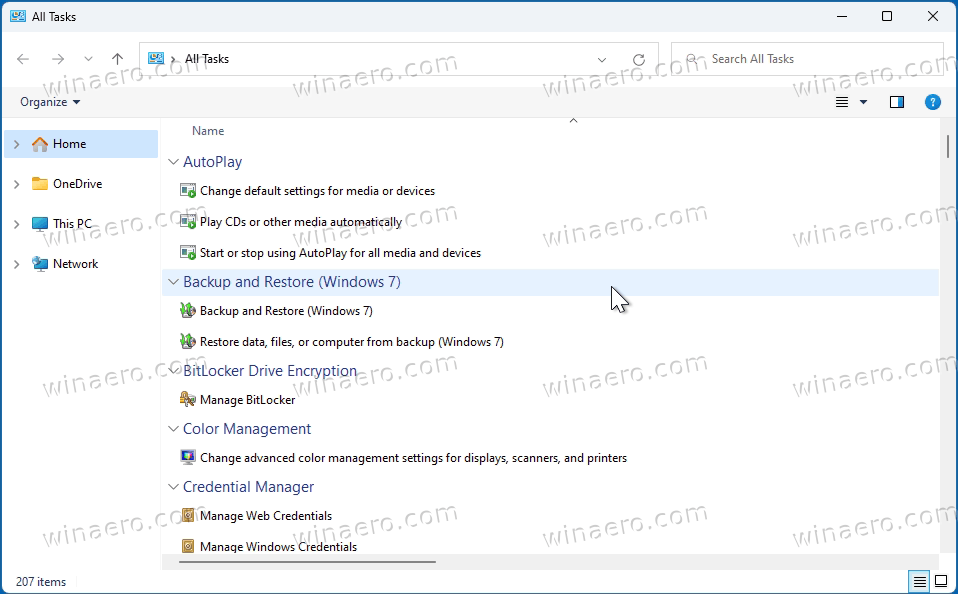
- Press Enter. A new Explorer window will open with the All Tasks folder.
- Now, double-click any setting you want to change or review. All the available options there are arranged alphabetically.

Done! But if you are going to use the All Task folder frequently, running the command every time isn't a convenient way to open it. To save your time, you can create a special folder that opens God Mode, e.g. right on the desktop.
Create a folder to open All Tasks in Windows 11
- Right-click the desktop and select New > Folder from the menu.
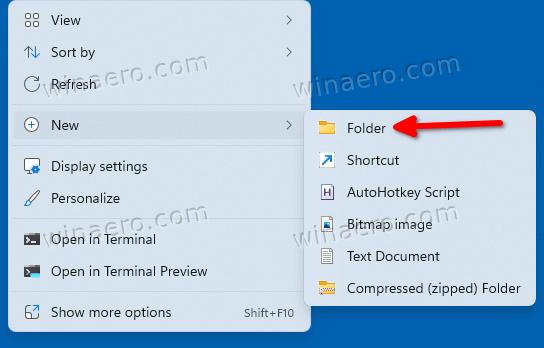
- Name the folder as All Tasks.{ED7BA470-8E54-465E-825C-99712043E01C}.
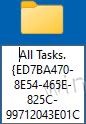
- Hit Enter. The folder will change its icon automatically.
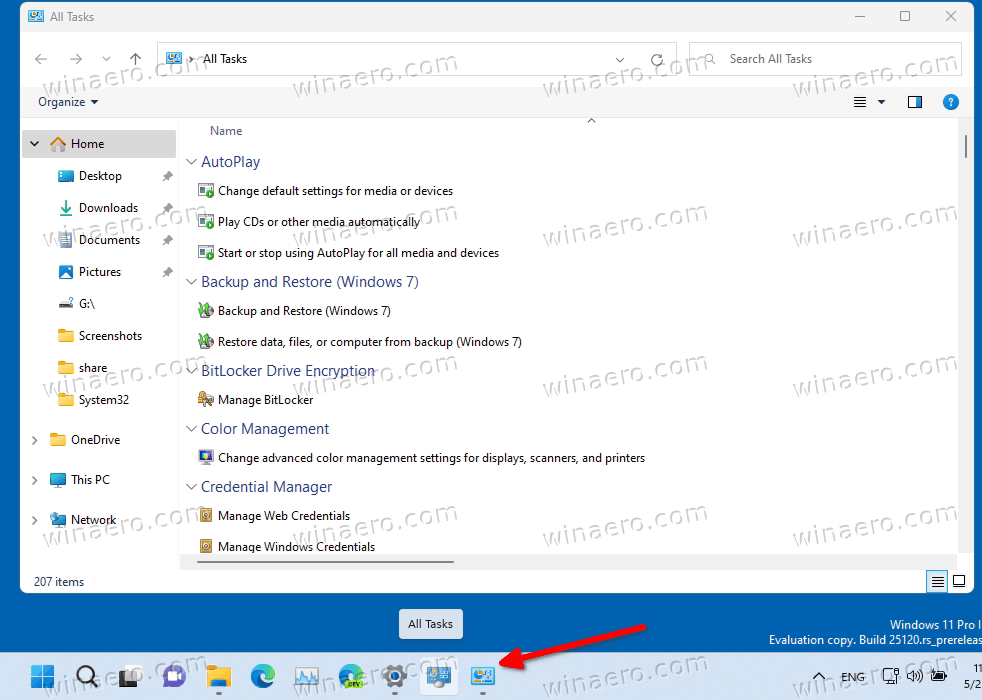
- Double-click the folder you created; now you can use it to open Windows 11 God Mode.
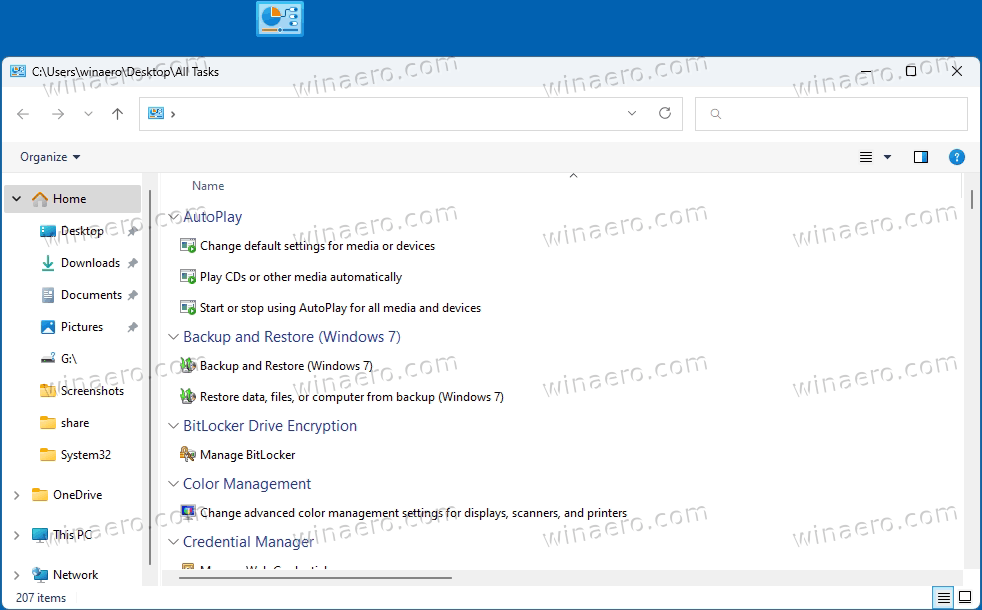
Once you open the folder, you will see all the available options and settings, including those which are hidden in Windows 11.
Since we learned how to open the folder, here are some advanced methods to access it. First of all, you can create a shortcut for it. Here is how.
Create Desktop Shortcut for Windows 11 God Mode
- Press Win + R to open the Run box.
- Paste the
shell:::{ED7BA470-8E54-465E-825C-99712043E01C}command and press the Enter key. - Once the All Tasks folder appears on the screen, click and hold the left mouse button on its icon in the address bar.
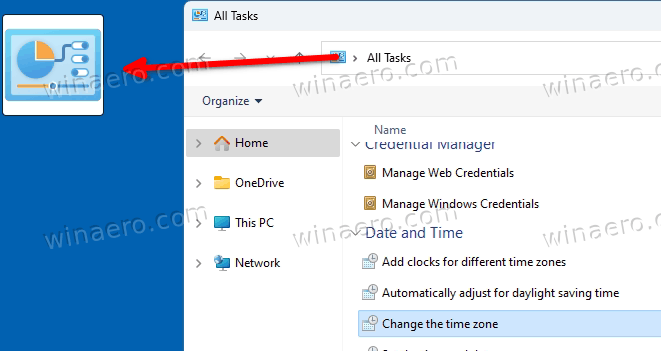
- Drag and drop it to the Desktop. Windows 11 will create a shortcut for the God Mode folder.
You are done. Alternatively, you can create such a shortcut manually. Let's see how it can be done.
Manually create the All Tasks shortcut
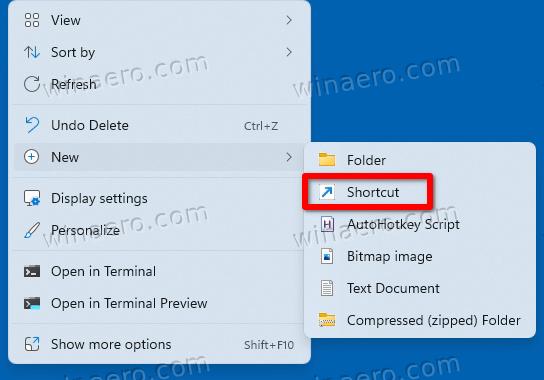
- Right-click the desktop area and select New > Shortcut from the context menu.
- In the object location text box, type
explorer.exe shell:::{ED7BA470-8E54-465E-825C-99712043E01C}, and click "Next".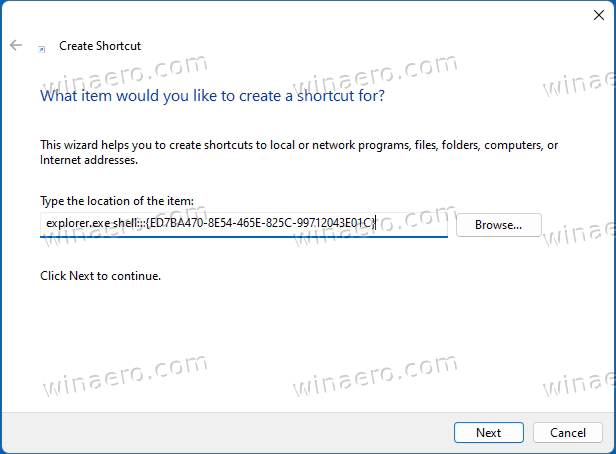
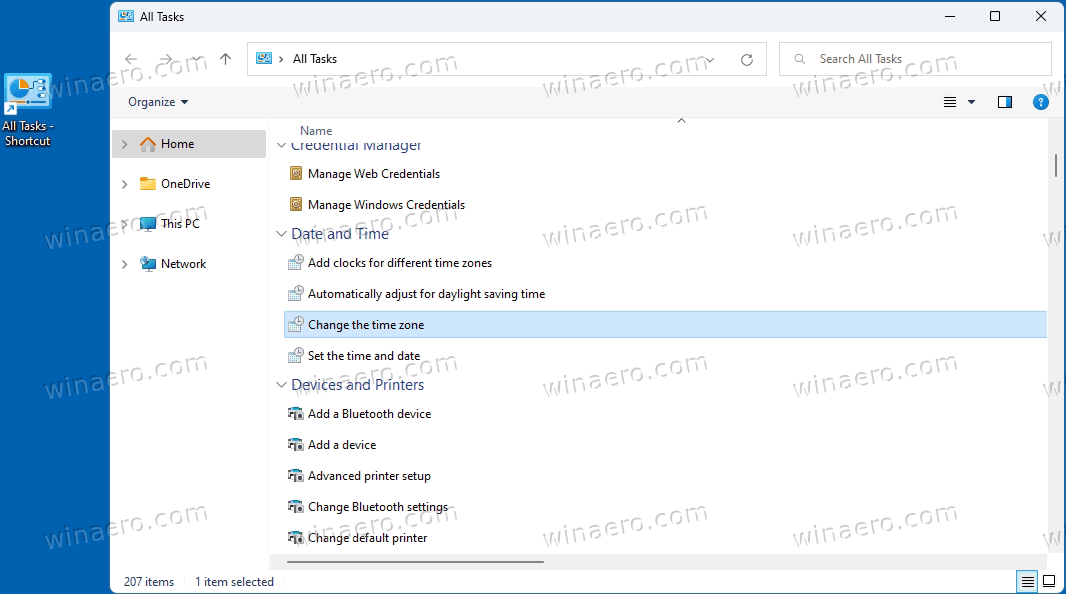
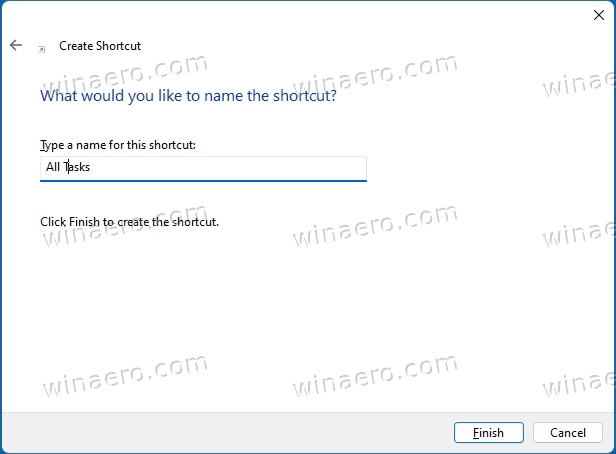
- On the next page, type "God Mode" or "All Tasks" in the shortcut name option, and click Finish.
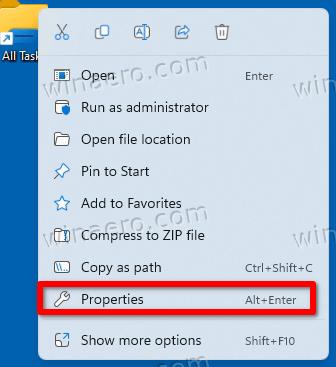
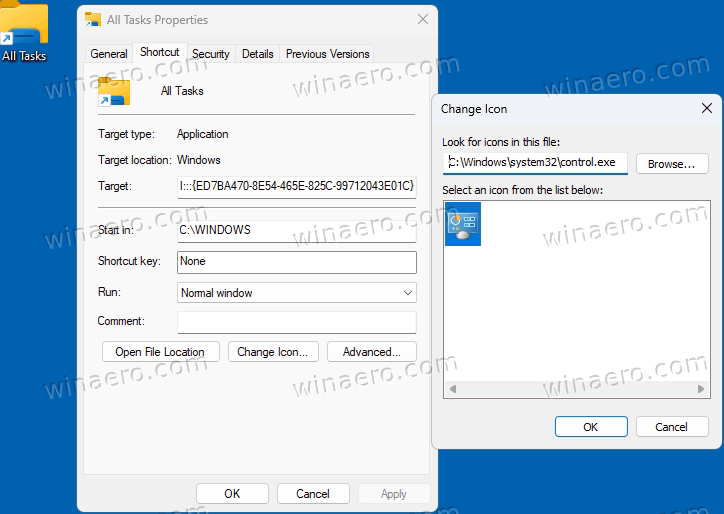
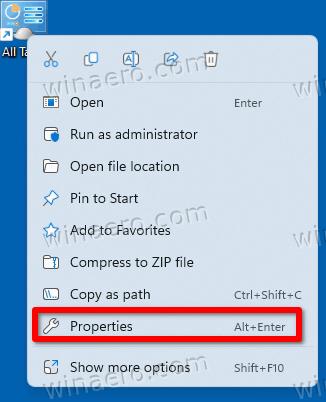
- Now, right-click the shortcut you've created, and select Properties.
- On the Shortcut tab, click the Change icon button, and select some suitable icon for your shortcut. For example, pick the icon from the c:\windows\system32\control.exe file.
Done! Enjoy your shortcut that instantly launches the God Mode folder. You can also pin it to the Start menu or the taskbar to even faster access.
Pin God Mode to the taskbar or Start
- Right-click the God Mode shortcut.
- Select Show more options from the menu.
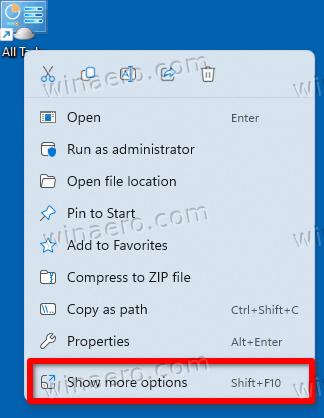
- To pin it to the taskbar, select Pin to taskbar. Its icon will appear in the taskbar.
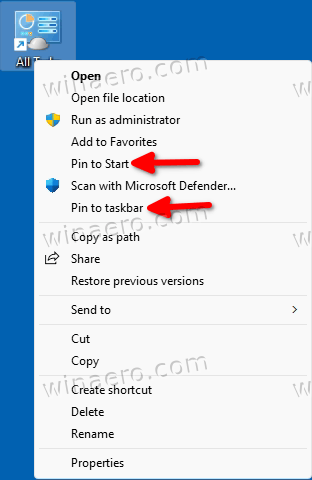
- To have it pinned to the Start menu, select Pin to Start instead.
Done. However, there is a caveat with the pinned icon to the taskbar. When you click it, it opens an instance of the Control panel, and doesn't appear running by the pinned icon. Sadly, it is a limitation of the taskbar you cannot bypass.
Once you created a shortcut for the God Mode folder, you can assign a global hotkey to it. This will allow you to quickly open from any running app, at any moment. All you will have to do is to press the key sequence you defined.
For that, you need to modify your shortcut and add a key sequence to it. Also, to make it work in any app, the shortcut must be stored in the Start menu.
Keyboard shortcut to open God Mode
- Create a desktop shortcut for the All Tasks folder if you don't have one.
- Right-click the shortcut and select Properties from the menu.
- On the Shortcut tab, click into the Shortcut key box and press the desired key sequence. For example, Ctrl + Alt + Shift + G.
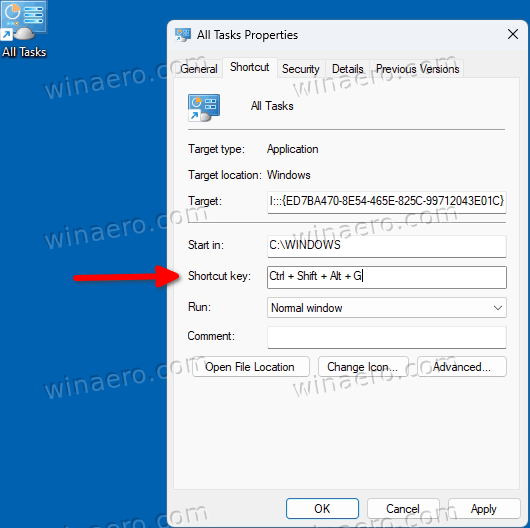
- Click the Apply and OK buttons to save the modification.
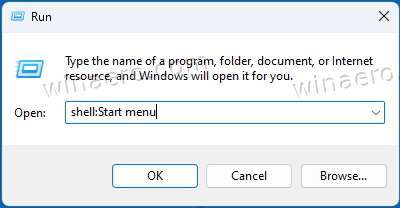
- Now, right-click the Start button and select Run from the menu.

- In the Run dialog, enter the following shell command:
shell:Start menu,and press Enter. This will open File Explorer to the Start menu folder. -
 Copy or move your God Mode shortcut to the Programs folder.
You are done! Now, if you press the keys, which in my case are Ctrl + Alt + Shift + G, Windows 11 will open the All Tasks folder for you.
So, we now know how to open the All tasks folder with two methods, and how to create a shortcut for it also using two methods. Now, let's add it to the classic Control Panel. This will allow you to open it right from its native place, where it should always be.
Actually, the Control Panel is very flexible, as it allows the user to add anything their want to any of its categories and icons. I have reviewed the procedure in detail in one of the previous articles, and it is still actual for Windows 11. Check it out here: How to add anything you want to Control Panel.
Add God Mode to the Control Panel
- Download the ZIP archive with REG files using this link.
- Extract two REG files from it to any folder.

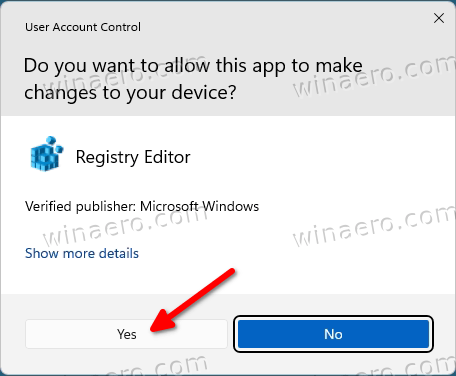
- Now, open the "Add All Tasks To Control Panel.reg" file, and confirm the User Account Control prompt by clicking on "Yes".
- Now, press Win + R and type
controlin the Run window to open the classic Control panel.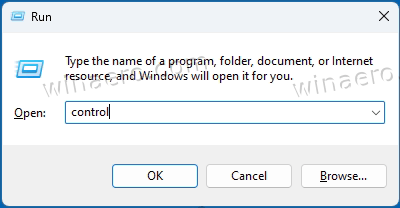
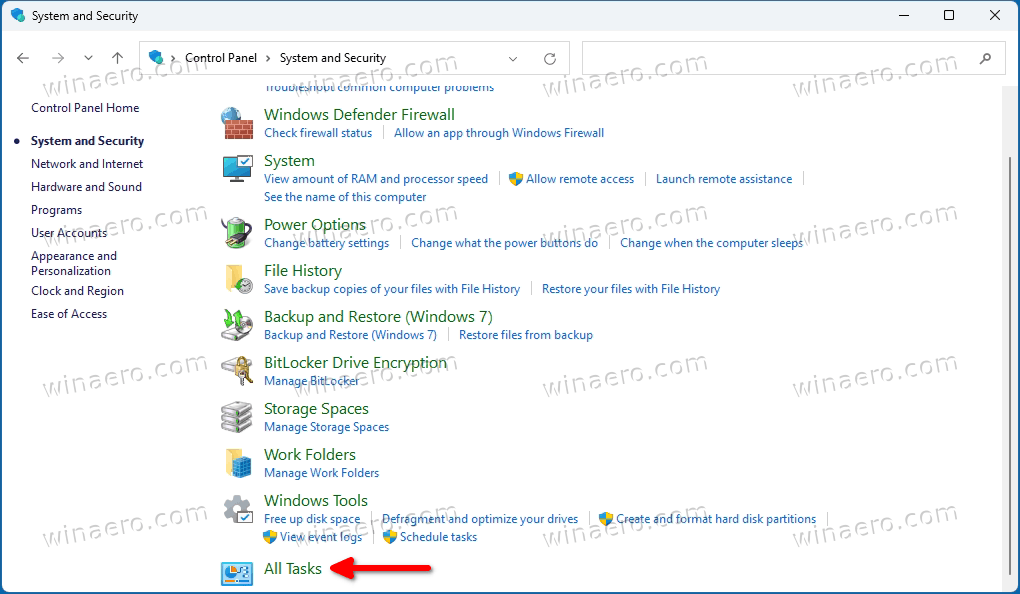
- You will find the "All tasks" icon in the System category or in the icon view.
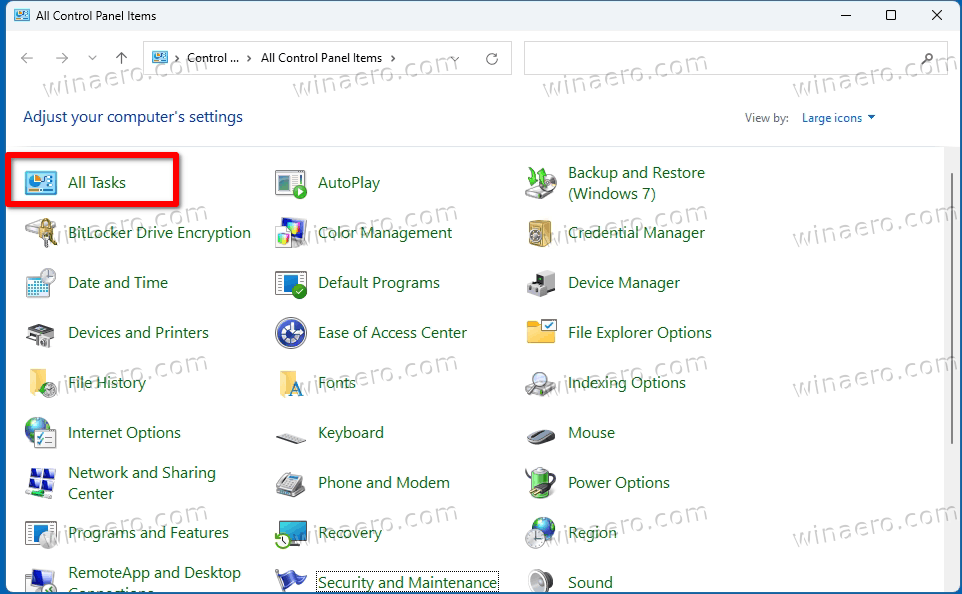
- Double-clicking it will bring up you the God Mode folder.
Done! The second file in the ZIP archive will undo the change. Double-click "Remove All Tasks From Control Panel.reg" to delete the All tasks icon from the Control panel.
In a similar way you can add God Mode to the Desktop context menu. It is also a nice alternative to command and shortcuts. Obviously, it won't take priceless place on the desktop, and will only appear in the extended context menu behind the "Show more options" item.
Add All Tasks Desktop Context Menu in Windows 11
To add All Tasks to the desktop context menu, do the following.
- Download this ZIP archive, and extract to any directory.
- Double-click the
Add All Tasks Desktop Context Menu.regfile and confirm your intention in the User Account Control dialog.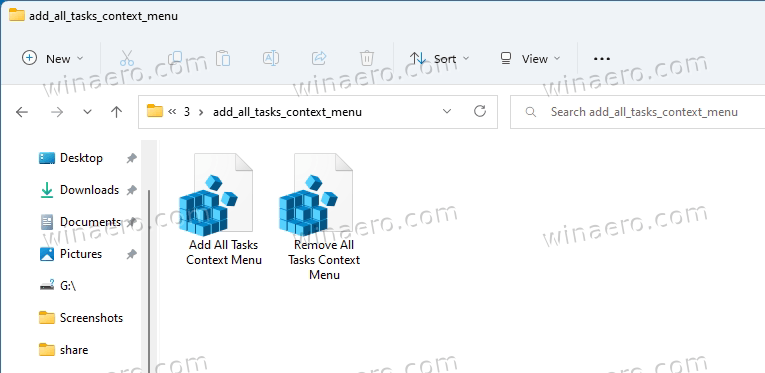
- Now, right-click the desktop, and select Show more options.
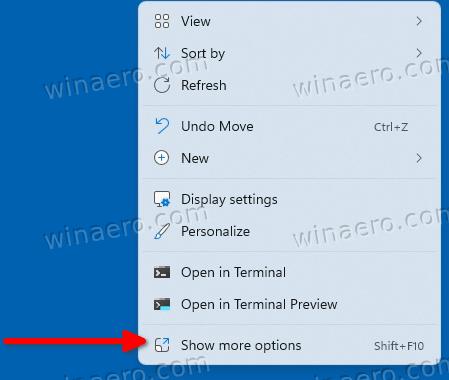
- Finally, click the All Tasks item to open God Mode from the menu.

- The
Remove All Tasks Desktop Context Menu.regfile will undo the change and remove God Mode from the Desktop context menu.
Additionally, here some extra details on how these methods work. "All Tasks" is not the only folder that you can play with; there are many such folders.
Other God Mode folders in Windows 11
In Windows 11, you will find plenty of "God Mode" system folders. Some of them the user can access with a special command like shell:Friendly Name. A good example of such command is shell:Start menu, which we used in this post.
Other system folders are accessible via a GUID identifier, i.e. shell:::{GUID}. This is the way we open the "All Tasks" folder.
For reference, you will the full list of such commands in this post: Windows 11 shell commands.
With every new release, Windows is getting more and more such commands, each of them opens this or that system folder or option. These folders are ActiveX objects which are not necessarily represent some physical location on the drive.
For example, the Start menu folder is a real folder in your user profile, while All Tasks/God mode is a special virtual folder / virtual applet. Often such an Active X object may point to a specific feature like "Minimize all Windows" or the Alt+Tab switcher.
Using the methods reviewed in this article, you can create a shortcut for any of these system folders. For example, you can try to create one of these folders on your desktop:
- Apps.{15eae92e-f17a-4431-9f28-805e482dafd4}
- Power.{025A5937-A6BE-4686-A844-36FE4BEC8B6D}
- Printers.{2227A280-3AEA-1069-A2DE-08002B30309D}
- NotificationArea.{05d7b0f4-2121-4eff-bf6b-ed3f69b894d9}
- Network.{208D2C60-3AEA-1069-A2D7-08002B30309D}
- AdministrativeTools.{D20EA4E1-3957-11d2-A40B-0C5020524153}
- SpeechRecognition.{58E3C745-D971-4081-9034-86E34B30836A}
And so on.
Microsoft on its website maintains two lists of GUIDs for shell folders. One is here for known folders, and the other one is for Control Panel applets. However, the lists don't include specific elements. The All Tasks folder is also doesn't mentioned there.
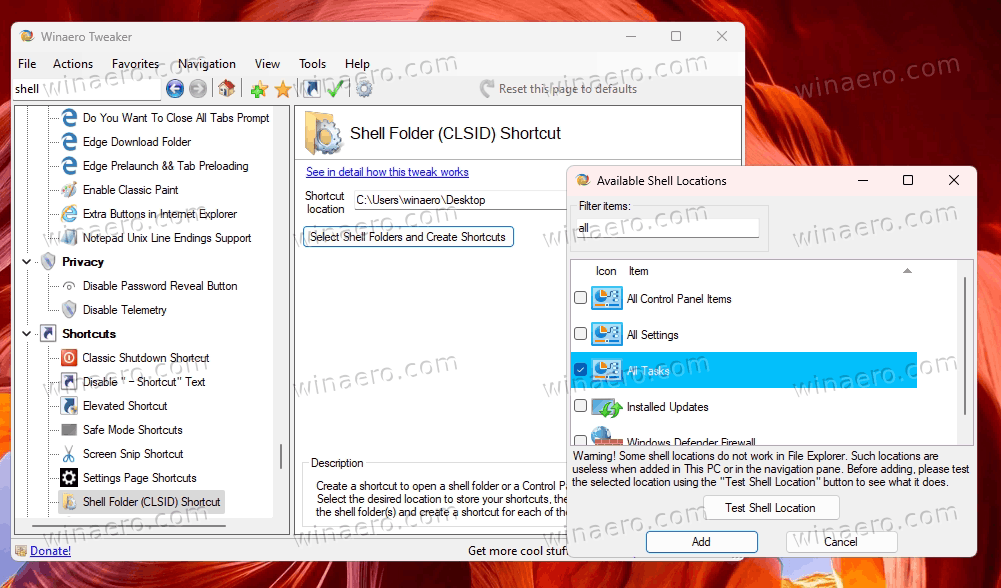
But with help of the free Winaero Tweaker app you find all of them. It allows you to test any of the system folders available in your version of Windows, and create a desktop shortcut for them. For that, download the app from here, launch it, and go to Shortcuts > Shell folders in the left. On the right, select the shell folders you want to create shortcuts to, and click on Create shortcut.
That's all about God Mode in Windows 11!
Support us
Winaero greatly relies on your support. You can help the site keep bringing you interesting and useful content and software by using these options:
