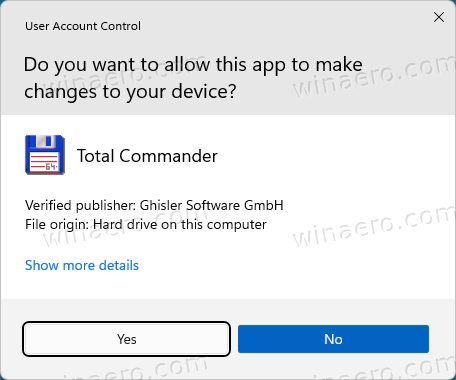
There are multiple ways to disable the User Account Control (UAC) in Windows 11. UAC is a security layer that asks a user to confirm changes in the system different apps may try to make. By default, Windows 11 shows a UAC prompt when a program tries to run with elevated privileges (as Administrator).
Some people find this behavior annoying. If you share that view, this article will show you how to disable Windows 11 User Account Control.
Advertisеment
How to Disable User Account Control in Windows 11
You can disable UAC using the Settings app or the classic Control Panel app. As you could guess, there is a corresponding Group Policy option for that. If the GUI methods are not your way, you can disable the User Account Control feature in the Windows 11 Registry. Finally, a variety of apps can help you to get the task done in a convenient way. Let's review these methods.
Turn off UAC from the Control Panel and Settings
- Open Settings (Win + I) , and type User Account Control in the search box.
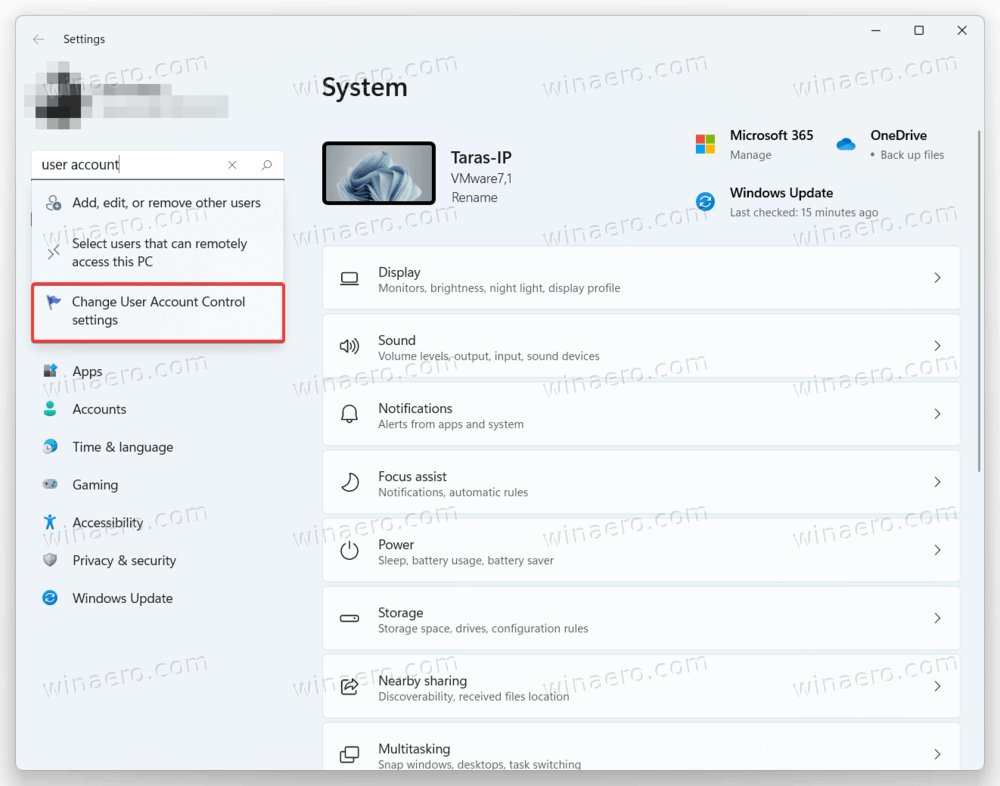
- Select Change User Account Control Settings, and go to the step 6.
- If you prefer the classic Control Panel, press Win + R and enter
controlinto the Run box.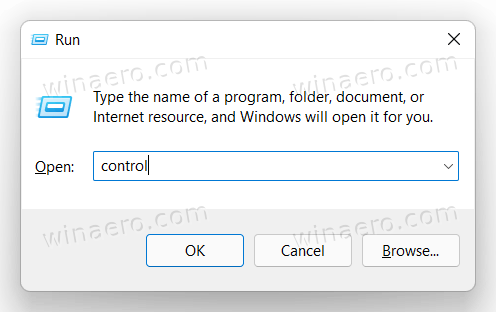
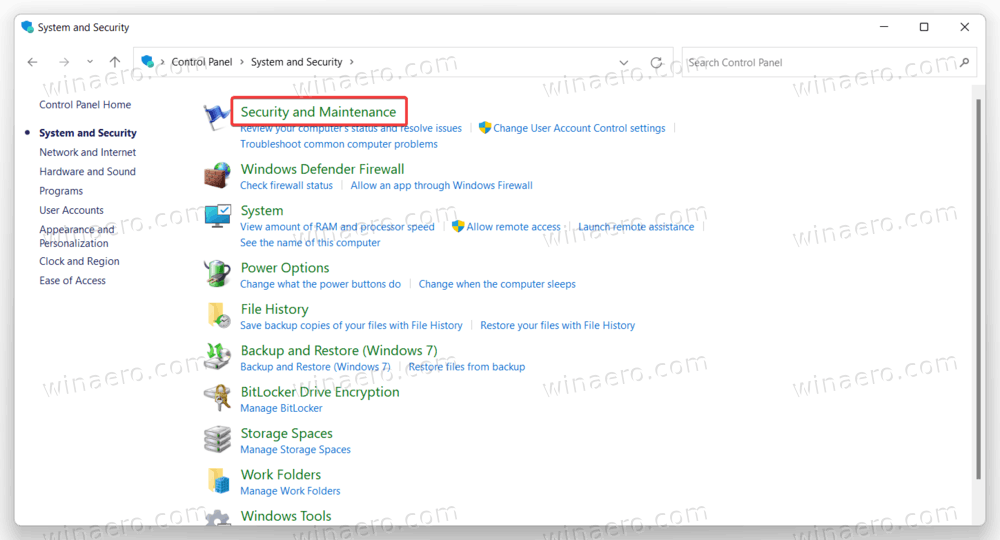
- Click Security and Maintenance.
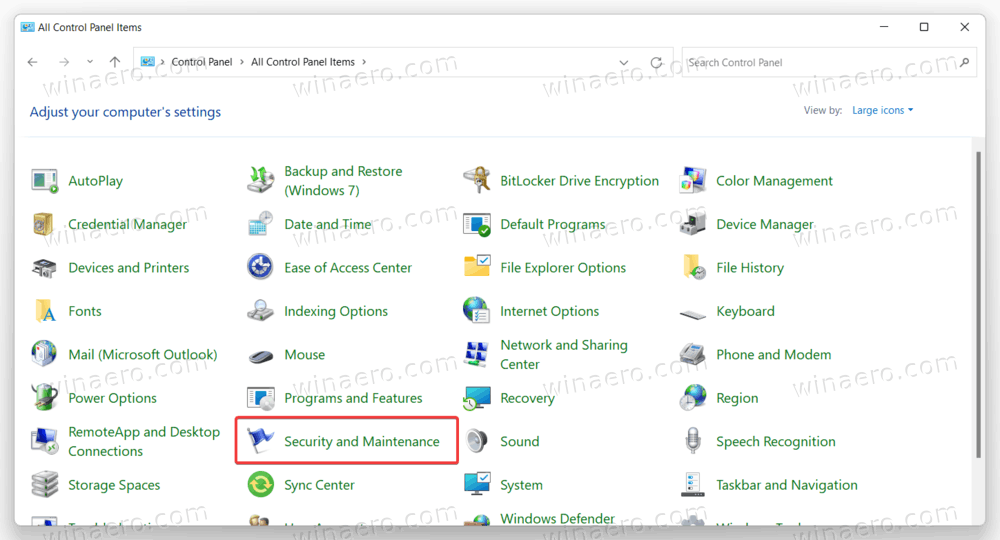
- If you use the Category view, click System Security, then Security and Maintenance.
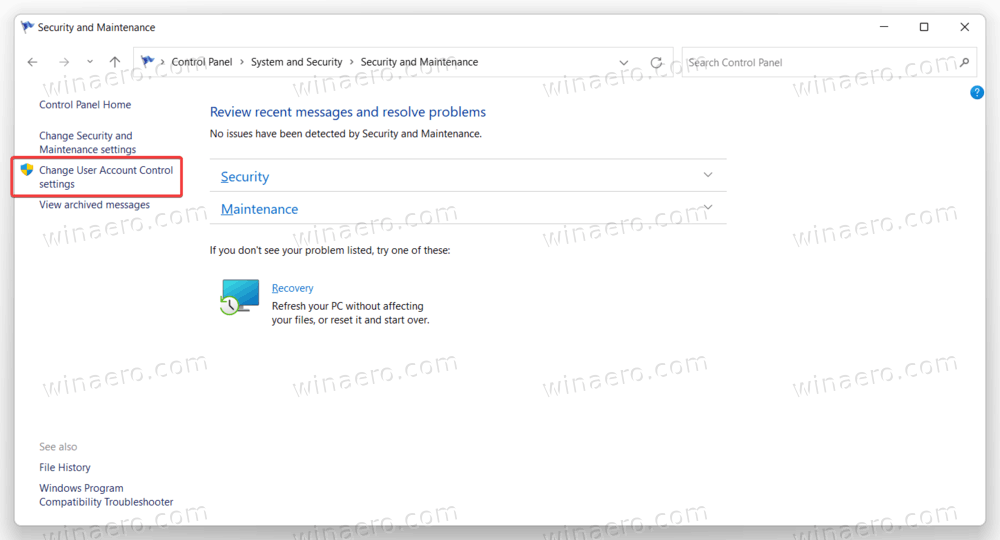
- On the left side of the window, click the Change User Account Control settings link.
- To turn off User Account Control permanently, move the slider to the very bottom.
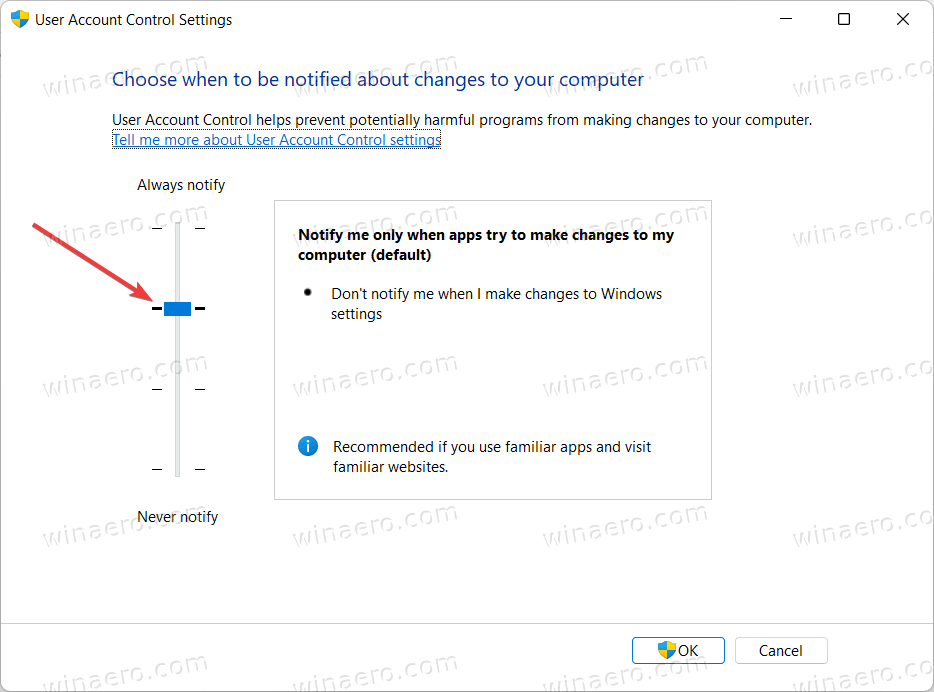
After that, Windows will stop notifying you and asking to confirm changes apps try to make on your computer. Note that Microsoft does not recommend disabling User Account Control.
Alternatively, you can disable screen dimming on UAC prompts. The system will continue asking for your confirmation for different actions but without dimming the screen. To do so, move the slider down to the second position from the bottom.
Note that none of the first three options show UAC prompts when you try to change Windows settings. If you want to increase Windows security as much as possible and prevent accidental changes in settings, move the slider up.
Disable User Account Control in Windows 11 using Windows Registry
- Press Win + R and enter the
regeditcommand to open Registry Editor in Windows 11.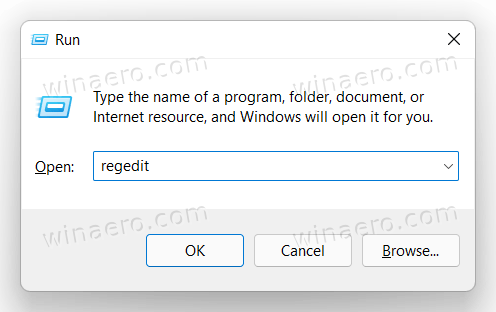
- Go to the following path:
HKEY_LOCAL_MACHINE\SOFTWARE\Microsoft\Windows\CurrentVersion\Policies\System. You can copy the path and paste it into the address bar in Registry Editor. - On the right side of the window, find the
EnableLUAvalue and modify it. - Change the value data from
1to0, then click OK to save the changes.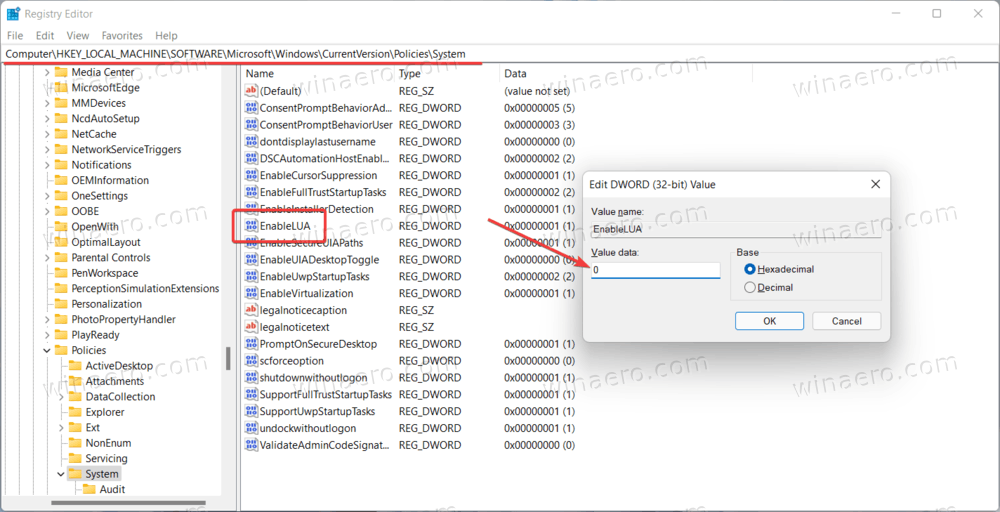
- Restart Windows 11 to apply the change. The restart is a mandatory action here.
You are done. Windows will disable User Account Control.
Ready-for-use registry files.
Here are pre-built registry files you can use to disable or enable User Account Control in Windows 11.
- Download files in a ZIP archive using this link. Extract registry files to any folder.
- Open the Disable UAC in Windows 11.reg file and confirm changes in the registry.
- Restart your computer.
- To re-enable UAC later, open the Turn on UAC in Windows 11.reg, then restart your PC again.
If Registry tweaks are not your way of changing Windows settings, there is an alternative method. If your Windows 11 edition includes the Local Group Policy editor app (gpedit.msc), you can use it instead.
Disable Windows 11 UAC with Group Policy
- Open the Local Group Policy Editor by pressing Win + R and typing
gpedit.mscin the Run box. - In the left pane, go to the Computer Configuration > Windows Settings > Security Settings > Local Policies > Security Options location.
- On the right, double click User Account Control: Run all administrators in Admin Approval Mode.
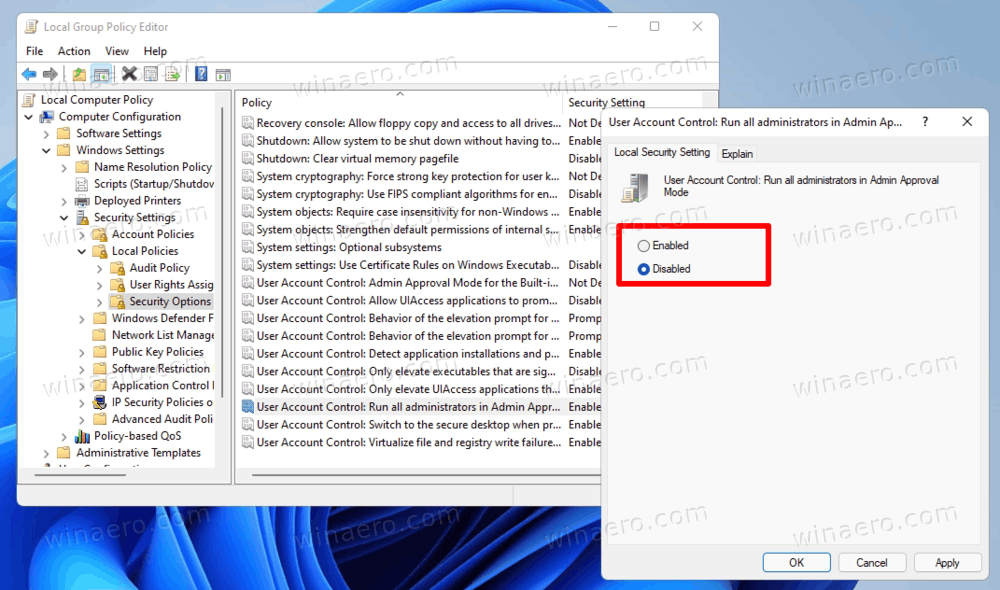
- Set the policy to Disabled. Click OK to apply the change.
The changes will apply instantly. Note that Windows 11 Home doesn't come with gpedit.msc, but the rest methods reviewed in this post work without issues
Disable User Account Control with Winaero Tweaker
Finally, here is how to turn off User Account Control in Windows 11 using Winaero Tweaker.
- Download Winaero Tweaker using this link. Install the app and launch it.
- Scroll down the list of sections to User Accounts, then click Disable UAC.
- On the right side of the window, click Disable UAC.
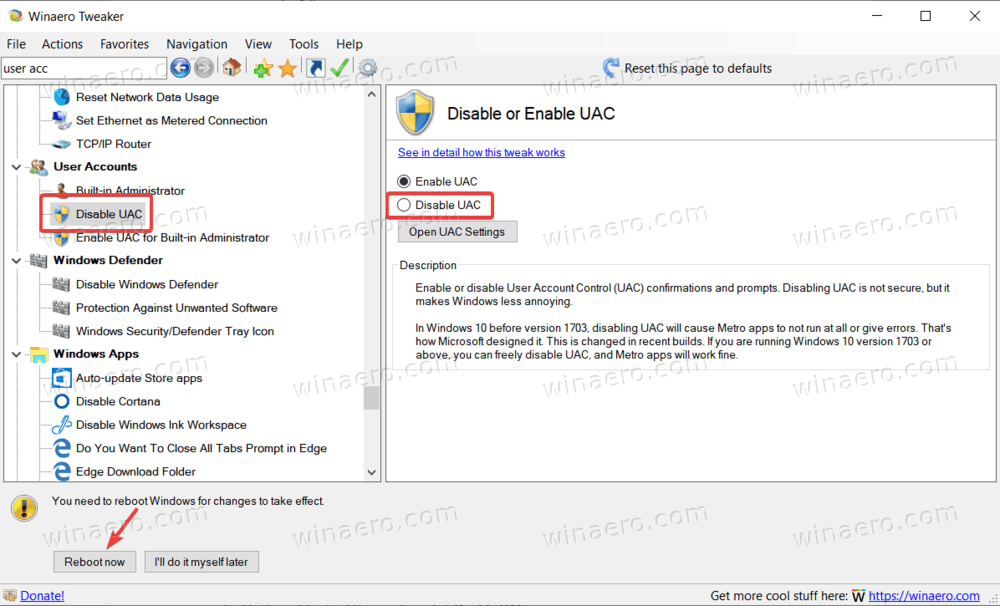
- Windows will prompt you to restart the system to apply changes. You can reboot it right away or do that later. Note that UAC will continue running until you restart the computer.
Now you know how to get rid of the User Account Control prompts in Windows 11.
Support us
Winaero greatly relies on your support. You can help the site keep bringing you interesting and useful content and software by using these options:

It really worked. Thank you so much.
You are most welcome!