Here is how you can upgrade to Windows 11 from Windows 7, Windows 8.1, or Windows 10. Windows 11 comes with a ton of visual redesigns, and includes new tools, sounds, and apps.
If your device meets minimum hardware requirements, you can smoothly go from Windows 10 to Windows 11. Microsoft is about to finalize the upgrade roll-out in early 2022.
Advertisеment
For compatible PCs, Windows Update will show a notification that the computer is eligible for the upgrade. But Microsoft always performs gradual roll-outs, so some devices receive the upgrade offer faster than others. Also, not all Windows 10 devices are compatible with the latest OS. One of the strict requirements of Windows 11 are mandatory Secure Boot and TPM 2.0.
The upgrade from from Windows 10 to Windows 11 will be free. The offer is not limited by time for eligible systems. However, Microsoft retains the right to eventually terminate the free upgrade option, but it will be available at least for one year.
Tip: You can quickly check if your computer is compatible with Windows 11 using the official PC Health Check app.
Upgrade to Windows 11
The upgrade process requires you to perform a number of advanced steps. You can proceed with Installation Assistant, Windows Update, or just by downloading an ISO file from Microsoft. The first two are automated tools the Redmond software giant offers to simplify the upgrade process. Let's review these methods.
Using Windows 11 Installation Assistant
- Download Windows 11 Installation Assistant using this link.
- Run the
Windows11InstallationAssistant.exefile. - Follow the on-screen instructions. The app will automatically download Windows 11 on your device.
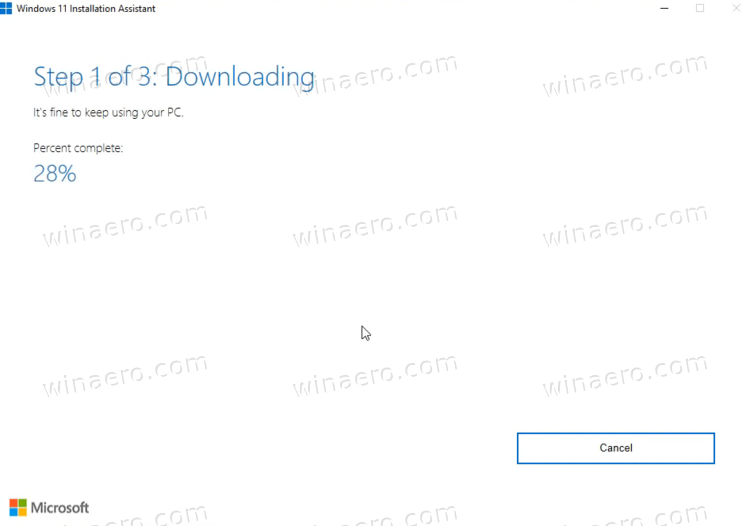
- After the process finishes, it will prompt you to restart the operating system.
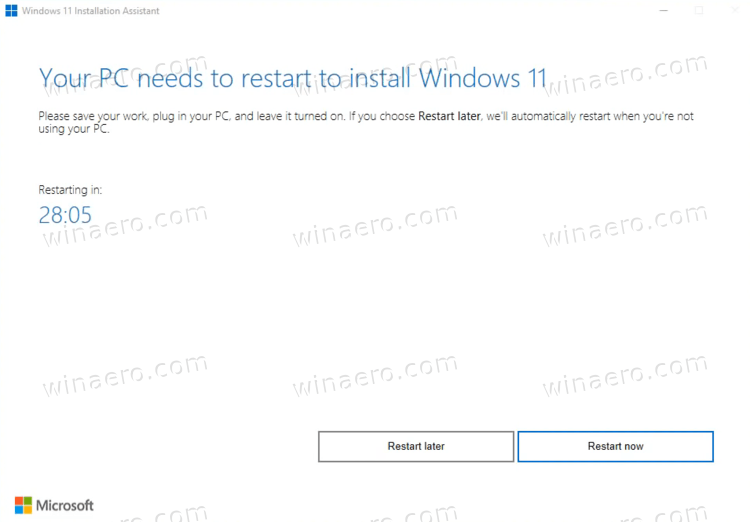
- Once restarted, your computer will be upgraded to Windows 11.
Upgrade to Windows 11 with Windows Update
If your PC is eligible for upgrading to Windows 11, Windows 10 will eventually display you an offer for upgrading. It will also appear right in the Settings app, on the Windows Update page. You can use it to upgrade to the latest OS.
To upgrade to Windows 11 using the Windows Update notification on Windows 10, do the following.
- Open the Settings app; press Win + I for that.
- Navigate to Upgrade & security > Windows Update.
- On the right, click on the Download and Install button.
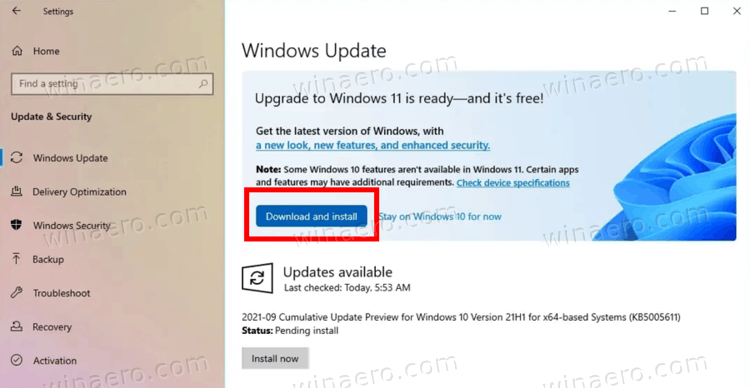
- Windows will starting downloading the setup files. Once finishes, it will prompt you to restart the computer.
- After restarting the OS, you will end up with the Windows 11 Upgrade process.
You are done.
Using ISO image or Bootable USB
You need to get an installation media, if you don't have it yet. After you check your hardware for compatibility, you need to disable any third-party anti-virus app if you have one.
Prepare your installation media
- Create a bootable media or get an ISO file.
- Disconnect all the external devices, and, if possible, hard drives that are not supposed to store the OS file. This will save you from losing important data and prevent Windows 11 from installing its boot loader on a wrong drive.
- Disable or suspend BitLocker for your system drive if you have it encrypted.
- Now, connect your USB flash drive with Windows 11, insert your DVD media, or mount the ISO file.
- In Windows 10 and Windows 8.1, double-click the ISO file to open it in File Explorer.
- In Windows 7, extract the ISO file contents to any folder using the 7-Zip open source freeware tool.
- Open the computer's firmware settings and ensure that you have enabled UEFI, TPM 2.0 and Secure Boot.
You are ready to upgrade to Windows 11 from your existing OS.
Upgrade existing Windows to Windows 11
- Navigate to the folder location with the Windows 11 setup files, e.g. open your USB media.
- Click on the
setup.exefile.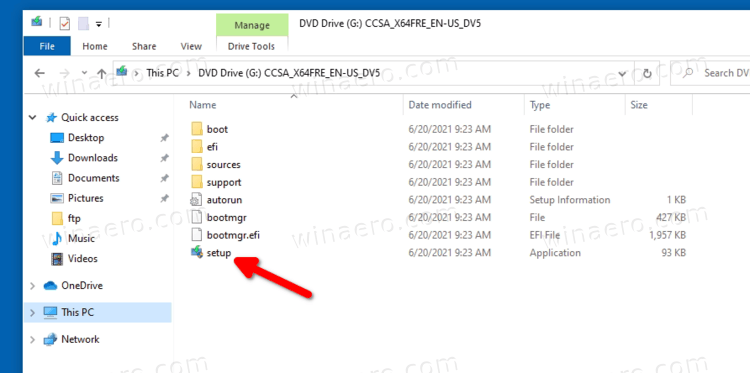
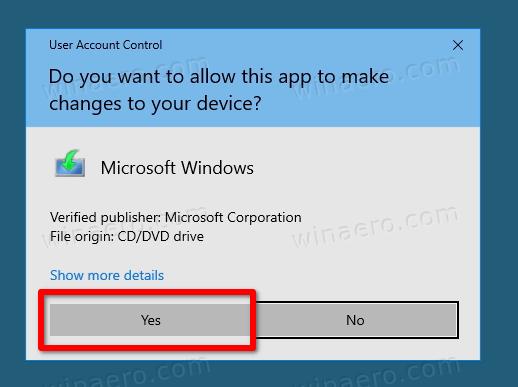
- Click Yes to confirm the User Account Control prompt.
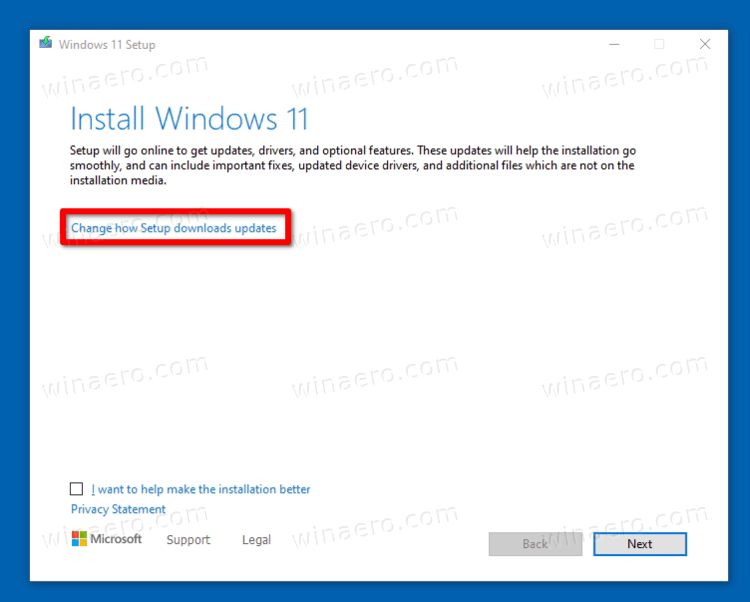
- In the Window 11 Setup dialog, click Change how Setup downloads updates.
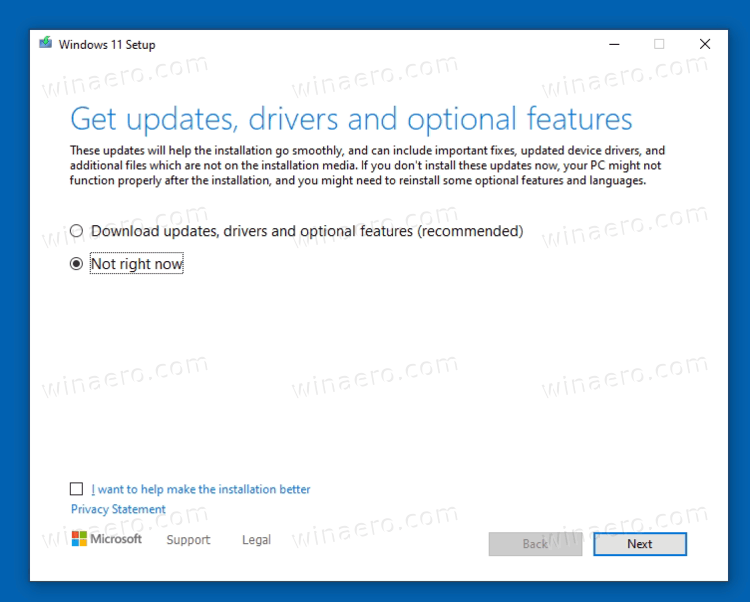
- Select either Download updates, drivers and optional features or Not right now according to your preferences.
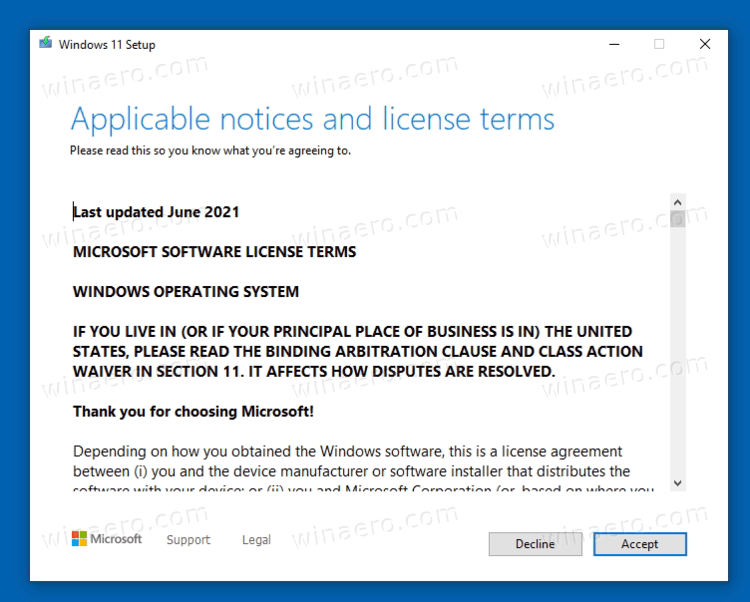
- Windows 11 setup will briefly check your PC and devices, and then show a license agreement. Click Accept to proceed.
- The setup program will check for available updates (where available), and then check for enough disk space.
- On the Choose what to keep link.
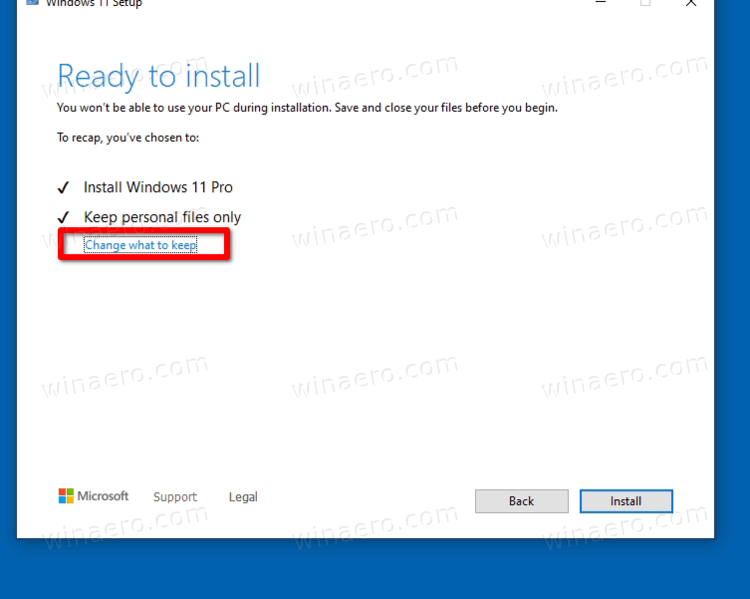
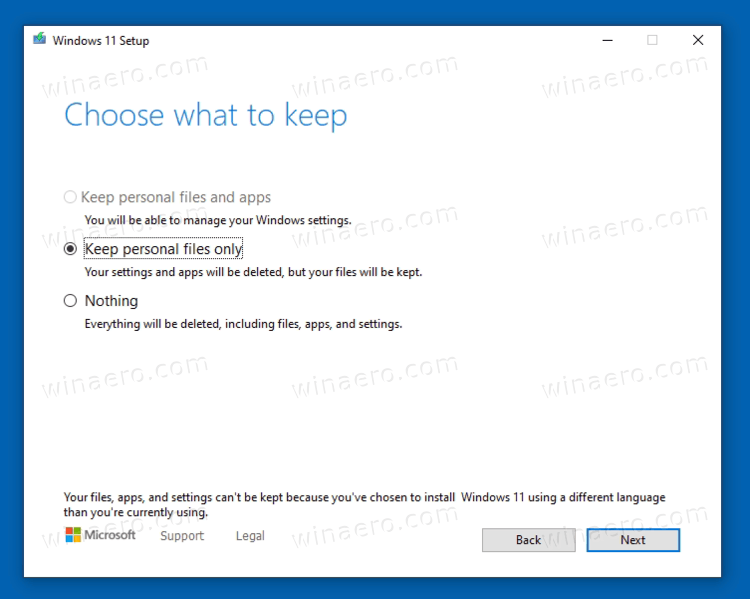
- According to what you want to transfer to the new OS, select either Keep personal files and app, Keep personal files only, or Nothing. The options available may differ depending on the version of Windows you are upgrading to Windows 11.
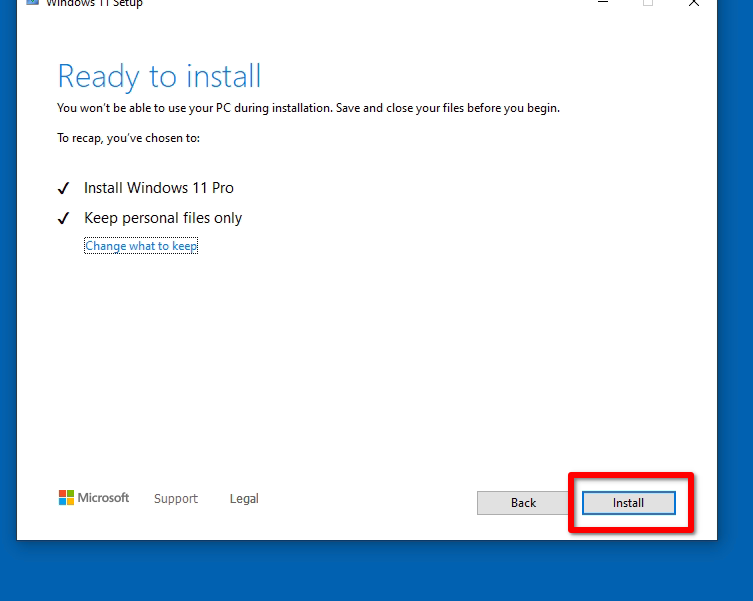
- Click on the Install button and wait for the setup program to upgrade your existing OS to Windows 11.
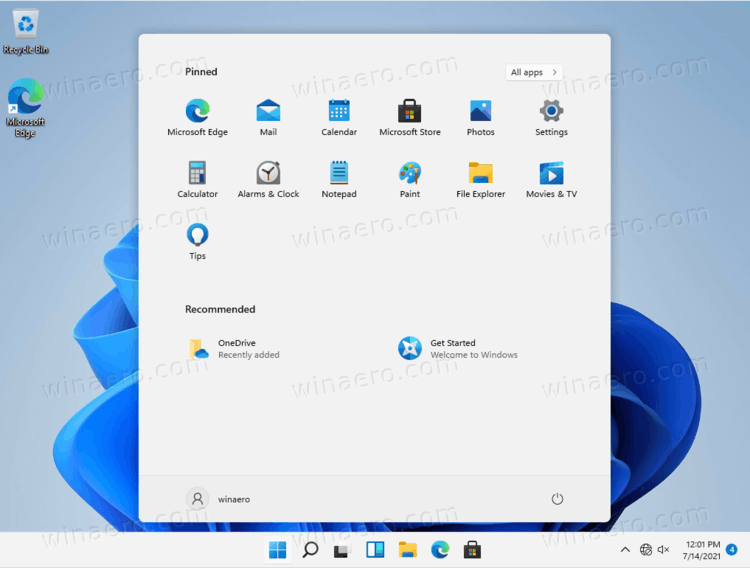
You are done! Your computer will restart several times, and you will finally see Windows 11 with the Start menu open.
That's all about how to upgrade to Windows 11.
Support us
Winaero greatly relies on your support. You can help the site keep bringing you interesting and useful content and software by using these options:
