One of the great features of Windows 10 is the native ability to mount ISO and IMG files in File Explorer with just a double click. The operating system creates a virtual drive which mounts the contents of the disc image file and makes it available, exactly as if you have inserted a physical disc into the optical drive.
Advertisеment
 The ability to mount ISO files in File Explorer was first introduced in Windows 8. It was one of the best improvements the operating system received.
ISO and IMG files are special file disc image formats which can store the captured contents of an optical disc or a removable disk. The disc image file is an exact copy of the contents of some DVD or CD media. It is also possible to make an ISO image file manually from any files you have on any drive, or convert an ESD image to ISO.
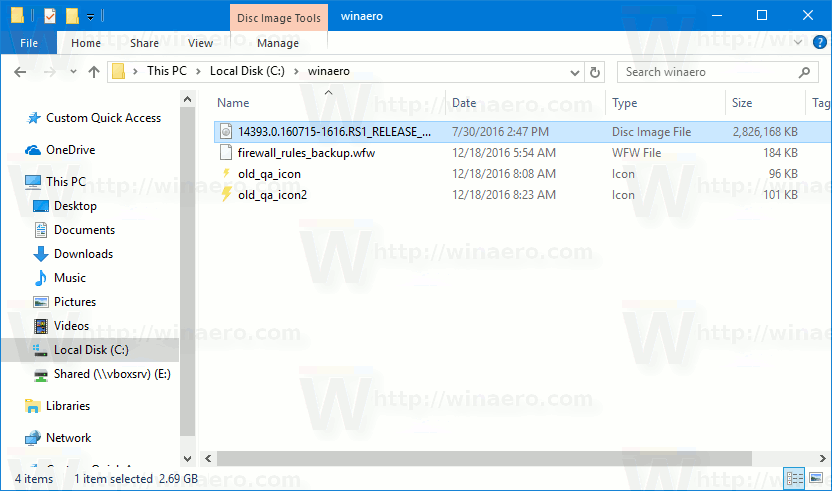
To Mount ISO and IMG Files in Windows 10, open File Explorer and go to the folder which stores your ISO file.
Double click the file or right click it and select "Mount" from the context menu. It is the default context menu command.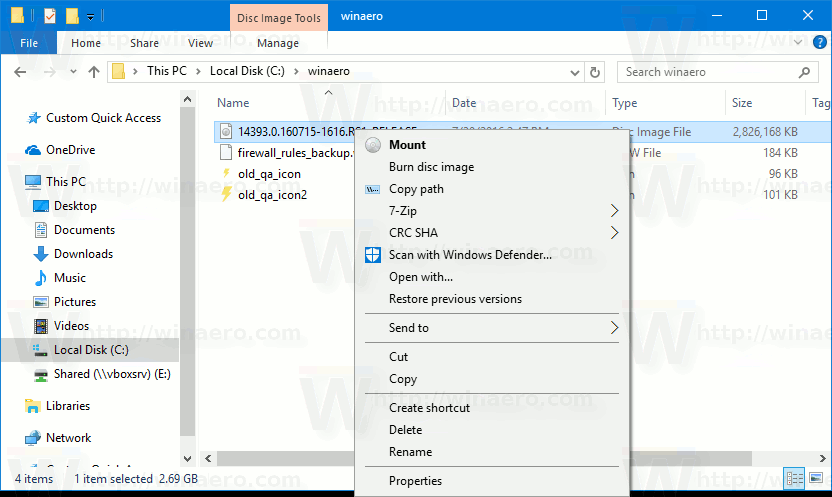
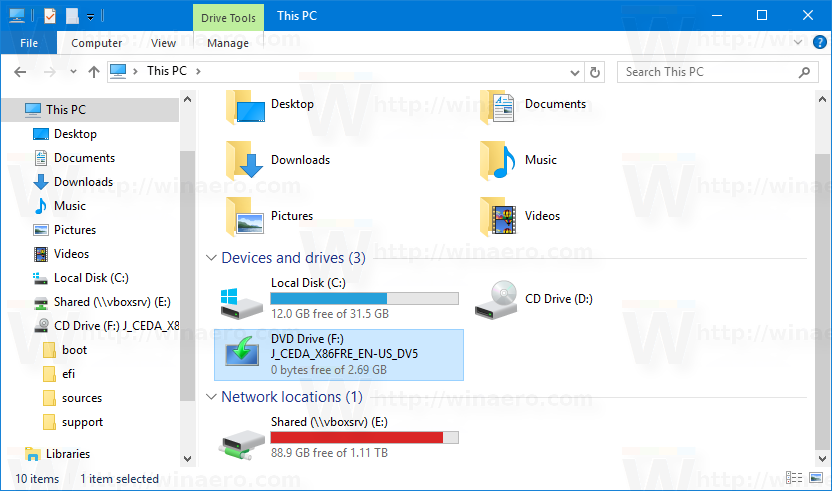
The disk image will be mounted in a virtual drive in the This PC folder. See the screenshot.
Sometimes, the file association for ISO or IMG files might be taken over by a third party app. For example, my favorite archiver, 7-Zip can open ISO files. In that case, the ISO file is associated with 7-Zip if you have set it as the default from Control Panel. When double clicked, the ISO file will open in the associated app.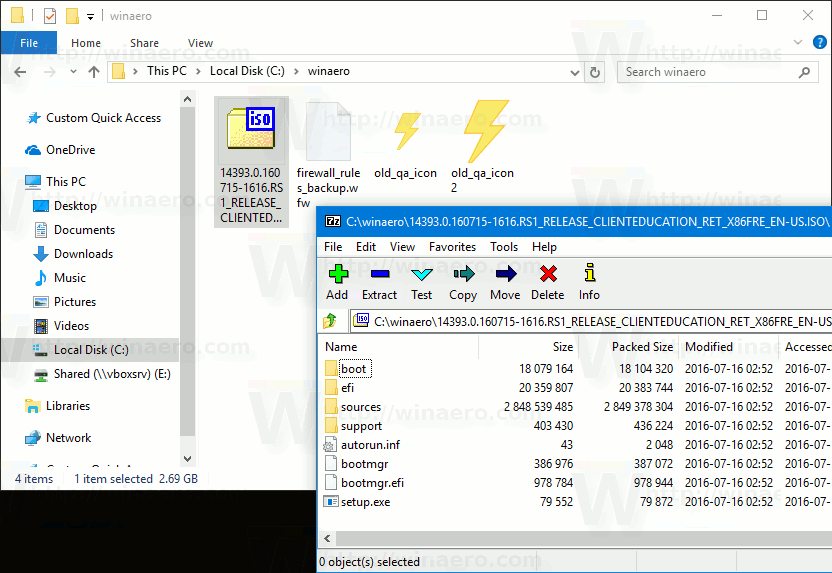
In that case, you can restore default file associations, or mount the file from the context menu.
Right-click the ISO file and select Open with - Windows Explorer. See the following screenshot: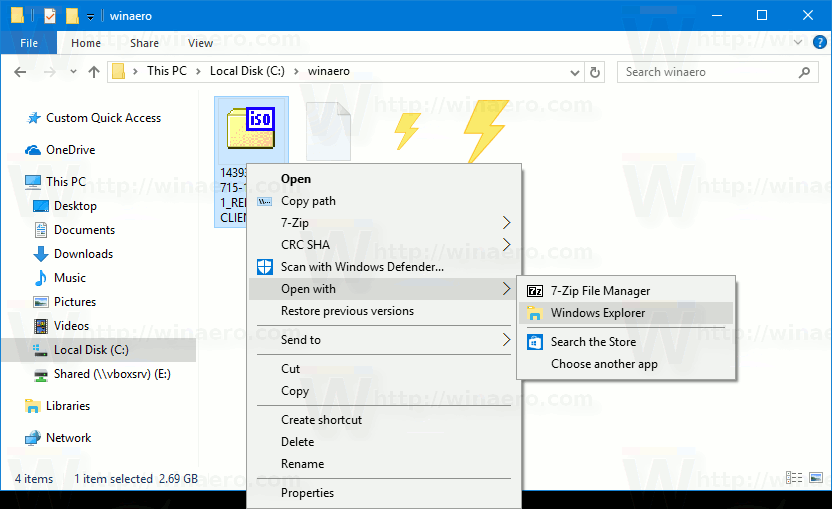
Alternatively, you can restore the default file association. Do it as follows.
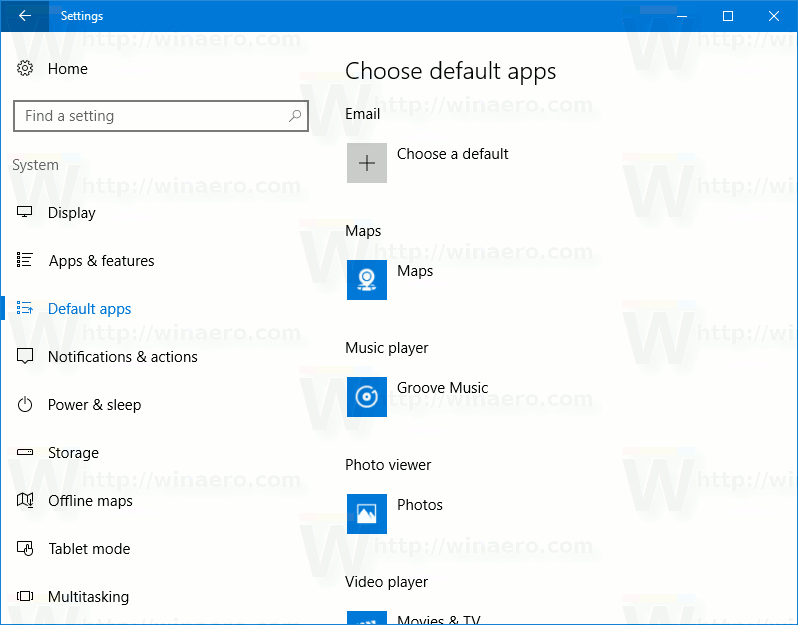
- Open Settings.
- Go to System - Default apps. In Windows 10 Creators Update, go to Apps - Default apps.

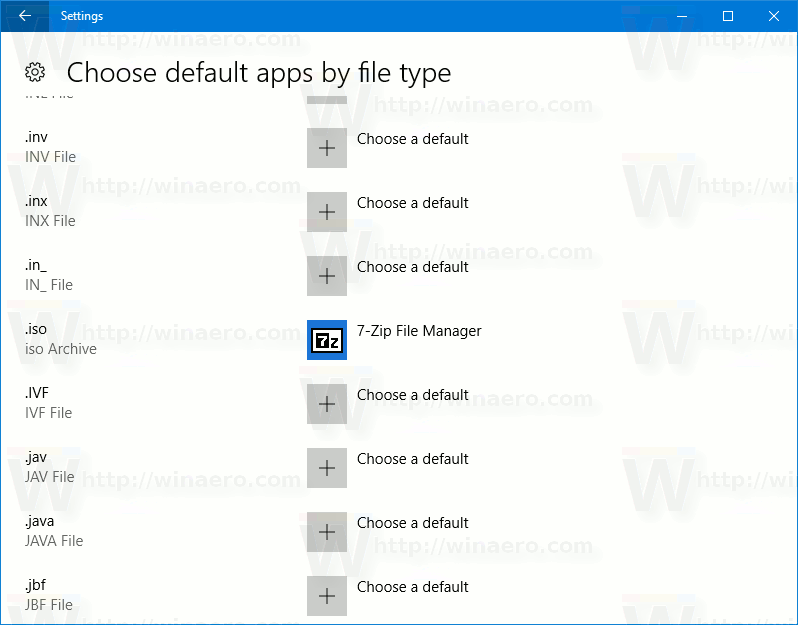
- There, scroll down in the right pane to the link "Choose default apps by file type".
Click it.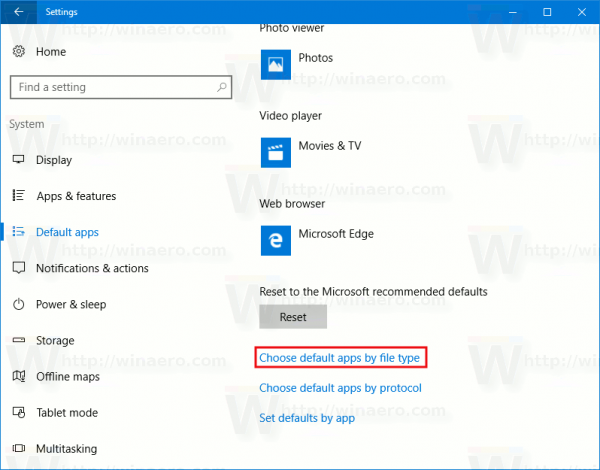
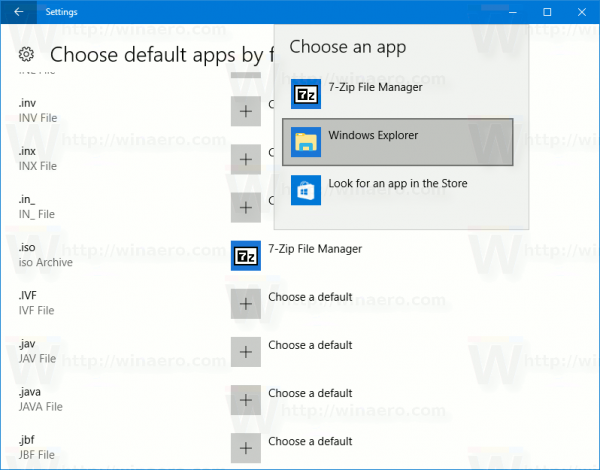
- On the next page, find the ISO file type.

- On the right side, click to choose Windows Explorer as your new default app.This will restore the default file association.


Note: Windows 10 allows the user to mount ISO and IMG files which are stored on an NTFS partition on the device which is connected to your PC. Other file systems and locations are not supported. For example, if you try to mount an ISO file from a network share, it shows the following message: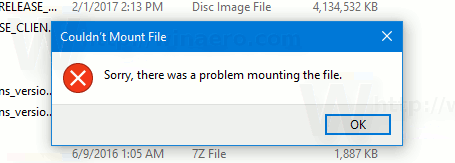
[Window Title]
Couldn't Mount File[Content]
Sorry, there was a problem mounting the file.[OK]
Alternatively, Windows 10 allows you to mount ISO and IMG files using PowerShell.
Open PowerShell and type the following command:
Mount-DiskImage -ImagePath <Full path to your ISO file>
You can copy the path to the file and paste it into the PowerShell console. See the screenshot below.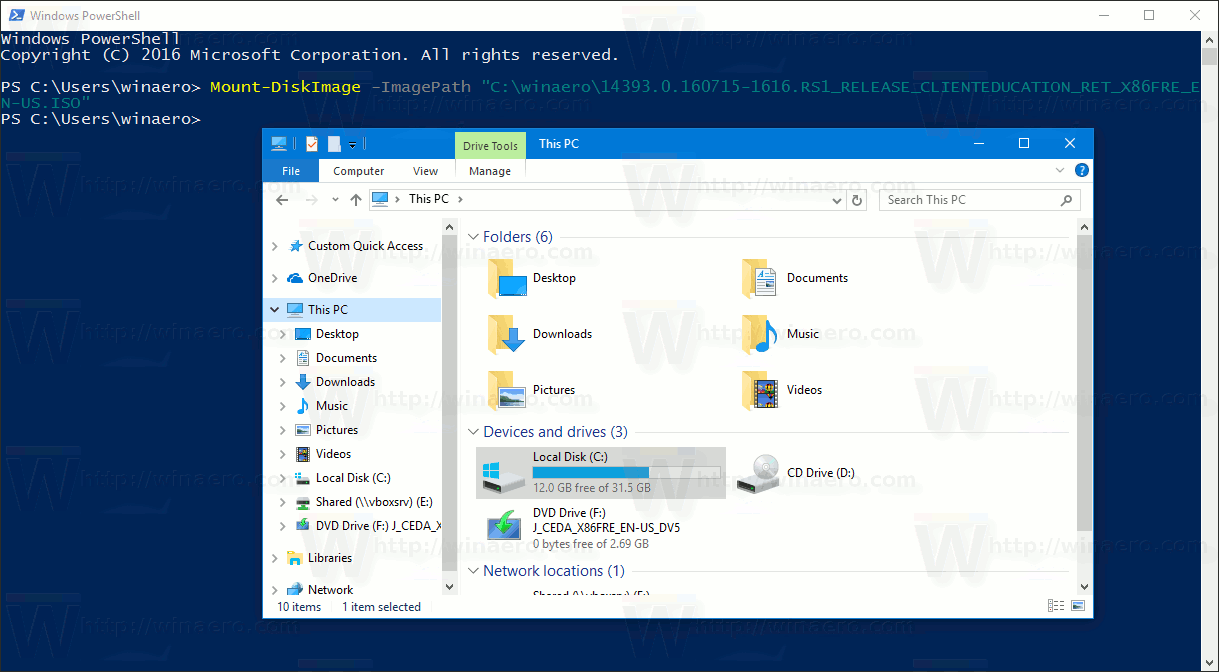
Once you finish your work inside the mounted ISO image, you can unmount it.
In File Explorer, open This PC and select "Eject" from the context menu of the virtual drive.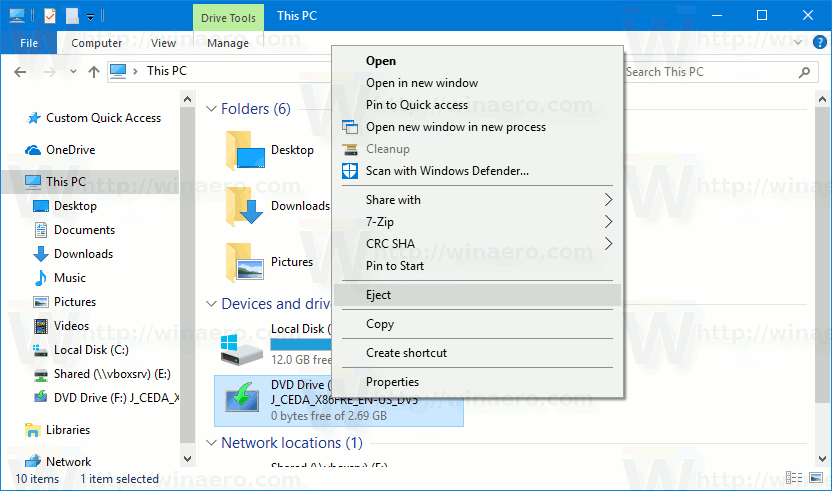
Alternatively, in PowerShell, use the cmdlet Dismount-DiskImage as follows:
Dismount-DiskImage -ImagePath <Full path to your ISO file>
See the following screenshot.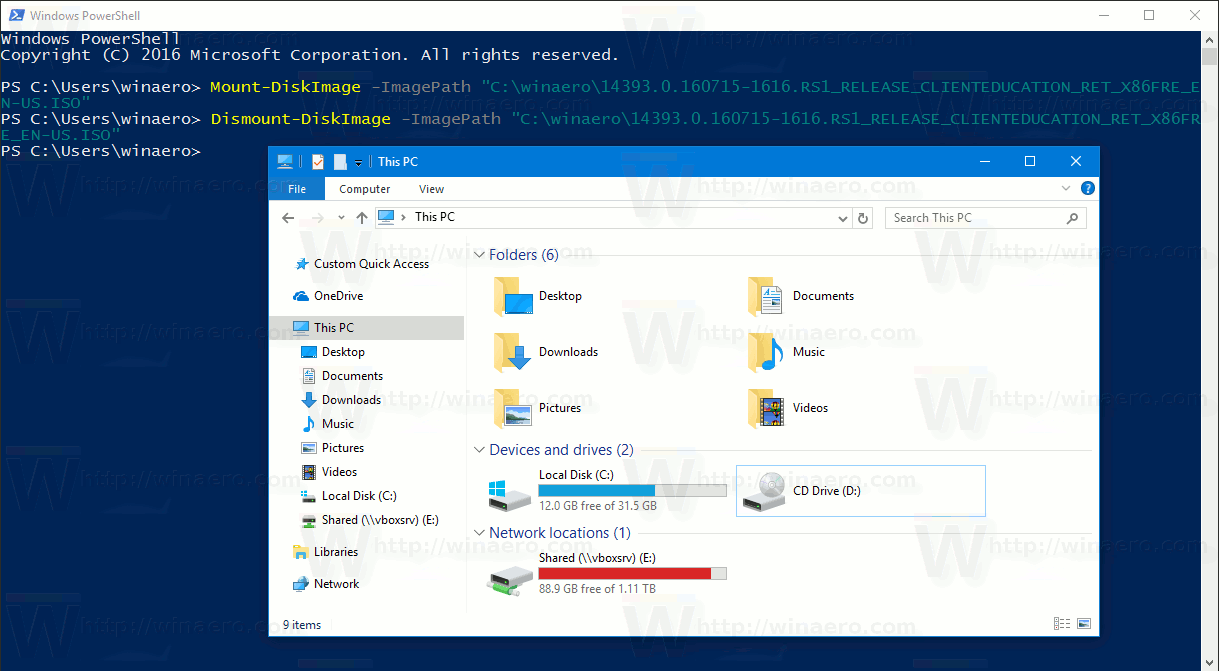
That's it.
Support us
Winaero greatly relies on your support. You can help the site keep bringing you interesting and useful content and software by using these options:

I can mount iso file on network share in Windows Explorer.
For some reason I cannot.
Windows 10 build 15031.
I am possible with both 14393 and 15031.
Do you use \\UNC paths or mounted your network location to a mapped network drive?
Thank you so much, several days ago, I got wonderfox free dvd ripper to rip my iso file, and I want to mount these files via this tutorial.
Hi,
Am running Win 10 home, ver 1903, build 18362.418 on my new PC.
Every attempt to Mount img has failed with the “Sorry… ” window.
Probably A Stupid Thought: My new pc does not have any optical drive(s). Does this matter?
cheers
rob
I tried to extend HDD Size of Guest machine running on Windows Server 2003 from 14 GB to 80 GB using “”vmware-vdiskmanager -x 80GB “”. got and erroC:\Program Files\VMware\VMware Workstation>vmware-vdiskmanager.exe -x 70GB “”e:\VM\Test.vmdk”” Grow: 100% done.Failed to expand the disk ‘e:\VM\Test.vmdk’: The file already exists (0x270000000c)Created a tmp file like “”Test.vmdk.dsfghi.tmp”” in same folder with same size[14 GB]
Hi I am deciding to definitely remove my Vista OS from my pc. I already used Linux OS like Debian, fedora or redhat (when it was free). After many installation and years I still don-t understand why Linux community is not able to make installation process ease, and when I say ease I meant just that. Ease.
If I don-t follow the standard procedure than everything became hard to do. let me explain the last case. I am trying to format my hard disk where I have mounted Vista so to delete it definitely. I have also other partitions whit data I would like to keep. So if don-t accept to install the new os close to old one I have to possibility to choice one partition or the whole disk. I opted for one partition / where vista was installed / and the installing process ask me to define a mount point. I did. Then he asks me define the swap area, but I can-t find how to do it. unless I don-t opt for a full manual installation. I know, somebody will show me how easy it is. But why the process it is not intuitive and idiot/tailored? Think me like an idiot that just want to install new OS on the old partition. can the community think something simpler? Next time some of you will design a process, please follow the K.I.S.S. requirements. Thanks.
When I try to create a new Windows 10 UWP, or open or build existing samples or projects, I get the following error: The imported project “”C:Program Files (x86)MSBuildMicrosoftWindowsXamlv14.08.2Microsoft.Windows.UI.Xaml.CSharp.targets”” was not found. Confirm that the path in the declaration is correct, and that the file exists on disk I am running VS2015 Enterprise on Windows 10 Pro. Windows 10 SDK (10240) and Emulators installed. Have re-installed VS2015 several times without luck. There is no v14.08.2 folder on my machine. Tried to copy the v14.08.1 folder to create v14.08.2 folder but this only allows you to load the project or create new ones, but build fails. This is driving me crazy. Note: An earlier install of same VS2015 ISO and SDK on Windows 10 Enterprise Evaluation was running successfully until I had to re-format a few days ago when I upgraded my Windows 7 to Windows 10 Pro. I have now also tried to install a clean copy of Windows 10 Enterprise, re-install VS2015 with SDK and emulators, and yet no luck. Same error keeps repeating. Re-installed VS2015 Enterprise installed on dual-boot Windows 10 Pro, and Windows 10 Enterprise. Same results. Have VS2013 running on the Windows 10 Pro. Had used VS2012, and VS2010 on same system with Win 7 without issues. Windows 10 Enterprise is a clean install. Have tried the modify several times. The only options not installed were 3rd-party tools.