In Windows 7, the Libraries feature was introduced which is really a useful way to organize your files. Libraries can aggregate files from several different folders and show them under a single, unified view. In Windows 10, the Libraries item is missing by default in the Navigation pane. If you use Libraries frequently, you might want to make them visible like in Windows 7. Here are instructions to enable them for Windows 10.
To enable Libraries in Windows 10 File Explorer, do the following:
- Open File Explorer.
Tip: You can make File Explorer open 'This PC' instead of Home and re-assign Win + E shortcut keys to make it more like Windows 7. See this article to know how to do that:
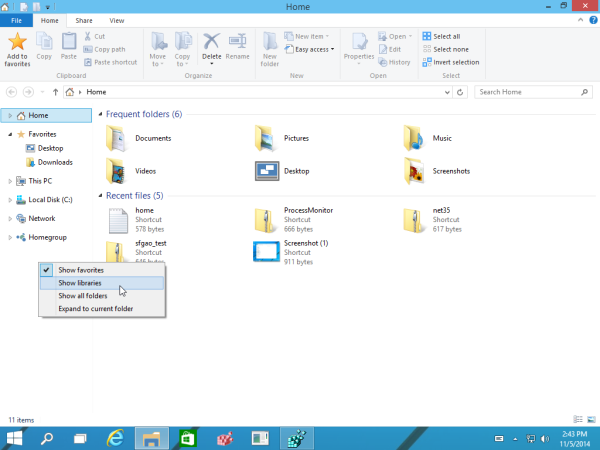
Open This PC instead of Home in Windows 10 with a shortcut and hotkeys. - In the left pane, right click the empty space to open the context menu.
- Tick the Libraries item:

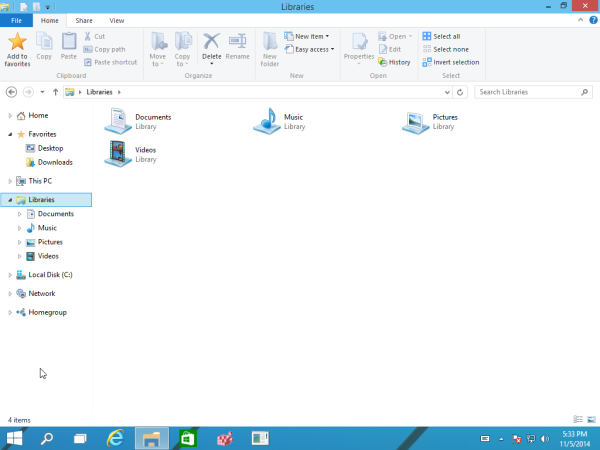
The Libraries item will appear in the Navigation pane.
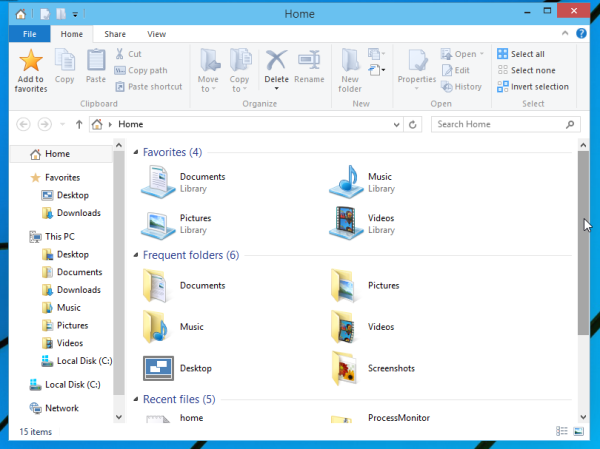
Instead of adding Libraries to the Navigation pane, you might want to add Libraries directly to the Home folder:
See how you can do that here: How to add Libraries to the Home folder in Windows 10.
Additionally, you can open Libraries from the Run dialog with a shell command. Press Win + R shortcut keys and type the following in the Run box:
shell:Libraries
The command above is a special shell command which will open the Libraries folder directly.
That's it.
Support us
Winaero greatly relies on your support. You can help the site keep bringing you interesting and useful content and software by using these options:
