Although the concept of multiple users sharing one device or one PC is getting rarer by the day, there are still cases when you have to share PCs and switch users fast. In earlier versions of Windows before Windows 10, we had a Switch Users command in the Shutdown menu inside the Start Menu to quickly switch users. In Windows 10, we have more ways to switch between users.
Advertisеment
Before proceeding, keep in mind the following. In some situations Windows disables the Fast User Switching feature. If you are signed in to a computer via Remote Desktop, you won't be able to quickly switch between users. If you are sharing your PC with another person and you use Fast User Switching, ensure that you have saved all open documents, because the other user can accidentally shut down or restart the computer.
To switch user in Windows 10, do the following.
- Open the Start menu.
- Click on your user name/icon in the bottom left corner.
- Now, click on the user account name you want to switch to.
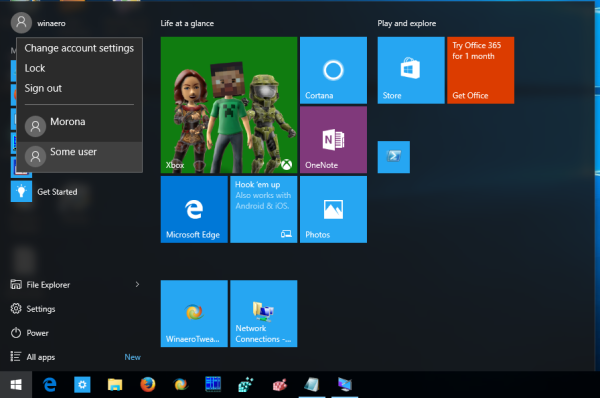
Windows 10 will open the login screen directly.
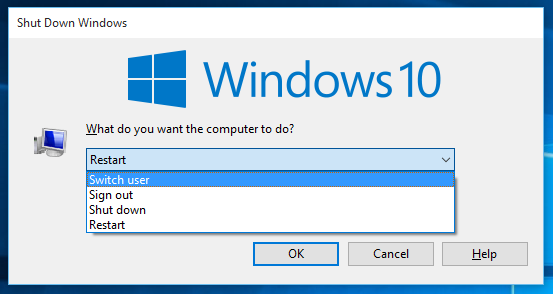
Switch User from Classic Shut Down Windows Dialog (Alt+F4)
- Press Win + D or click on the empty space on your Desktop.
- Press Alt + F4 on the keyboard.
- In the Shut Down Windows dialog, select Switch user from the drop down list.
- Windows 10 will open the login screen.
Using the CTRL + ALT + DEL Security Screen
- Press the Ctrl + Alt + Del keys on your keyboard.
- Select the Switch user item.
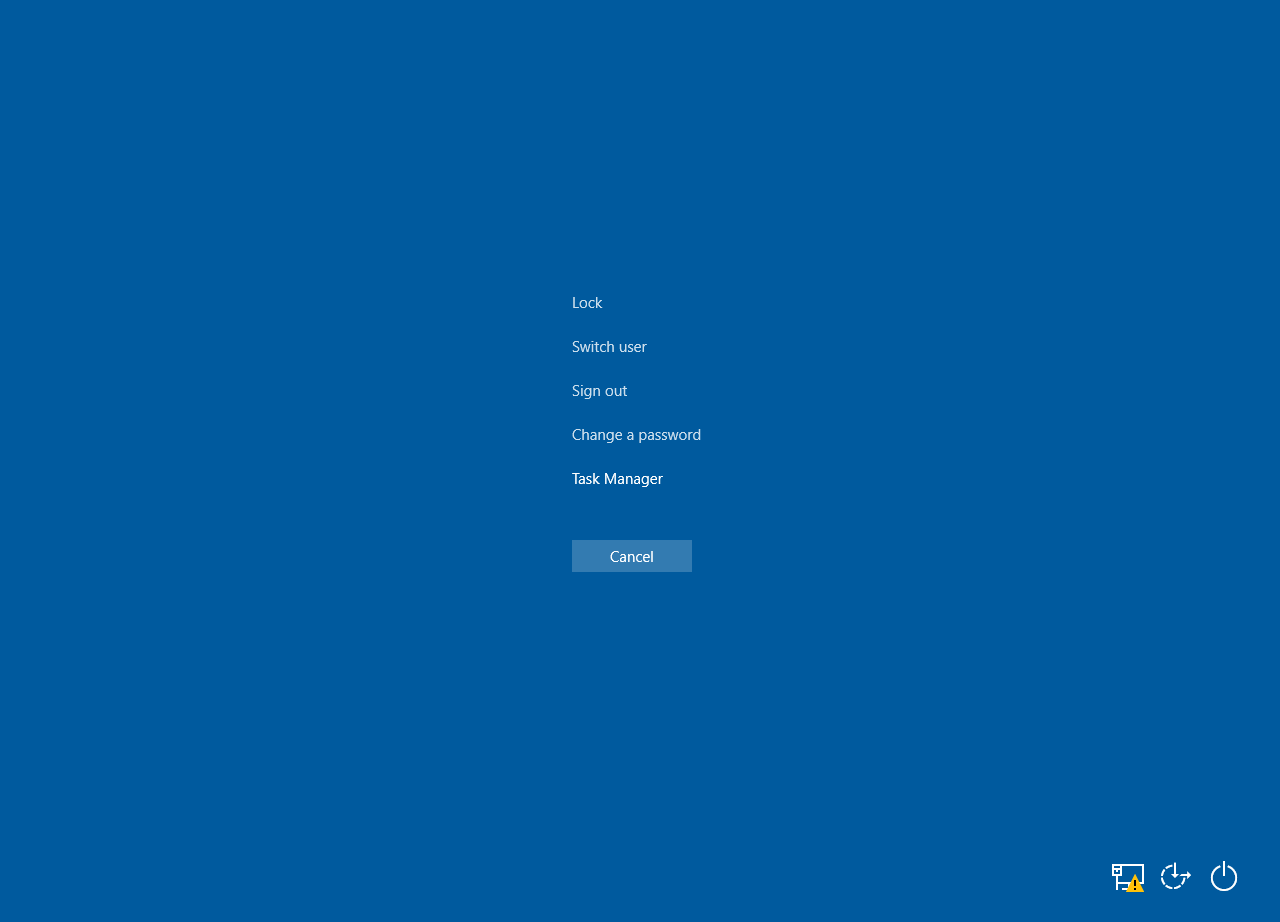
- Windows 10 will open the login screen, where you can choose the desired user account to sign in.
Switch Users from Task Manager
- Open the Task Manager.
- Go to the Users tab.
- Click the line with on already signed in user.
- Click on the Switch user button.
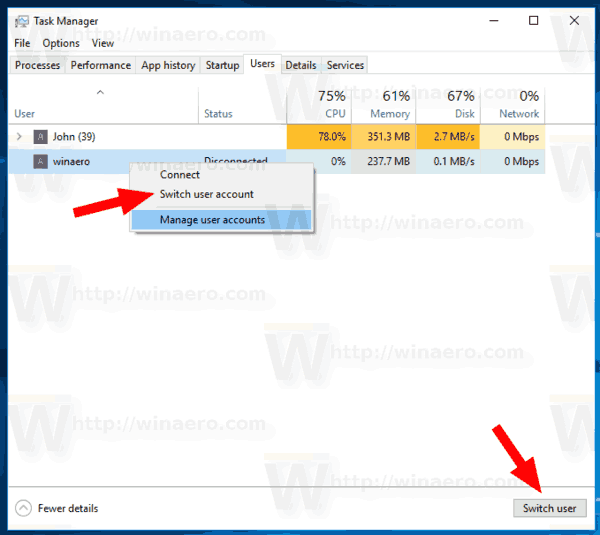
- The same command is available from the context menu.
Using tsdiscon.exe
Note: This option may not be supported in your Windows 10 edition. For example, Windows 10 Home Edition does not have the tsdiscon.exe app. However, if you have Windows 10 Pro installed on some of your computers, or in your network, or you can a distro lying around, you can manually grab the file. It can be found under the following locations:
- C:\Windows\system32\tsdiscon.exe - for the installed Windows 10.
-
install.wim[1]\windows\system32\tsdiscon.exe - on the installation media of Windows 10. Use any modern archiver app like 7-zip to open it and extract the file.
There is a special utility 'tsdiscon.exe' in Windows which is available starting with Windows XP. It does not sign out the previously logged in user, but simply locks his/her account, brings you back to the Logon screen and lets you sign in with a different user account.
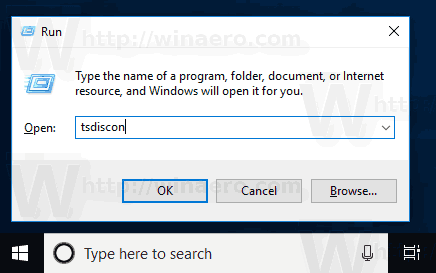
Press the Win + R keys on the keyboard and type tsdiscon in the Run box. Press the Enter key to go to the sign-in screen directly.
Alternatively, you can type this command in a command prompt window or in PowerShell.
That's it.
Related articles:
Support us
Winaero greatly relies on your support. You can help the site keep bringing you interesting and useful content and software by using these options:
