To fix various problems with the OS, Windows 10 comes with a number of built-in troubleshooters. Sometimes they are really useful and can resolve the issue quickly.
Advertisеment
Starting with Windows 10 build 15019, Microsoft has added all the available troubleshooters to the Settings app. The link from the classic Control Panel also opens the new Settings page. Here is how they can be used.
To run a troubleshooter in Windows 10, you can use a new page in the Settings app. You can navigate there by the following path
Settings \ Update & security \ Troubleshoot
Here is how the page looks.
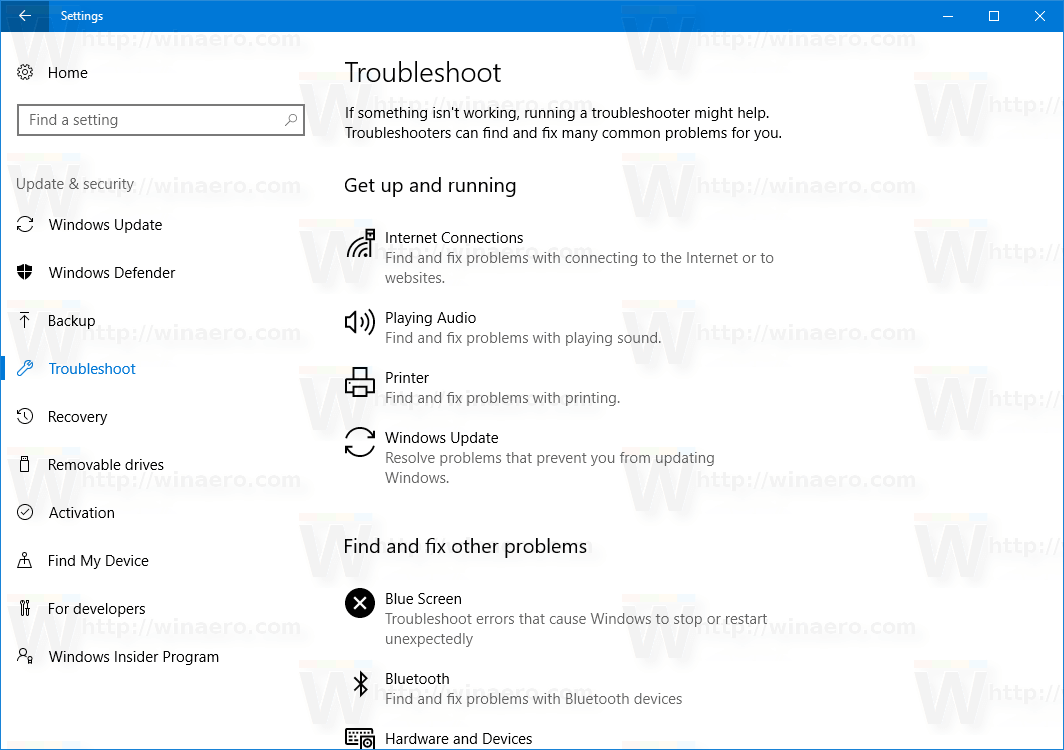
It includes the following troubleshooters:
- Internet connections
- Playing Audio
- Printer
- Windows Update
- Blue Screen
- Bluetooth
- Hardware and Devices
- HomeGroup
- Incoming Connections
- Keyboard
- Network Adapter
- Power
- Program Compatibility Troubleshooter
- Recording Audio
- Search and Indexing
- Shared Folders
- Speech
- Video Playback
- Windows Store Apps
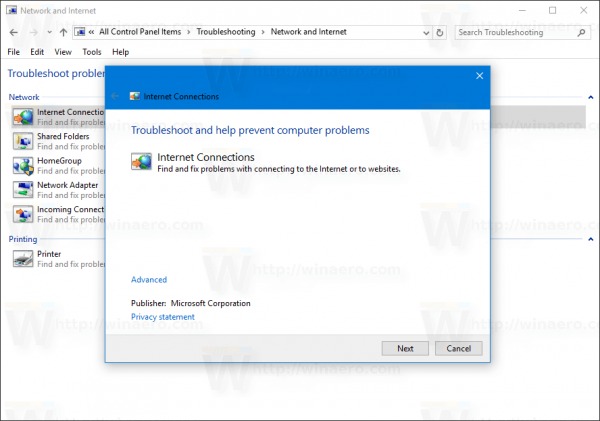
Click on a troubleshooter you need. It will appear on the screen.
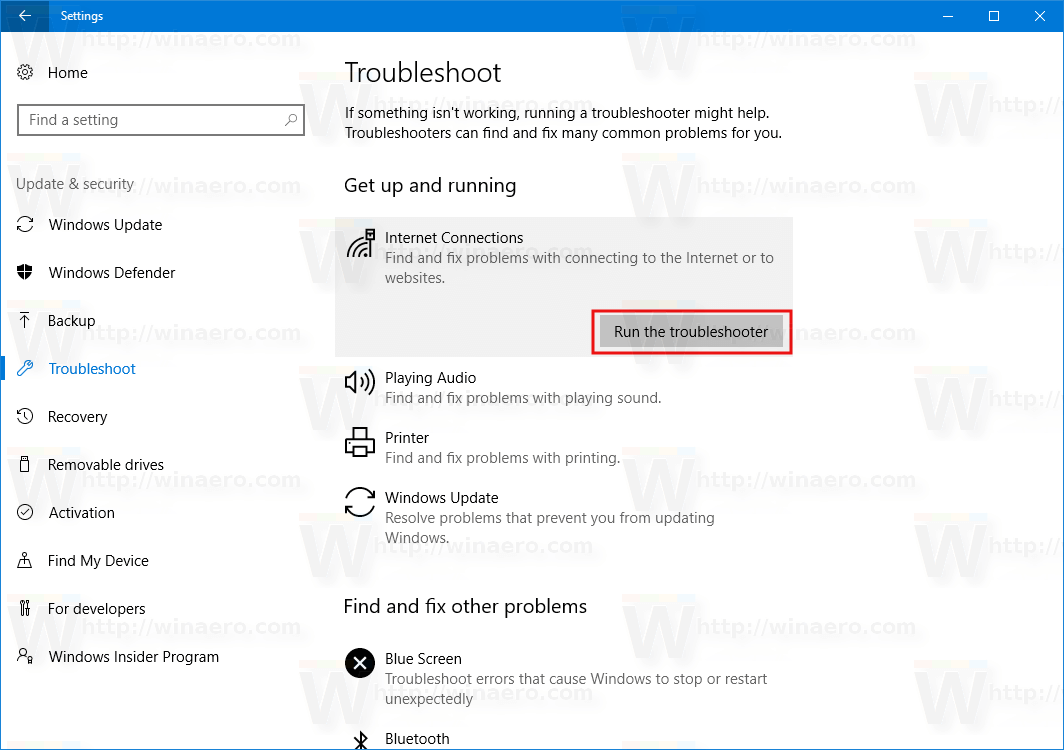
Follow the instructions provided in the troubleshooter wizard.
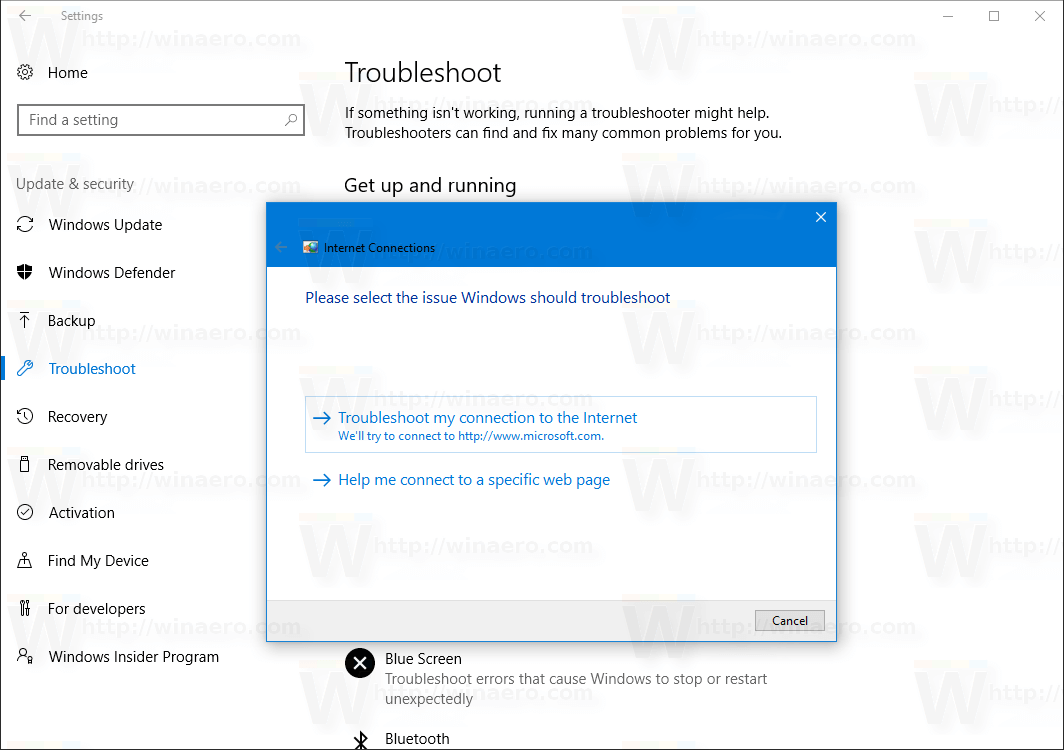
This should help you to resolve the problems related to the troubleshooter you opened.
These troubleshooters are not a new feature of Windows 10 Creators Update. They are available in previous Windows 10 builds inside the classic Control Panel. The only new feature is the ability to access them through the Settings app. This will be appreciated by touch screen device owners.
If you are running a Windows 10 build without the Troubleshoot page under Update & recovery, you can run a troubleshooter using the classic Control Panel. Here is how.
- Open Control Panel.
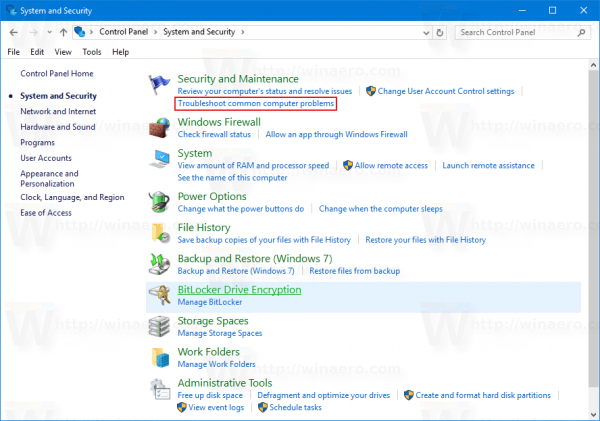
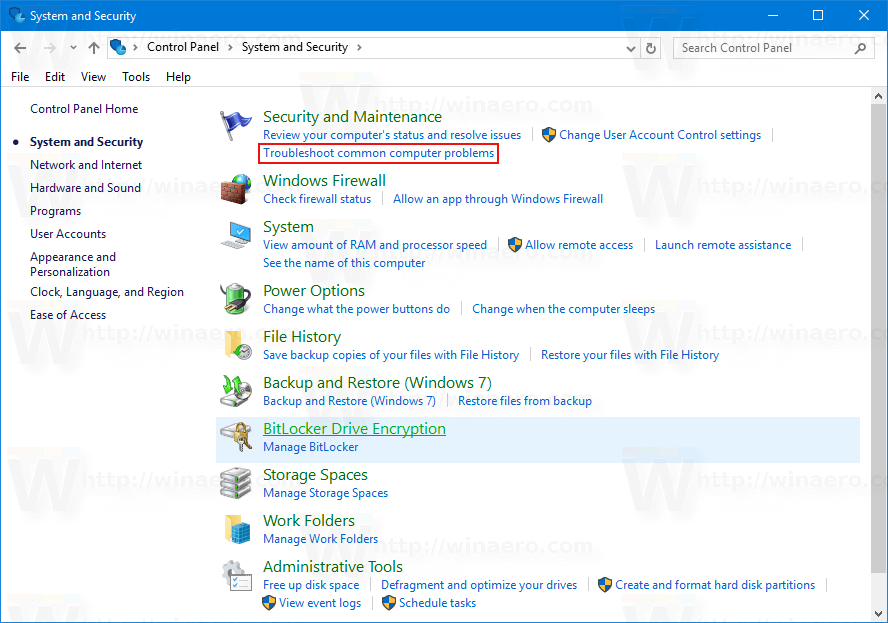
- Go to Control Panel\System and Security.
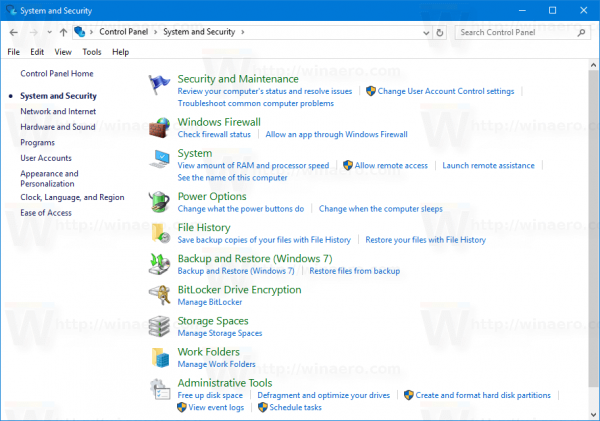
- Click the link "Troubleshoot common computer problems" under Security and Maintenance. See the following screenshot:
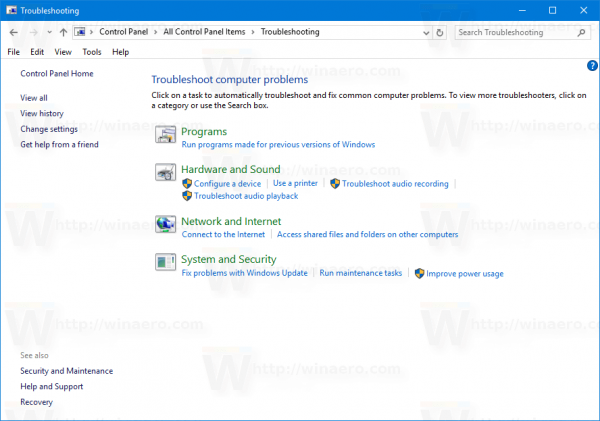
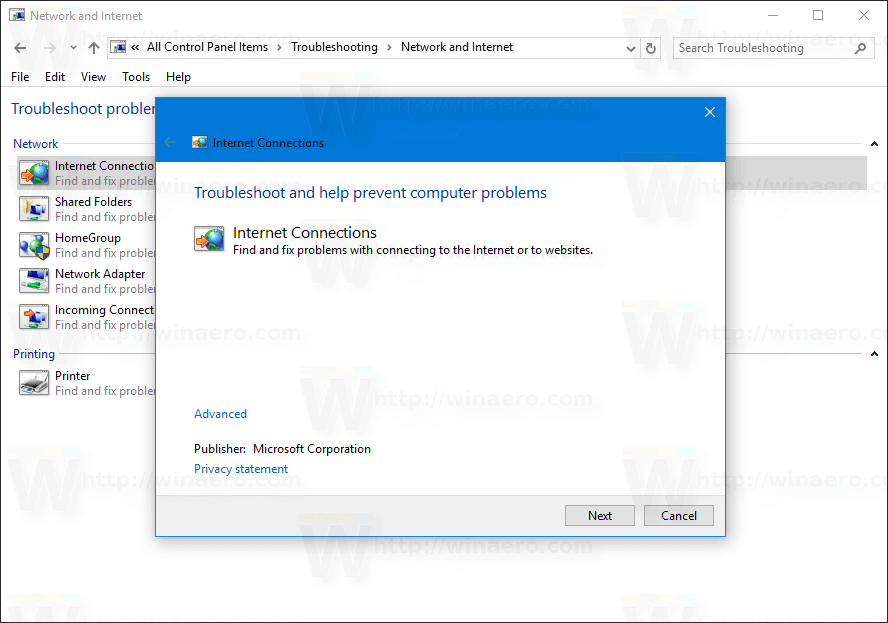
- Pick a troubleshooting category.
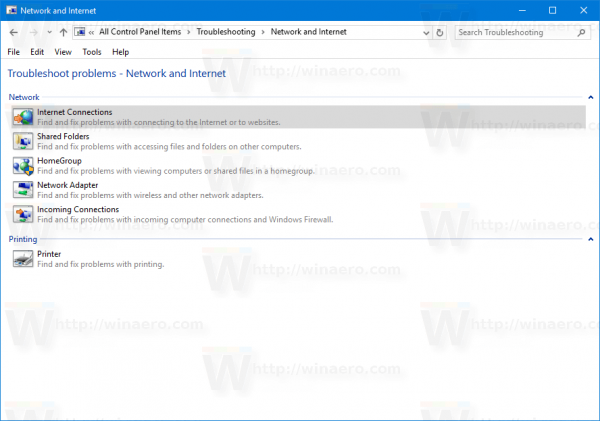
- Now, run a troubleshooter which fits the problem you are facing.
- Follow the wizard's instructions.


That's it.
Support us
Winaero greatly relies on your support. You can help the site keep bringing you interesting and useful content and software by using these options:

Been. Deleting. Thing’s on my computer. As it has been hacked. Local Disk (c;). I. Removed. Administrate. By. Mistake. Can you please help me. I have a error when I try to get it on I don’t. Know. What to do. Thank you
I.am.sorry.What?Didn’t.Get.Anything.
Hey, Thank you for posting such a great article. All solutions you have given this post are beneficial. This article will be a helpful tool for me which could help me resolve my windows problems.