In Windows 10, most of the network options were moved to Settings. The Setting app and the new Network flyout are completely different from Windows 7 and Windows 8.1. The options have been moved around and it is not clear how to change PC visibility in the local network. In this article, we'll see how to configure Network Discovery in Windows 10 in order to make your PC discoverable or hide it in the local network area.
Advertisеment
When you are signing in to your account for the very first time, Windows 10 asks you which kind of network you are connecting to: Home or Public.
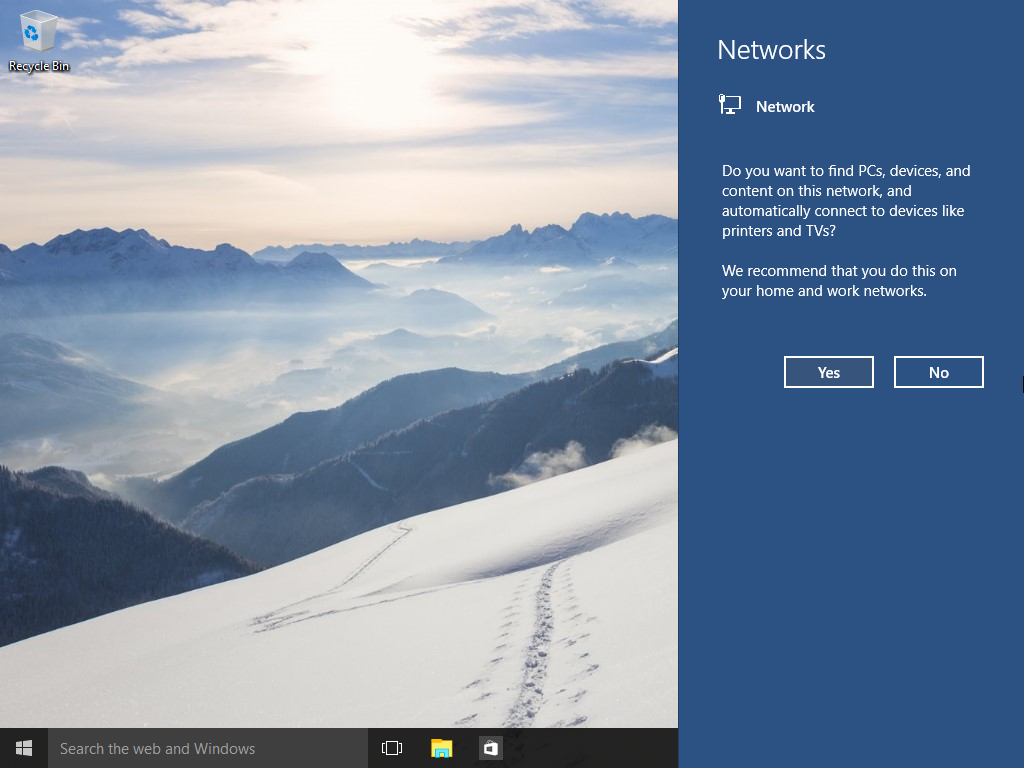
If you pick Yes, the OS will configure it as a private network and turn on network discovery. For a Public network, discovery and access will be limited. If you need to access your computer from a remote PC or browse the PCs and devices on your local network, you need to set it to Home (Private).
So, network discovery is not enabled for public networks. To enable or disable it regardless of the network type you are using, there is a special option.
To enable or disable Network Discovery in Windows 10, do the following.
If your network adapter is wired, do the following.
- Open Settings.
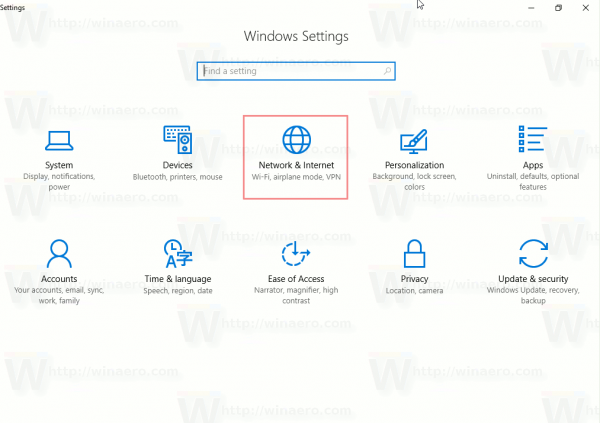
- Go to Network & Internet.
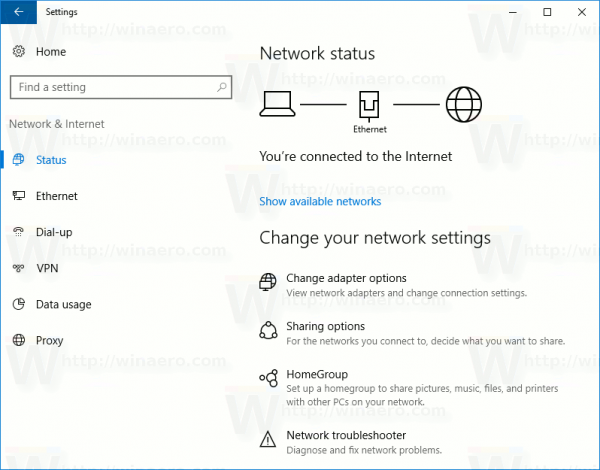
- Click on Ethernet on the left if you are using a wired connection.
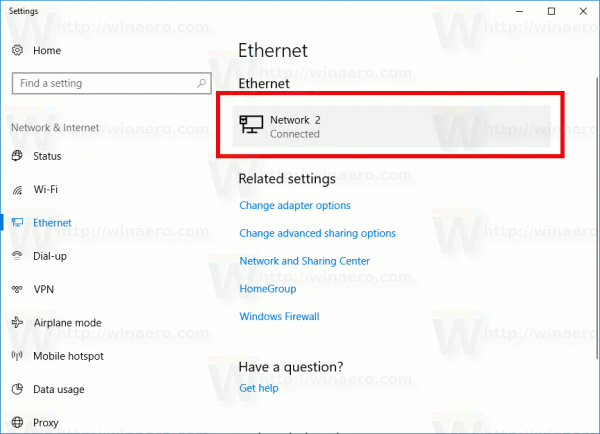
- Click on the connection name on the right. In my case, it is named "Network 2":
- On the next page, turn on the switch Make this PC discoverable to make your PC visible in the local network area.
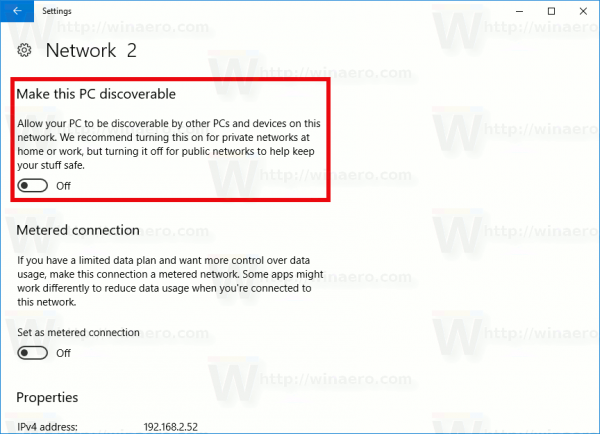 If you need to hide your PC in the local network area, then disable this option. Note: You won't be able to browse the Windows network from other PCs and their shares unless you enable the network discovery feature again.
If you have a wireless network adapter, do the following.
- Open Settings.
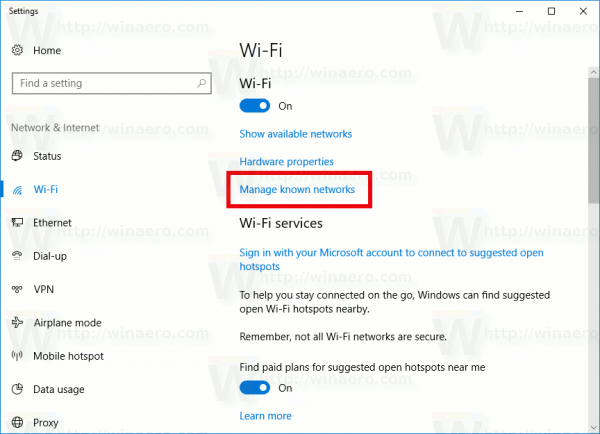
- Go to Network & Internet -> Wi-Fi.
- On the right, click on the link "Manage known networks" under the Wi-Fi toggle.
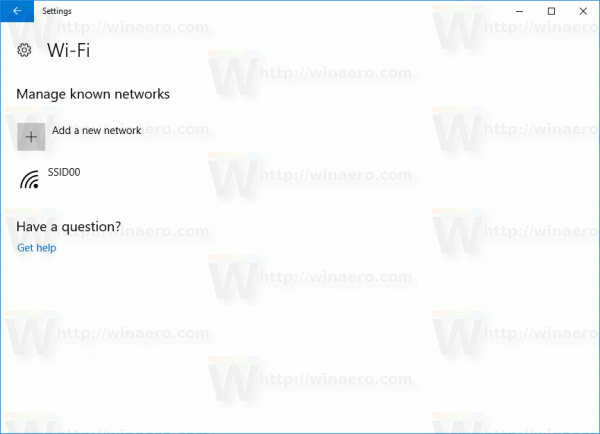
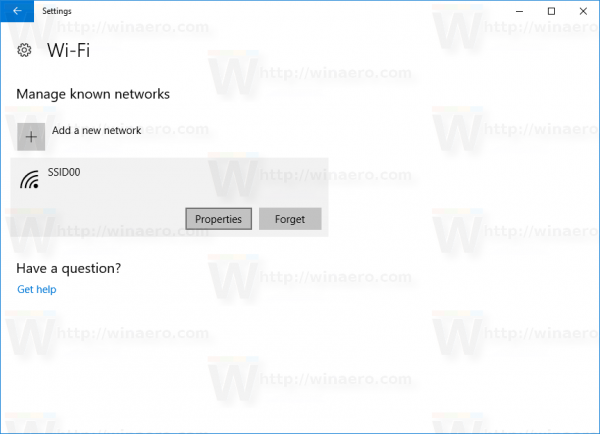
- Click on the network name you connected to and then click on the Properties button below.
- On the next page, turn on the switch Make this PC discoverable to make your PC visible in the local network area.
 If you need to hide your PC in the local network area, then disable this option. Note: You won't be able to browse the Windows network from other PCs and their shares unless you enable the network discovery feature again.
Enable or Disable Network Discovery in Command Prompt
If you need to enable or disable the network discovery feature using the command prompt, you can do it as follows.
Open an elevated command prompt and type or copy-paste the following command to disable Network Discovery:
netsh advfirewall firewall set rule group="Network Discovery" new enable=No
To enable Network Discovery, use the following command:
netsh advfirewall firewall set rule group="Network Discovery" new enable=Yes
That's it.
Support us
Winaero greatly relies on your support. You can help the site keep bringing you interesting and useful content and software by using these options:
