Windows 10 version 1803 "April 2018 Update" is available for stable branch users. The XPS Viewer is no longer installed by default if you install Windows 10 1803 from scratch (clean install). Here is how to install it manually.
Advertisеment
The XPS viewer is an application designed to view XPS documents. It was bundled with Windows starting with Vista. XPS documents are files saved to the XML Paper Specification (.xps file format). In Windows 10 version 1709 "Fall Creators Update" and earlier versions, XPS Viewer is installed by default. After updating to Windows 10 version 1803 via Windows Update, the app remains available. You will still have XPS Viewer, so no action is required.
Microsoft has changed the way you get XPS Viewer in case of a clean install. On a device with Windows 10 version 1803 pre-installed, and after installing Windows 10 1803 from scratch (clean install), XPS Viewer won't be available. To use it, you need to install it manually.
To install XPS Viewer in Windows 10 version 1803, do the following.
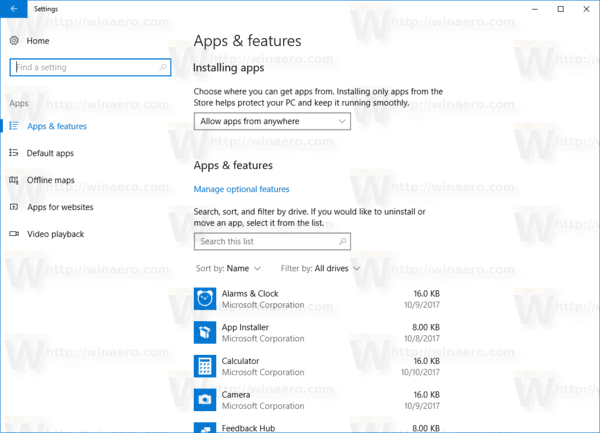
- Open the Settings app.
- Go to Apps > Apps & features.
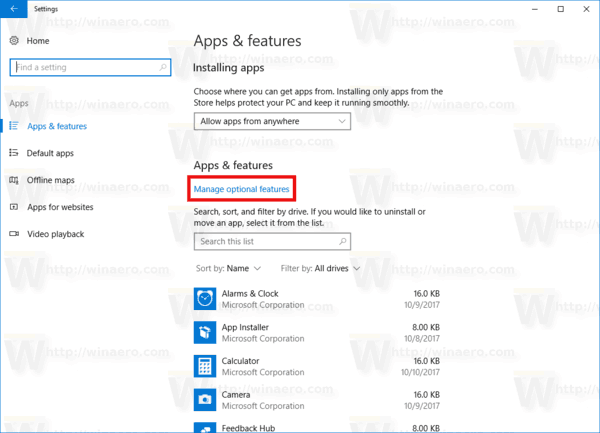
- On the right, click on the link Manage optional features.
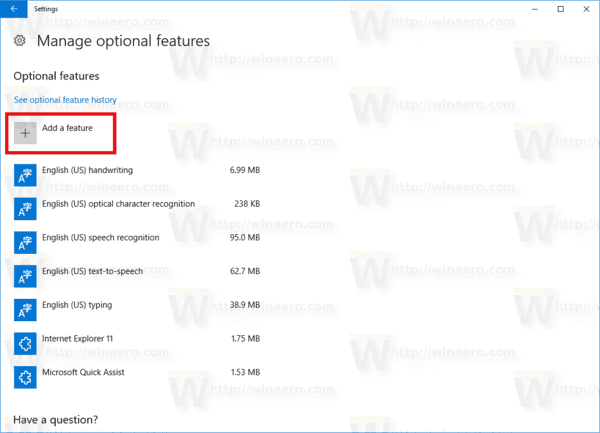
- Click on the button Add a feature at the top of the next page.
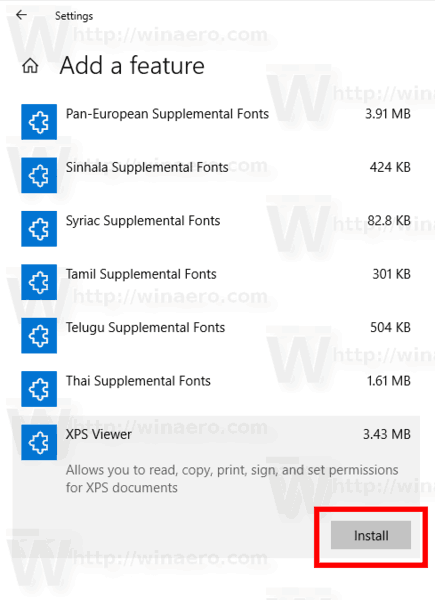
- Find the optional feature named XPS Viewer in the list under Add a feature.
- Select it and click on the Install button.
You are done. You now have XPS Viewer installed. You can open any xps document stored on your PC or by entering xpsrchvw.exe in the Run dialog (Win + R).
Alternatively, you can get XPS Viewer installed with DISM
Install XPS Viewer in Windows 10 using DISM
- Open an elevated command prompt.
- Copy-paste or type the following command:
dism /Online /Add-Capability /CapabilityName:XPS.Viewer~~~~0.0.1.0
- After installing the feature, you can close the command prompt.
Uninstall XPS Viewer
To uninstall XPS Viewer, you can use either Settings or the DISM app.
- Go to Settings - Apps & features - Manage optional features. Select XPS Viewer in the list of features and click on Uninstall.
- Alternatively, open the command prompt as Administrator and type
dism /Online /Remove-Capability /CapabilityName:XPS.Viewer~~~~0.0.1.0
This will remove XPS Viewer from Windows 10.
That's it.
Support us
Winaero greatly relies on your support. You can help the site keep bringing you interesting and useful content and software by using these options:

None of the method mentioned above worked in reinstalling XPS viewer. I am in charge of IT in our organisation and a user is not able to see xps file after the 1803 update. I can’t install it via “Manage optional features” option as it doesn’t have the xps viewer listed and no I able to install in using DISM tool.
Any help is greatly appreciated
Thanks
1.Open an elevated command prompt.
2.Copy-paste or type the following command: dism /Online /Add-Capability /CapabilityName:XPS.Viewer~~~~0.0.1.0
Please try uncheck XPS writer then checked again. after reboot the pC do the steps above.
Many people try this with no error and unable to install the XPS viewer because of a GPO setting.
Change this to Enabled:
Optional Features,e.g. XPS Viewer.
Computer Configuration\Administrative Templates\System\Specify settings for optional component installation and component repair
Tick: Download repair content and optional features…
many thanks for the info.
I test it with Windows 10 1809 and it works fine.
This worked perfectly in my Windows 10 Enterprise after enabling Windows Update briefly via Winaero Tweaker and then disabling it. It will fail if WU is disabled. Thank you so much also for the DISM method. I wonder if the DISM method can be used on a local installation source to avoid WU like we offline enable .NET Framework.
ready